

The fastest way to protect screen visibility in an airport lounge: pick a wall-facing seat, tilt your screen slightly toward you, and attach a magnetic privacy screen before you open anything sensitive. Clarmuse makes magnetic privacy screens built specifically for MacBook Air 15.3" and MacBook Pro 16.2" models — they snap on quickly, weigh light enough for travel, and reduce side-angle visibility substantially from center. One trade-off to know upfront: expect some brightness reduction, and someone sitting directly behind you can still see your screen.
- Seat choice: Wall-facing or corner seats reduce the number of potential sightlines significantly.
- Screen tilt: Angle the display toward you, not upright. A few degrees makes a measurable difference.
- Privacy screen: A magnetic filter blocks side views from seatmates and aisle passers without adhesive residue.
- Brightness: Lower it slightly after attaching the filter to compensate for the light reduction.
Table of Contents
- Why airport lounges are high-risk zones for shoulder-surfing
- How do privacy screen protectors actually work?
- Which privacy filter type is right for travel?
- How to set up and use a privacy screen in an airport lounge
- Where to buy a privacy screen before or during travel
- Clarmuse magnetic privacy screens for MacBook Air and MacBook Pro
- Keeping your privacy screen effective over time
- Complementary privacy tools to use alongside a privacy screen
- Key Takeaways
- The case for a physical filter over behavioral workarounds alone
- Clarmuse privacy screens for MacBook travelers
- Useful sources
- FAQ
Why airport lounges are high-risk zones for shoulder-surfing
Airport lounges feel calm, but the seating layout works against you. Rows face each other, chairs sit close together, and people constantly move through the space. That combination creates multiple sightlines onto your screen at once.
Security experts warn that travelers in airports are distracted, rushed, and less alert than usual — conditions that make visual data exposure easier to miss. Shoulder-surfing, the practice of reading someone’s screen without permission, is a recognized form of information theft. According to research on shoulder-surfing in cybersecurity, it requires no technical skill and leaves no trace.
The highest-risk moments in a lounge:
- Adjacent seating: The person next to you has a direct, unobstructed view of your screen.
- Rows behind you: Anyone seated one row back can read over your shoulder without moving.
- Foot traffic: People walking to the bar, restrooms, or gate pass directly behind seated users.
- Low tables: Lounge-style low tables force a flatter screen angle, widening the visible cone.
Visual privacy is also part of a broader travel security habit. The same experts who flag shoulder-surfing recommend confirming Wi-Fi network names with staff before connecting and using a VPN for any sensitive work on public networks. For more on securing sensitive data while traveling, the steps overlap significantly.
How do privacy screen protectors actually work?
Privacy filters use a micro-louver or polarizing layer bonded to the screen surface. The louvers act like tiny venetian blinds: light passes straight through to the person directly in front, but is blocked at angles beyond a set threshold. The result is a narrowed viewing cone, typically 30°–60° from center depending on the filter.
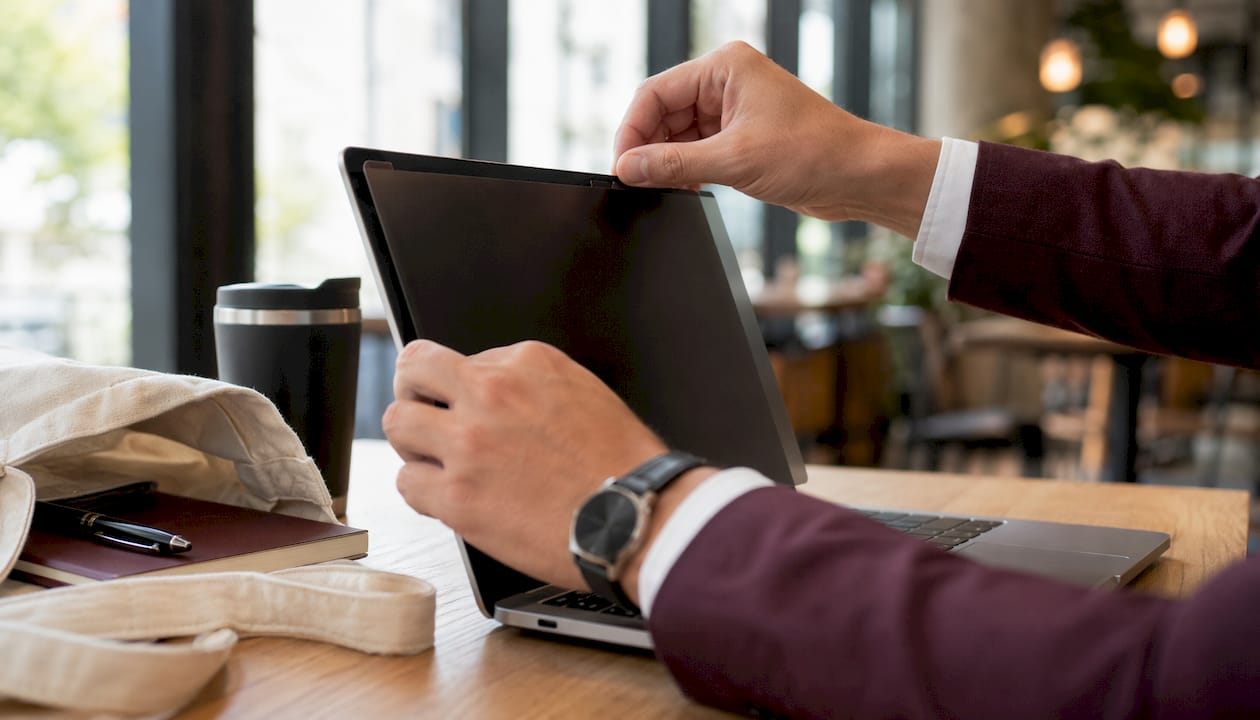
What this means in practice: a seatmate to your left or right sees a dark or blurred panel. Someone walking down the aisle gets the same. But a person sitting directly behind you, looking straight at the screen, still has a clear view. Privacy filters reduce the visibility cone — they do not create invisibility.
The trade-offs worth knowing before you buy:
- Brightness loss: Most magnetic filters reduce screen brightness by about 10%–20%.
- Color accuracy: Filters can shift color slightly, which matters for photo editing or design work. Remove the filter for color-critical tasks.
- Tactile difference: A filter adds a thin layer over the screen. On a MacBook, this is barely noticeable, but it changes the surface feel slightly.
For routine lounge work — email, documents, spreadsheets, video calls — the trade-offs are minor. For creative professionals doing color-graded work, the filter comes off and goes back on in seconds.
Which privacy filter type is right for travel?
Three main attachment styles exist: magnetic, adhesive (stick-on), and clip-on. For airport travel, the differences matter more than they do at a fixed desk.
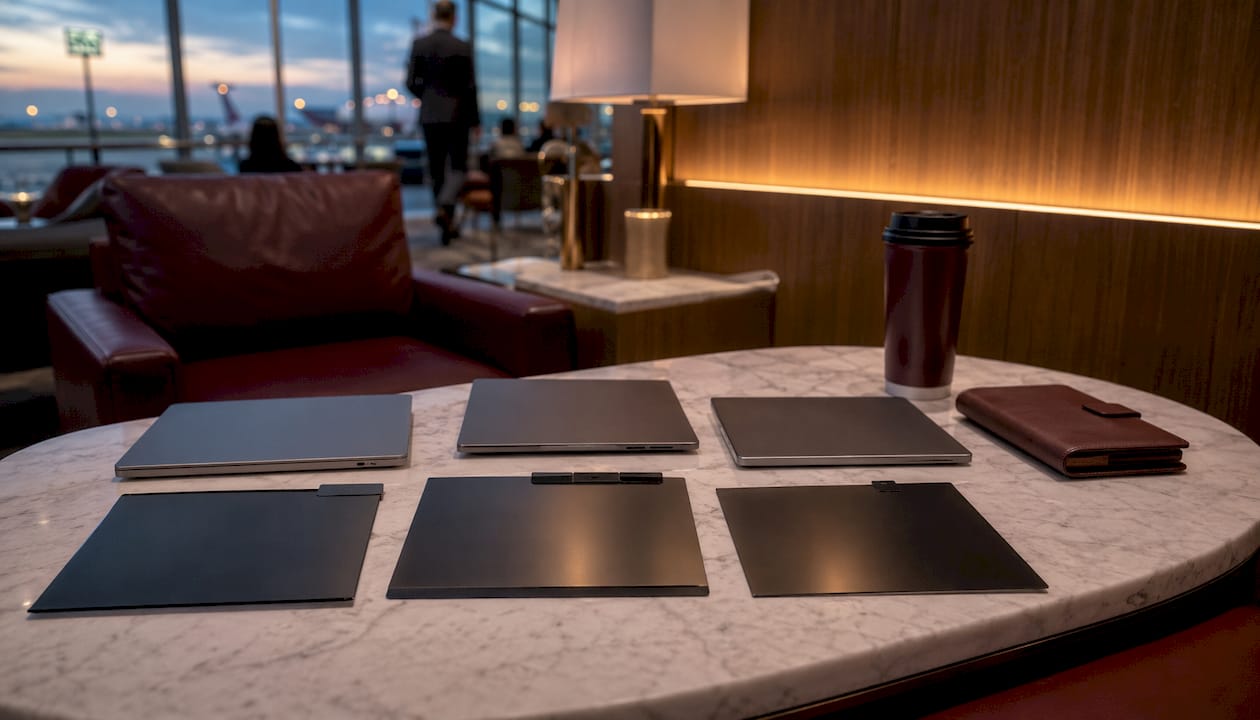
Magnetic filters attach using the MacBook’s built-in lid magnets or small embedded magnets in the frame. They snap on and off without adhesive residue, which makes them the practical choice for frequent travelers who attach and remove the filter multiple times per day. Most magnetic models weigh 40–65 g and store flat in a protective sleeve.
Adhesive filters bond directly to the screen bezel. They offer a cleaner look and more secure attachment, but removal risks residue and repeated attachment degrades the adhesive. Better suited for a fixed workstation than a carry-on bag.
Clip-on filters clamp to the screen edge. They work across multiple laptop models, which is useful if you switch devices, but the clips can scratch bezels over time and the fit is rarely as precise as a model-specific option.
For MacBook users, model-specific magnetic filters are the clear choice for travel. The fit is exact, the magnets align with the lid, and there is no residue on the screen or bezel. A selection checklist for any privacy filter:
- Exact size match to your MacBook model (not just screen diagonal — the bezel dimensions matter)
- Viewing-angle spec of 30°–60° for effective side blocking
- Matte finish to reduce glare in bright lounge lighting
- Weight under 70 g for carry-on practicality
- Included protective sleeve for storage
Pro Tip: Check whether the filter ships with a storage sleeve. Many magnetic models include one; accidental bends in a bag can permanently reduce filter performance.
How to set up and use a privacy screen in an airport lounge
Follow these steps each time you settle into a lounge seat:
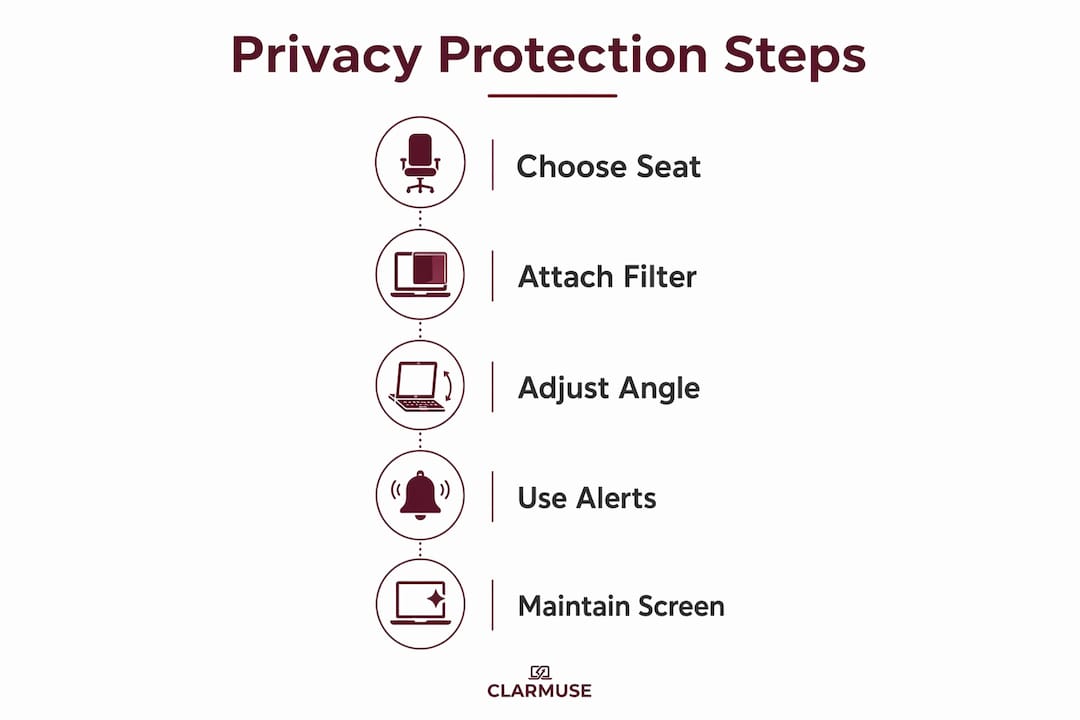
- Choose your seat first. Wall-facing or corner positions limit the number of angles from which your screen is visible. Avoid seats in the center of the room or directly in front of high-traffic paths. Seating layout has a bigger effect on screen privacy than most travelers realize.
- Sit with your back toward a wall or partition. This eliminates the rear sightline entirely.
- Attach the privacy screen before opening your laptop. Snap the magnetic filter onto the MacBook lid while the screen is still closed, then open it. This takes under three seconds.
- Tilt the screen toward you. A slight forward tilt narrows the upward viewing angle for anyone standing behind you.
- Lower screen brightness by one or two notches. The filter reduces light output; compensating keeps the display comfortable without broadcasting brightness to the room.
- Minimize full-screen sensitive content when not actively reading it. Keep documents in a smaller window and use virtual desktops to keep sensitive tabs out of the default view.
- Set a short auto-lock timer. Two minutes is a reasonable interval for lounge use. Lock the screen manually whenever you step away, even briefly.
Pro Tip: On a plane, the tray table sits lower than a desk, which pushes the screen angle upward. Tilt the display further toward you than you normally would to compensate for in-flight screen visibility from the row behind.
For additional situational awareness, some travelers use camera-based detection apps that alert when a second face appears in the webcam frame. These work as a complement to a physical filter, not a replacement.
Where to buy a privacy screen before or during travel
Buying before you travel is the right call. Model-specific magnetic filters are not commonly stocked at airport retail, and buying the wrong size means a return process you cannot complete before your flight.
Buying channels:
- Direct from brand sites: Clarmuse ships the MacBook Air 15.3" filter and MacBook Pro 16.2" filter directly, with model-specific fit guaranteed.
- Online marketplaces: Magnetic privacy screens are available through major U.S. online retailers. Verify the exact model number before purchasing — screen diagonal alone is not sufficient for a precise fit.
- Electronics retailers: Best Buy and similar chains carry privacy filters in-store, though MacBook-specific magnetic options are less consistently stocked than universal clip-on models.
- Airport kiosks: Some terminals offer on-site screen protector installation. GlassMaster operates at select European airports, applying protectors before boarding. U.S. terminal availability varies and is not reliable for laptop-specific filters.
Typical price range for travel-grade magnetic privacy screens sits at $49–$79. Tempered glass models for mobile devices run a similar range but are heavier and less suited for frequent removal. If you are buying last-minute from a marketplace, check the return window — a wrong-size filter purchased the day before travel is difficult to exchange.
Clarmuse magnetic privacy screens for MacBook Air and MacBook Pro
Clarmuse makes two travel-specific magnetic privacy screens: the Magnetic Privacy Screen Protector for MacBook Air 15.3" and the Magnetic Privacy Screen Protector for MacBook Pro 16.2". Both are designed for the exact bezel dimensions of their respective models, not generic screen diagonals.
| Feature | MacBook Air 15.3" | MacBook Pro 16.2" |
|---|---|---|
| Compatibility | MacBook Air 15.3" | MacBook Pro 16.2" |
| Attachment | Magnetic, no adhesive | Magnetic, no adhesive |
| Weight | 40–65 g | 40–65 g |
| Viewing angle (blocked) | ~30°–60° from center | ~30°–60° from center |
| Finish | Matte | Matte |
| Brightness impact | ~10–20% reduction | ~10–20% reduction |
| Storage | Protective sleeve included | Protective sleeve included |
Installation and removal for travel:
- Hold the filter by its edges and align it with the MacBook lid while the screen is closed.
- Let the magnets pull it into position. No pressing or adhesive required.
- Open the MacBook. The filter stays in place during normal use.
- To remove, lift from one corner. The filter releases cleanly with no residue.
- Slide it into the included protective sleeve before placing it in your bag.
Pro Tip: Store the filter in its sleeve between uses, not loose in a bag pocket. A single bend across the micro-louver layer can create a visible distortion line that does not recover.
Practical use cases: quick email review at the boarding gate, document editing in a shared lounge, video calls in a hotel business center, spreadsheet work on a long-haul flight. The magnetic attachment means the filter goes on before you open a sensitive file and comes off before a video call where you want full brightness.
Keeping your privacy screen effective over time
A privacy filter only works if the micro-louver layer is clean and undamaged. Fingerprints, dust, and smudges on the filter surface scatter light and reduce the blocking effect at the edges of the viewing cone.
Clean the filter with a dry microfiber cloth. For heavier smudges, a lightly dampened cloth works, but avoid alcohol-based cleaners — they degrade the polarizing layer over time. Never use paper towels or clothing fabric, which scratch the surface at a microscopic level.
Store the filter flat in its protective sleeve whenever it is not attached to the MacBook. Pressure from other items in a bag can create micro-bends that show up as distortion lines. Check the filter surface before each use in a lounge; a quick visual inspection takes two seconds and catches damage before it affects your privacy.
Complementary privacy tools to use alongside a privacy screen
A physical filter handles side-angle visibility. These tools cover the gaps it does not:
For mobile devices: Adhesive privacy filters for iPhone and Android screens work on the same micro-louver principle. Apply one to your phone if you review sensitive messages or authentication codes in public. They are thinner and lighter than laptop filters and stay on permanently.
Laptop privacy hoods: Physical hoods attach to the screen and block overhead and rear viewing angles. They are bulkier than filters and slower to set up, but they address the one gap a flat filter leaves: the person directly behind you.
Screen dimming apps: macOS has a built-in Night Shift and display brightness control. Third-party apps like Lungo keep the screen from sleeping during active use while allowing you to drop brightness quickly. Lower brightness reduces visibility at distance even without a physical filter.
VPN and network hygiene: Visual privacy and network privacy are separate problems, but they often occur in the same environment. Travel document security guidance for U.S. travelers consistently recommends a VPN for any public Wi-Fi session. For mobile device security in transit, the same principles apply: confirm the network name, use a VPN, and avoid logging into financial accounts on public connections.
Screen lock habits: The fastest complementary measure costs nothing. A two-minute auto-lock and the habit of pressing Command + Control + Q before stepping away closes the most common exposure window in any lounge.
Key Takeaways
A magnetic privacy screen combined with deliberate seat choice is the most effective way to protect screen visibility in an airport lounge.
| Point | Details |
|---|---|
| Seat position first | Wall-facing or corner seats eliminate most sightlines before any product is needed. |
| Magnetic filter for MacBook | Clarmuse screens for MacBook Air 15.3" and MacBook Pro 16.2" snap on in under three seconds with no adhesive residue. |
| Viewing angle limits | Filters block side views beyond a moderate viewing angle from center; direct rear viewing remains partially visible. |
| Brightness trade-off | Expect a 10–20% brightness reduction; lower screen brightness one notch after attaching the filter. |
| Lock screen when away | A two-minute auto-lock and manual Command + Control + Q close the most common exposure gap. |
The case for a physical filter over behavioral workarounds alone
There is a common assumption that seat choice and screen tilt are enough. They reduce risk, but they do not eliminate it. A lounge fills up, the seat you wanted is taken, and the person who sits next to you is closer than you expected. Behavioral tactics depend on conditions you cannot always control.
A physical filter removes that variable. The micro-louver layer does not care how crowded the lounge is or where the nearest seat is. It blocks the angle, consistently, every time the filter is attached. The practical benefit reviewers describe is not dramatic — it is the removal of a low-grade background concern that lets you focus on the work in front of you.
The one honest caveat: a filter is not a complete solution. Someone directly behind you still has a view. That is why the seat-against-the-wall habit matters even when you have a filter attached. The two approaches work together, not as substitutes for each other.
Clarmuse privacy screens for MacBook travelers
Clarmuse builds magnetic privacy screens for the two MacBook models most commonly used by traveling professionals. The MacBook Air 15.3" and MacBook Pro 16.2" versions fit their respective models precisely, attach without adhesive, and weigh under 65 g. That combination makes them practical for daily carry without adding bulk to a travel bag.
- Magnetic snap-on: attaches in under three seconds, removes cleanly with no residue
- Model-specific fit: cut to the exact bezel dimensions of each MacBook, not a generic diagonal
- Lightweight: 40–65 g adds negligible weight to a carry-on setup
Both products ship with a protective storage sleeve. If the size is not right, check the product page for model compatibility before ordering. Visit the MacBook Air 15.3" product page or the MacBook Pro 16.2" product page to confirm fit and place an order.
Useful sources
- Clarmuse — MacBook Air 15.3" Privacy Screen: Product page with model fit details, attachment type, and purchase flow.
- Clarmuse — MacBook Pro 16.2" Privacy Screen: Same for the MacBook Pro 16.2" model.
- Laptop visual security for MacBook users: Practical techniques for preventing unauthorized screen viewing in public spaces.
- Screen privacy for international travel: Covers trade-offs and limitations of privacy screens in high-traffic travel environments.
- Shoulder-surfing in cybersecurity — GeeksforGeeks: Technical and behavioral overview of visual data theft.
- Airport security habits — AOL/security experts: Expert advice on reducing visual and network exposure in transit.
FAQ
Is there a screen protector that blocks side views?
Yes. Privacy screen protectors use a micro-louver layer to block visibility beyond roughly 30°–60° from center, so seatmates and aisle passers see a dark panel while the person directly in front has a clear view.
Can you buy a privacy screen at the airport?
Occasionally. Some terminals offer kiosk services for smartphone screen protectors, but laptop-specific magnetic privacy screens are rarely stocked at U.S. airports. Buying before travel from a brand site or online retailer is more reliable and guarantees the correct model fit.
Do privacy screens reduce screen brightness?
Yes. Most magnetic privacy screen models reduce brightness by about 10%–20%. Lowering your MacBook’s brightness by one notch after attaching the filter compensates for most of the difference.
How do you make a MacBook screen invisible to others in a lounge?
No filter makes a screen fully invisible, but combining a wall-facing seat, a slight screen tilt toward you, and a magnetic privacy screen like those from Clarmuse reduces side-angle visibility to near zero for anyone not sitting directly in front of you.
Are Clarmuse privacy screens compatible with all MacBook models?
Clarmuse currently offers model-specific screens for MacBook Air 15.3" and MacBook Pro 16.2". Each is cut to the exact bezel dimensions of its respective model, not a generic screen size. Check the product page for your specific MacBook before ordering.


