

Reposition first, buy nothing yet. Move so the window is at your side (90°), micro-tilt the MacBook screen down a few degrees, and soften the incoming light. That sequence fixes most window-seat glare before any product enters the picture.
- Mirror test: Hold a small mirror flat against your screen at eye level. If you see the window reflected, your screen can “see” it too — and so can anyone sitting beside you.
- Micro-tilt: Tilt the screen down 5–10° until reflections drop toward your lap rather than your eyes.
- Privacy filter (optional last step): If side-angle visibility is still a concern after repositioning, a model-specific magnetic privacy screen for your MacBook is the most reliable fix.
Table of Contents
- Why window seats make your MacBook screen glarey and visible from the side
- The reliable sequence that fixes most window-seat glare
- Anti-glare protectors vs. privacy filters: what each does and when to choose
- How matte coatings and privacy louvers actually work
- Step-by-step setup checklist for your MacBook at a window seat
- What to expect after fixes, and how to test side-angle privacy
- Quick buying checklist for MacBook users
- Key Takeaways
- Why geometry always comes before products
- Clarmuse magnetic privacy screens for window-seat MacBook use
- Useful sources
- FAQ
Why window seats make your MacBook screen glarey and visible from the side
Two separate problems happen at a window seat, and most people conflate them. The first is mirror glare: a bright light source at the wrong angle creates a specular reflection on the glossy MacBook display, producing a bright patch that obscures content. The second is veiling glare: the bright background forces your eyes to adapt to the ambient light level, which makes the screen look washed out even when no direct reflection is present.
The geometry rule: A bright source directly behind or in front of you is the worst-case scenario. A window behind you reflects straight off the screen into your eyes. A window in front forces constant contrast readjustment. A window at your side, by contrast, sends light across the screen rather than into it — which is why perpendicular placement is the starting fix, not a finishing touch.
Side-angle visibility compounds both problems. When a bright background raises the overall luminance of the scene, your screen content becomes easier to read from off-axis angles — the contrast between lit and unlit pixels is visible to anyone nearby. Glossy MacBook displays are particularly susceptible because they reflect more light than matte surfaces, amplifying both effects simultaneously.
The reliable sequence that fixes most window-seat glare
Most perceived glare is a geometry and contrast problem, not a hardware one. Work through this order before reaching for any product.
- Rotate so the window is at your side. Position the window at your 3 o’clock or 9 o’clock. This eliminates direct reflections from the glass and reduces the contrast differential between the bright source and your screen.
- Micro-tilt the screen down 5–10°. A small downward tilt redirects reflections toward your lap. This single adjustment often removes moving reflections that brightness changes cannot fix.
- Soften the window light. Add a sheer curtain or angle the blinds to diffuse direct sunlight. A small bias light placed behind the MacBook raises the ambient brightness around the screen, reducing the perceived contrast between screen and background.
Pro Tip: After completing the sequence, move your head 10–15 cm left and right. If reflections reappear at the edges of that range, you need either a deeper tilt or additional diffusion — not a brighter screen.
Anti-glare protectors vs. privacy filters: what each does and when to choose
These two product families solve different problems, and choosing the wrong one wastes money.
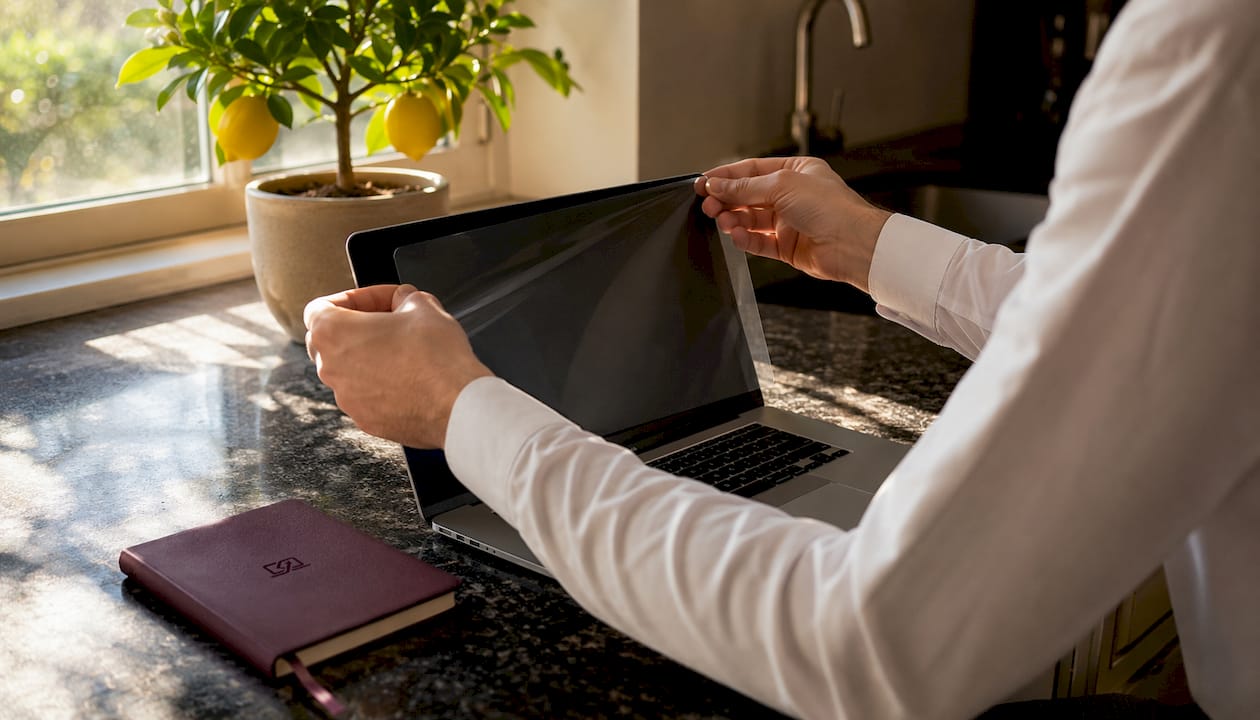
Anti-glare (matte) protectors apply a matte surface treatment that diffuses incoming light, scattering specular reflections across a wider angle so no single bright patch forms. The trade-off is a slight softening of image sharpness compared to a bare glossy display. They do not meaningfully restrict what a side viewer can see — they reduce mirror glare for the person sitting in front of the screen, not for the person sitting beside it.
Privacy filters work differently. Micro-louver technology blocks off-axis light physically, narrowing the effective viewing cone so that content is visible only within roughly ±30° of center. The cost is a noticeable reduction in screen brightness and some color shift at the edges of the permitted viewing angle. For a MacBook user in a café or on a train, that trade-off is often worth it.
The practical decision: fix geometry first. Use an anti-glare protector when reflections are the primary complaint and privacy is not a concern. Choose a privacy filter when side-angle visibility is the actual problem. For shared-space MacBook use, privacy filters address the issue that repositioning alone cannot fully solve.
How matte coatings and privacy louvers actually work
| Feature | Matte / Anti-Glare Coating | Privacy Filter (Micro-Louver) |
|---|---|---|
| Mechanism | Diffuses incident light across surface | Blocks off-axis light with physical louvers |
| Reflection reduction | High (specular → diffuse) | Moderate (reduces ambient reflection) |
| Side-angle privacy | None | Strong (typically ±30° viewing cone) |
| Brightness impact | Minimal | Noticeable dimming |
| Sharpness impact | Slight softening | Minimal at center |
| Best use case | Bright rooms, solo work | Shared/public spaces |
Matte coatings scatter incoming rays so the eye perceives no single bright reflection point. Privacy louvers work like a venetian blind at the pixel level: light traveling at steep angles hits the louver walls and is absorbed rather than transmitted. Ergonomic guidance recommends a viewing distance of 18–24 inches and sitting at right angles to windows — both of which align with the geometry-first approach above. A 5–10° screen tilt removes most moving reflections within that distance range.
Step-by-step setup checklist for your MacBook at a window seat
Run through this before opening a document.
- Pre-setup: Do the mirror test. Confirm the window is at your side, not in front of or behind you.
- Rotate the laptop so the window is perpendicular (3 o’clock or 9 o’clock position).
- Micro-tilt the screen 5–10° downward until the mirror test shows no window reflection.
- Add diffusion: Pull a sheer curtain, angle the blinds, or apply a light-filtering shade to soften direct sunlight without blocking it entirely.
- Set screen brightness to match the ambient room light — not minimum, not maximum. Hold a white sheet of paper next to the screen; the screen’s white background should look similar in brightness.
- Posture-proof: Move your head 10–15 cm in each direction. Reflections that reappear at the edges of normal head movement need a deeper tilt or more diffusion.
For MacBook-specific glare causes and model-level fixes, the MacBook screen glare guide covers additional device-level considerations.
What to expect after fixes, and how to test side-angle privacy
Geometry fixes work fast. Repositioning and micro-tilting typically resolve mirror glare within seconds. Diffusion takes a minute to adjust but produces consistent results across the day — more consistent, in fact, than blinds alone, because window tinting acts at the source rather than reactively.
Side-angle privacy test: Have someone walk slowly past your MacBook at arm’s length while you keep your screen at normal brightness. Ask them to note at what angle your content becomes readable. Alternatively, use the mirror test: hold the mirror at the side angle a café neighbor would occupy and check whether screen content is visible. A privacy filter should make content unreadable beyond roughly ±30° from center.
Some trade-offs are unavoidable. Matte protectors soften contrast slightly. Privacy filters dim the display noticeably and narrow the comfortable viewing angle. Heavy diffusion can flatten the light in the room. Expect to tune brightness upward after adding a privacy filter — dimming the screen to compensate for glare increases eye effort rather than reducing it.
Quick buying checklist for MacBook users
- Model-specific fit is non-negotiable. Magnetic privacy screens align to the exact bezel dimensions of each MacBook. The available sizes cover current common MacBook Air and Pro models, as well as the Neo 13.0" variant. A generic cut will not align correctly with the magnetic attachment points.
- Magnetic vs. adhesive: Magnetic attachment allows quick on/off without residue — practical for travel and for switching between private and shared environments. Adhesive films are permanent and less suitable for travel-focused MacBook use.
- Thinness and case compatibility: A thin filter adds negligible bulk and typically does not interfere with most MacBook cases or sleeves.
- Price range: Basic anti-glare films start around $10–$20. Branded magnetic privacy screens for MacBook models typically fall in the $40–$80 range, reflecting the model-specific engineering and magnetic alignment system.
Key Takeaways
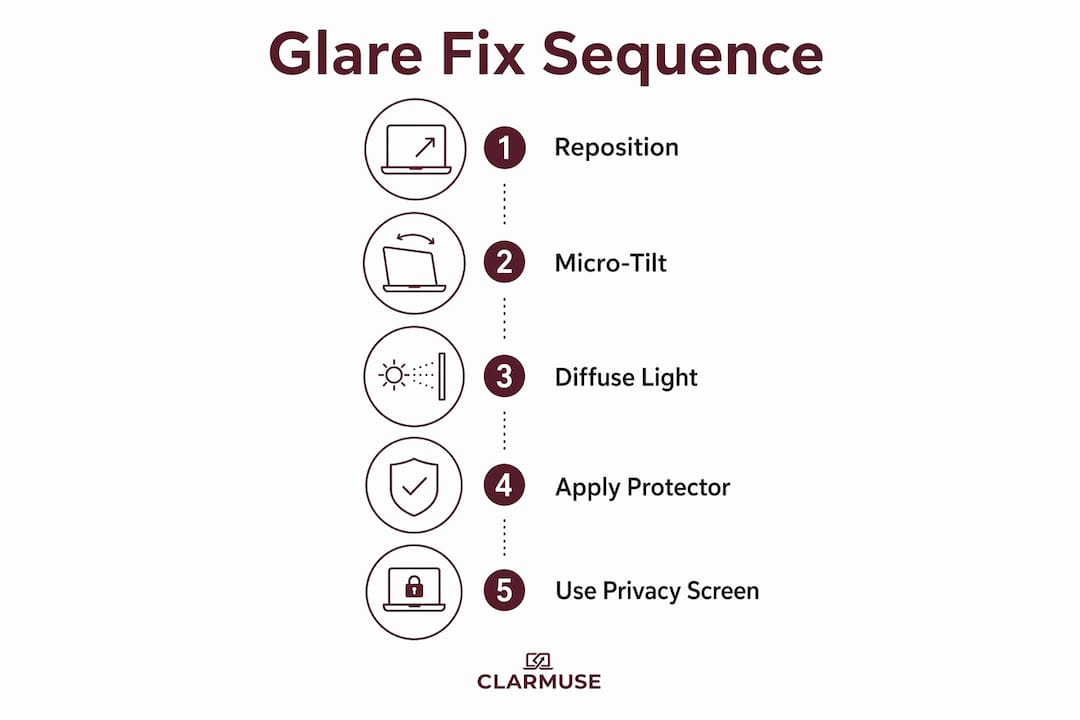
Geometry fixes (reposition, micro-tilt, diffuse) solve most window-seat glare problems without any product; add a MacBook-specific magnetic privacy filter only when side-angle visibility remains a concern after those steps.
| Point | Details |
|---|---|
| Reposition first | Place the window at your side (90°) before adjusting any screen settings or buying accessories. |
| Micro-tilt removes reflections | A 5–10° downward tilt redirects mirror reflections toward your lap and stabilizes clarity across normal head movement. |
| Anti-glare vs. privacy filter | Matte coatings reduce mirror glare; privacy filters (micro-louvers) restrict side-angle visibility — choose based on your actual problem. |
| Viewing distance and posture | Sit 18–24 inches from the screen and posture-proof by moving your head 10–15 cm to confirm reflections do not return. |
| Clarmuse magnetic fit | Clarmuse magnetic privacy screens are sized for specific MacBook models (Air 13.6", Air 15.3", Pro 14.2", Pro 16.2", Neo 13.0") for correct alignment and full coverage. |
Why geometry always comes before products
The geometry-first sequence is not a budget compromise. Repositioning and micro-tilting cost nothing and often produce a more stable result than any film or filter applied to a badly placed laptop. Products solve residual problems; they do not substitute for correct placement.
That said, there is a category of problem that geometry cannot fully address: side-angle visibility in genuinely crowded spaces. A café table where strangers sit within arm’s length, a train seat with no control over who sits beside you, an airport lounge where the next chair is two feet away. In those situations, a magnetic privacy screen is the right next step — not because the geometry failed, but because the environment makes correct geometry impossible to maintain.
Clarmuse builds magnetic privacy screens specifically for MacBook Air and Pro models, with model-specific sizing that ensures the magnetic attachment aligns correctly. For MacBook users who have already worked through the geometry sequence and still need privacy, that fit precision is what separates a reliable solution from a generic film that shifts or leaves gaps.
Clarmuse magnetic privacy screens for window-seat MacBook use
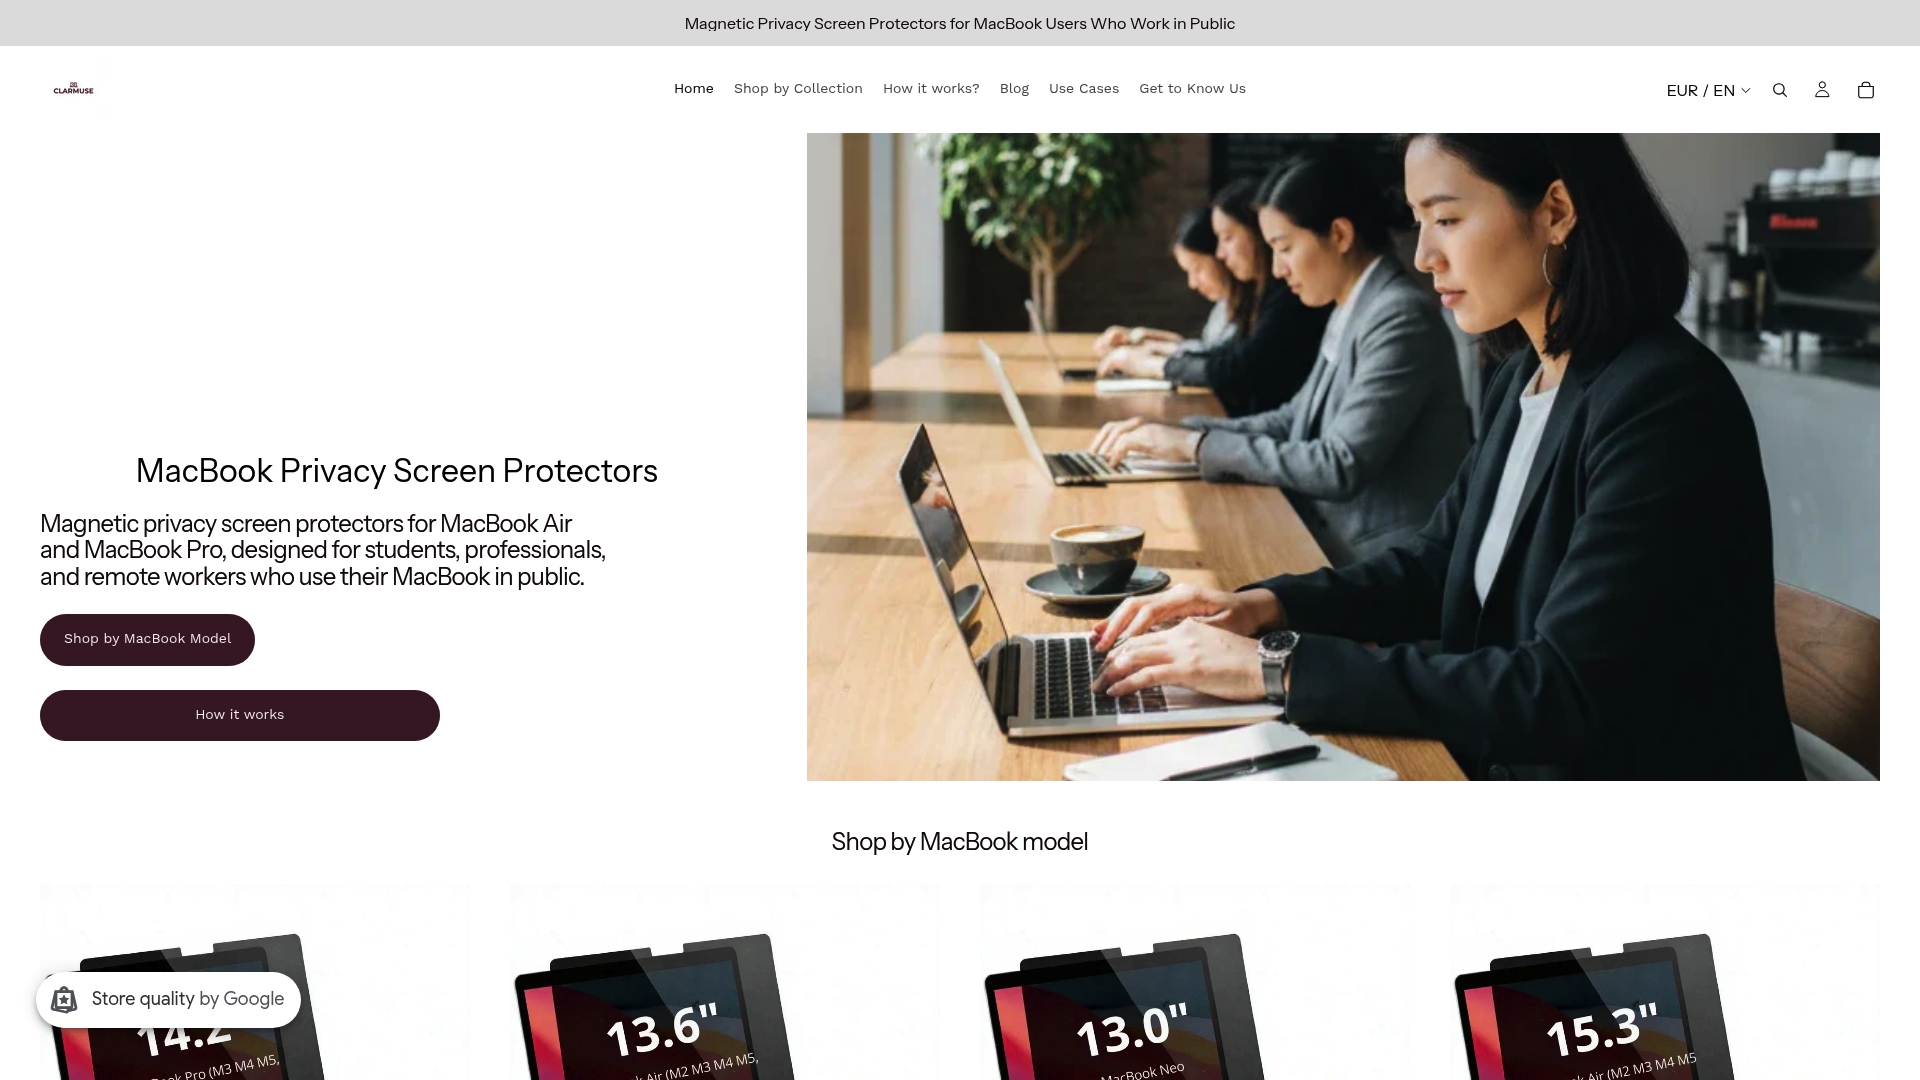
After geometry and diffusion are in place, a Clarmuse magnetic privacy screen is the fastest way to close the remaining side-angle visibility gap. The magnetic attachment system snaps onto your MacBook without adhesive, removes in seconds, and adds no meaningful bulk to a bag or sleeve. Model-specific sizing means the filter covers the full display area with correct alignment — no gaps at the corners, no misaligned edges.
Available for MacBook Air 13.6", Air 15.3", Pro 14.2", Pro 16.2", and Neo 13.0". Select your model on the Clarmuse product page to confirm compatibility and place an order.
Useful sources
- Mirror Test and geometry sequence: Worknest Studio — Monitor Glare Fix Guide
- Desk placement and reflection rules: Worknest Studio — Desk Against a Window Setup
- Anti-glare screen trade-offs: HP — Anti-Glare Screen Pros and Cons
- Ergonomic distance and placement guidance: Beacon Mutual — Ergonomic Tips for Reducing Glare
- Window tinting for consistent glare control: Sun Stoppers — Reduce Computer Screen Glare
- MacBook-specific magnetic privacy screens: Clarmuse — MacBook Air 13.6" Privacy Screen
FAQ
Why does a window seat make my MacBook screen harder to read?
A bright window behind or in front of you creates mirror reflections on the glossy display and forces your eyes to adapt to high ambient light, both of which reduce screen legibility. Placing the window at your side (90°) eliminates the direct reflection path.
Does micro-tilting the screen actually fix glare?
A downward tilt of 5–10° redirects specular reflections toward your lap rather than your eyes, and typically stabilizes clarity across normal head movement without requiring any accessories.
What is the difference between an anti-glare protector and a privacy filter?
Anti-glare (matte) protectors diffuse incoming light to reduce mirror reflections for the person in front of the screen. Privacy filters use micro-louver technology to block off-axis viewing, restricting what side viewers can see — at the cost of some screen brightness.
Which MacBook models does Clarmuse make privacy screens for?
Clarmuse offers model-specific magnetic privacy screens for MacBook Air 13.6" (M2–M5, 2022–2026), Air 15.3", Pro 14.2", Pro 16.2", and Neo 13.0".
Should I dim my MacBook screen to reduce glare at a window seat?
No. Dimming increases eye effort rather than reducing glare. Match screen brightness to the ambient room light instead — the screen’s white background should look similar in brightness to a white sheet of paper held next to it.


