

Studying privately in a university library with your MacBook is defined as combining a reserved quiet space with a configured digital environment to produce focused, uninterrupted work. Most students treat the library as a passive backdrop. The students who get the most out of it treat it as a system: book the right room, configure the right tools, and show up prepared. This guide covers every layer of that system, from MacBook study setup to room booking strategy, so you can study privately and productively every time.
How to reserve private study rooms in a university library with your MacBook
Private study rooms are the most underused resource in any university library. Most students either don’t know how to book them or wait too long. Getting this step right determines whether you get a quiet room or end up at a noisy open table.
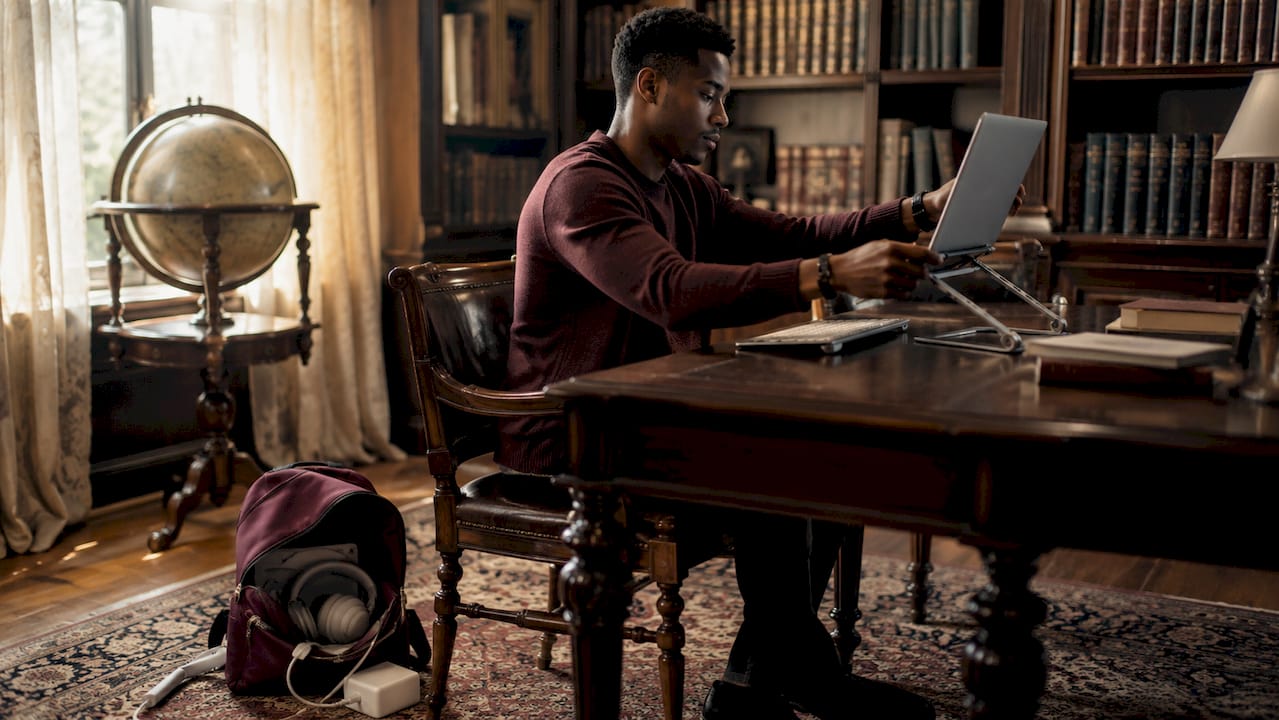
Most university libraries use online platforms like LibCal for booking private study rooms, typically in 2–3 hour blocks with advance windows of 7–14 days depending on the institution. That window matters more than most students realize. The best rooms, the ones with natural light, a door that closes, and a power outlet, fill up within hours of the window opening.
Follow these steps to secure a room consistently:
- Find your library’s booking platform. Most universities use Springshare LibCal, though some run their own portals. Check your library’s homepage or ask at the front desk.
- Set a calendar alert for the exact moment the booking window opens. Seasoned students book immediately when the window opens, not the day before the session.
- Book in 2–3 hour blocks. Longer blocks are rarely available and often violate usage limits. Two focused hours beats four distracted ones.
- Check cancellation policies before booking. Private rooms are typically free but carry cancellation penalties at some institutions. A no-show can lock you out of future bookings.
- Have a backup plan. If your preferred room is taken, identify two or three alternative quiet areas in the library in advance.
Pro Tip: Set a recurring weekly reminder on your MacBook’s Calendar app to book your study rooms the moment the 7-day or 14-day window opens. Treat it like a class registration.
The most common booking mistake is waiting until the day before and then being surprised by a full calendar. Treat room booking as the first step of your study session, not an afterthought.
What is the best MacBook setup for private library study?
A well-configured MacBook is the difference between a productive session and two hours of tab-switching. The goal is to reduce friction before you sit down, not after.
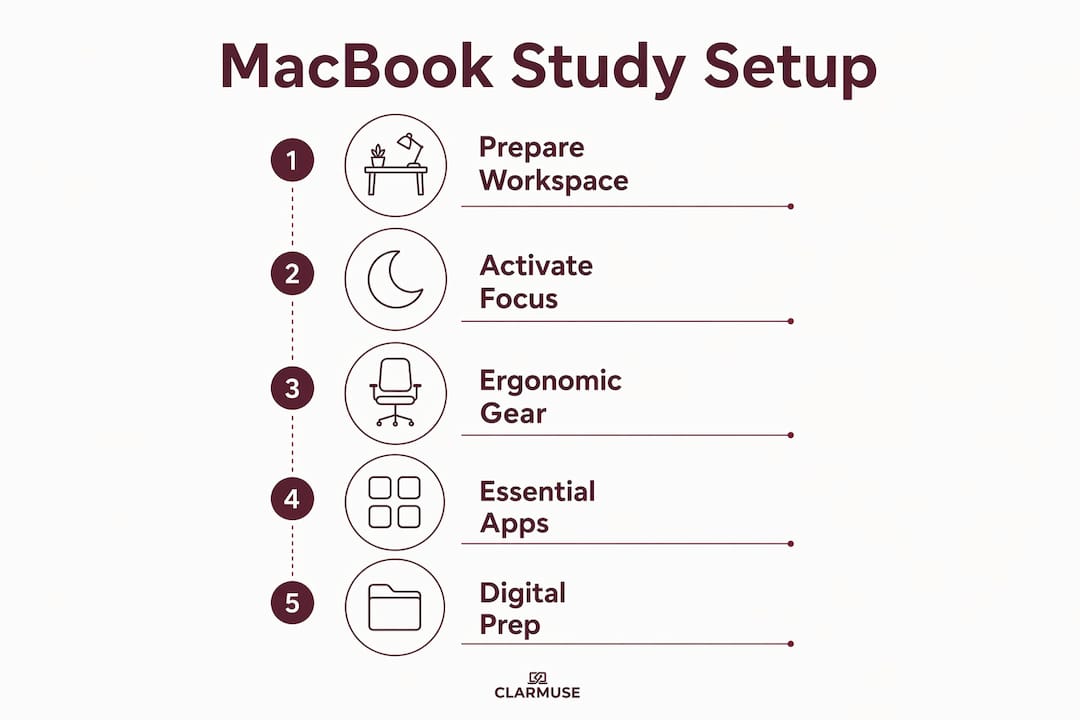
macOS Focus modes mute non-essential notifications and Stage Manager groups related apps into workspaces, which cuts tab fatigue significantly during long study blocks. Technical students in particular benefit from these features to avoid cognitive overload across multiple windows. Set up a dedicated “Study” Focus mode that silences everything except your timer app and any collaboration tools your course requires.
Key configuration steps for your MacBook:
- Activate Focus mode automatically. Set your Study Focus to trigger when you connect to your library’s Wi-Fi network. Automating Focus mode on library Wi-Fi creates a mental conditioning effect that primes your brain for deep work the moment you connect.
- Use Stage Manager. Group your research browser, notes app, and citation tool into one workspace. Switch between them without losing context.
- Install a website blocker. Apps like Freedom or Cold Turkey block distracting sites on a schedule. Set a block for the duration of your session before you leave home.
- Set up your citation tool. Zotero integrates directly with Safari and Chrome on macOS, saving sources with one click. Set it up before your session, not during it.
- Silence your phone physically. Place it face-down in your bag, not on the desk. Out of sight reduces the urge to check it by a measurable margin.
Pro Tip: Create a macOS Shortcut that opens your study workspace, activates Focus mode, and launches your timer app with a single click. Name it “Library Mode” and put it in your Dock.
Bringing an external keyboard and laptop stand reduces physical fatigue during extended sessions. Ergonomic posture sustains concentration. A MacBook propped on a stand with a separate keyboard keeps your neck neutral and your eyes at screen level, which matters after the first hour.
What to pack for a private MacBook library study session
Preparation before you leave your dorm or apartment determines the quality of your session. Arriving without a charger or a clear plan wastes the room you worked to book.
Critical gear for productive library sessions includes a MacBook charger, a backup power bank, noise-canceling headphones, a refillable water bottle, and a clear study plan. Each item solves a specific failure mode. No charger means a dead MacBook at the 90-minute mark. No headphones means ambient noise derails your focus. No study plan means you spend the first 20 minutes deciding what to do.
| Item | Why it matters |
|---|---|
| MacBook charger | Prevents session cutoff; outlets in private rooms are not guaranteed |
| Power bank | Backup if the outlet is occupied or unavailable |
| Noise-canceling headphones | Blocks residual hallway noise even in private rooms |
| Refillable water bottle | Hydration sustains concentration; most libraries prohibit open food |
| Printed or downloaded materials | Wi-Fi outages happen; offline access keeps you working |
| Privacy screen protector | Blocks side-angle viewing in glass-walled rooms or shared corridors |
A MacBook privacy screen is worth adding to this list even for private rooms. Glass walls and open corridors mean your screen is visible to people walking past. A magnetic privacy filter from Clarmuse attaches and detaches in seconds without leaving residue.
Digital preparation matters as much as physical gear. Download your readings and lecture slides before you leave. Sync your notes app so everything is available offline. Create a simple study plan: one primary task, one secondary task, and a clear stopping point. Library etiquette also applies inside private rooms. Type quietly, avoid phone calls, and leave the room as you found it.
Pro Tip: Pack your library bag the night before. Treat it like packing for a morning workout. The less friction between you and the session, the more likely you are to show up.
How do you stay focused during a private library study session?
Booking the room and configuring your MacBook gets you to the starting line. Staying focused for the full session is the harder skill.
Context-dependent memory is the cognitive mechanism behind why libraries work. Your brain associates the physical environment with studying, which lowers the activation energy needed to enter deep focus. Pairing this with a consistent MacBook setup, same apps, same layout, same Focus mode, reinforces the effect every session.
“The library environment itself is a productivity tool. When you study in the same space consistently, your brain starts to treat sitting down there as a signal to focus. Add a MacBook Focus mode that activates automatically on library Wi-Fi, and you’ve built a two-layer trigger that most students never think to use.”
When distractions do appear, address them with a system rather than willpower:
- Use the Pomodoro Technique. Work for 25 minutes, break for 5. Apps like Be Focused on macOS run this automatically. It keeps sessions sustainable and gives your brain scheduled rest.
- Stow your phone in your bag. Not on silent on the desk. In the bag. The physical distance reduces checking behavior more than any app.
- Choose your seat deliberately. In open areas, face a wall rather than foot traffic. In private rooms, position your screen away from the glass wall.
- Know when to leave. If noise, temperature, or a technical issue makes the session unworkable, relocate rather than push through. A 20-minute walk to a better spot beats 90 minutes of distracted sitting.
For students choosing between laptop options for intensive study, the MacBook’s battery life and macOS Focus features make it a strong fit for long library sessions.
Key Takeaways
Studying privately in a university library with your MacBook requires booking rooms strategically, configuring macOS for focus, packing the right gear, and using context-dependent memory to sustain concentration.
| Point | Details |
|---|---|
| Book rooms early | Use LibCal or your library’s platform; set alerts for the 7–14 day booking window. |
| Configure macOS before you arrive | Activate Focus mode, Stage Manager, and a website blocker before the session starts. |
| Pack a complete kit | Charger, power bank, headphones, water, and a written study plan are non-negotiable. |
| Use context-dependent memory | Study in the same space consistently to train your brain to focus on arrival. |
| Protect your screen | A magnetic privacy filter blocks side-angle viewing in glass-walled or open library spaces. |
What I’ve learned from years of library study sessions
The conventional advice on library studying focuses on silence and seat selection. That misses the bigger picture.
The library’s real value is environmental conditioning. When you study in the same space repeatedly, your brain stops fighting the transition into focus. The room does part of the work for you. Most students never stay consistent long enough to feel this effect, because they treat the library as a last resort rather than a first choice.
The MacBook adds a second layer to this. A properly configured macOS setup, with Focus mode, Stage Manager, and a blocked browser, removes the micro-decisions that drain attention before you even open your notes. The students I’ve watched struggle in libraries are almost always fighting their own tools. Notifications firing, tabs multiplying, phones face-up on the desk.
My honest recommendation: treat your first three library sessions as setup sessions. Book the same room, use the same MacBook configuration, sit in the same seat. By the fourth session, you’ll notice the focus comes faster. That’s context-dependent memory working. It’s not a trick. It’s how the brain actually operates.
— Gabriel
Screen privacy for your MacBook in library spaces
Every library study session involves some degree of shared space. Even private rooms have glass walls, and corridors mean passersby can see your screen.
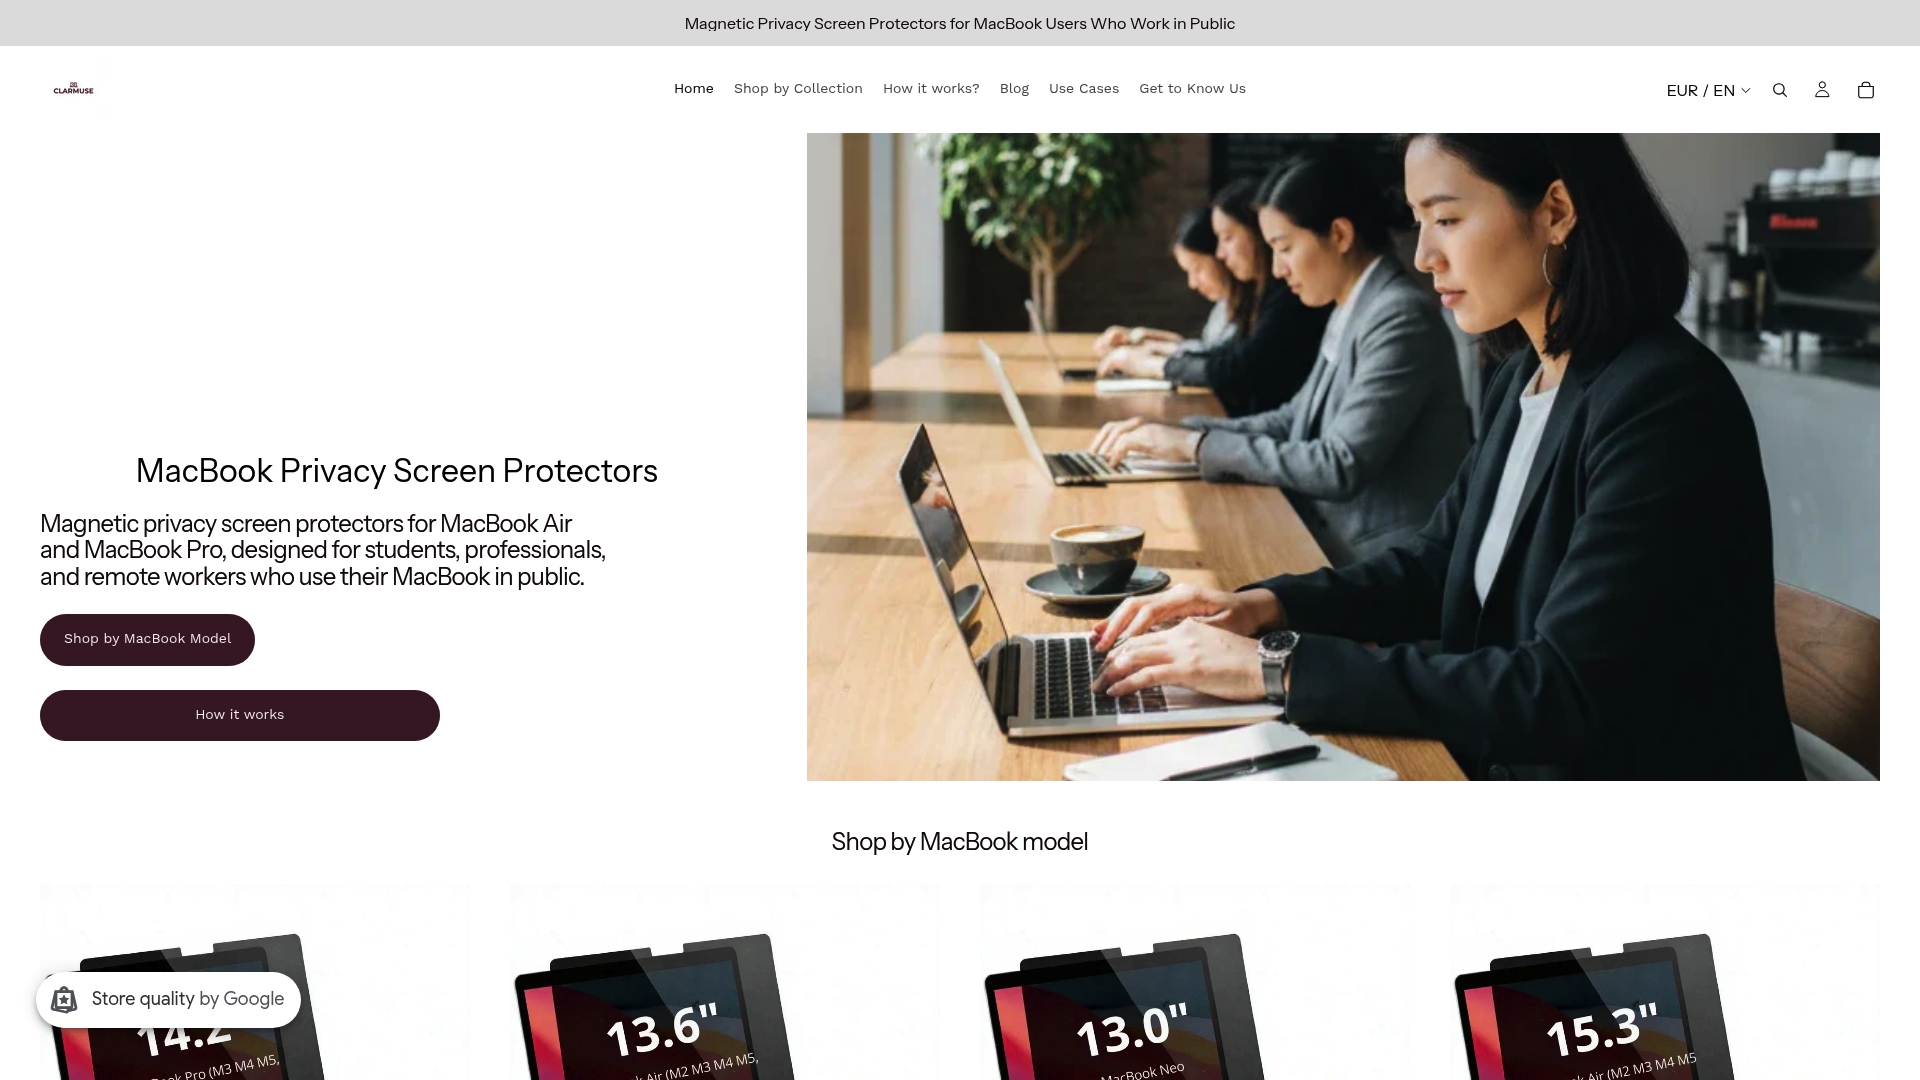
Clarmuse makes magnetic privacy screen protectors designed specifically for MacBook Air and MacBook Pro models. They attach with magnets, require no adhesive, and reduce side-angle visibility without affecting your straight-on view. For students working with research notes, exam drafts, or personal documents, that side-angle protection matters. Browse the full range for your model, including the MacBook Pro 16.2" privacy screen and the MacBook Air 15.3" privacy screen, and find the right fit for your setup.
FAQ
How do I book a private study room at my university library?
Most university libraries use platforms like Springshare LibCal to manage room reservations. Log in with your student credentials, select a 2–3 hour block, and book as soon as the 7–14 day advance window opens.
What MacBook settings help most for studying in a library?
Activating macOS Focus mode and Stage Manager before your session reduces notifications and organizes your apps into focused workspaces. Setting Focus mode to trigger automatically on your library’s Wi-Fi creates a consistent mental cue for deep work.
Do I need a privacy screen in a private library study room?
Private rooms with glass walls or open corridors still expose your screen to passersby. A magnetic privacy filter, like those from Clarmuse, blocks side-angle viewing without affecting your own straight-on visibility.
What should I bring to a MacBook library study session?
Bring your charger, a power bank, noise-canceling headphones, a refillable water bottle, and a written study plan. Download all materials in advance in case the library Wi-Fi is slow or unavailable.
How long should a private library study session be?
Most university libraries limit private room bookings to 2–3 hours per session. Two focused hours with a clear study plan consistently outperforms longer, unstructured sessions.


