

A personalized MacBook workspace is defined as a physical and digital environment configured to match your specific workflow, tools, and shared-space conditions. Most people treat their MacBook as a single, undifferentiated desktop. That approach creates friction every time you switch tasks, move locations, or sit down next to someone in a café or coworking space. A properly configured setup reduces that friction to near zero. This article covers the hardware, digital tools, automation techniques, and privacy strategies that make a MacBook workspace genuinely yours.
What physical hardware and desk organization are essential for a personalized MacBook workspace?
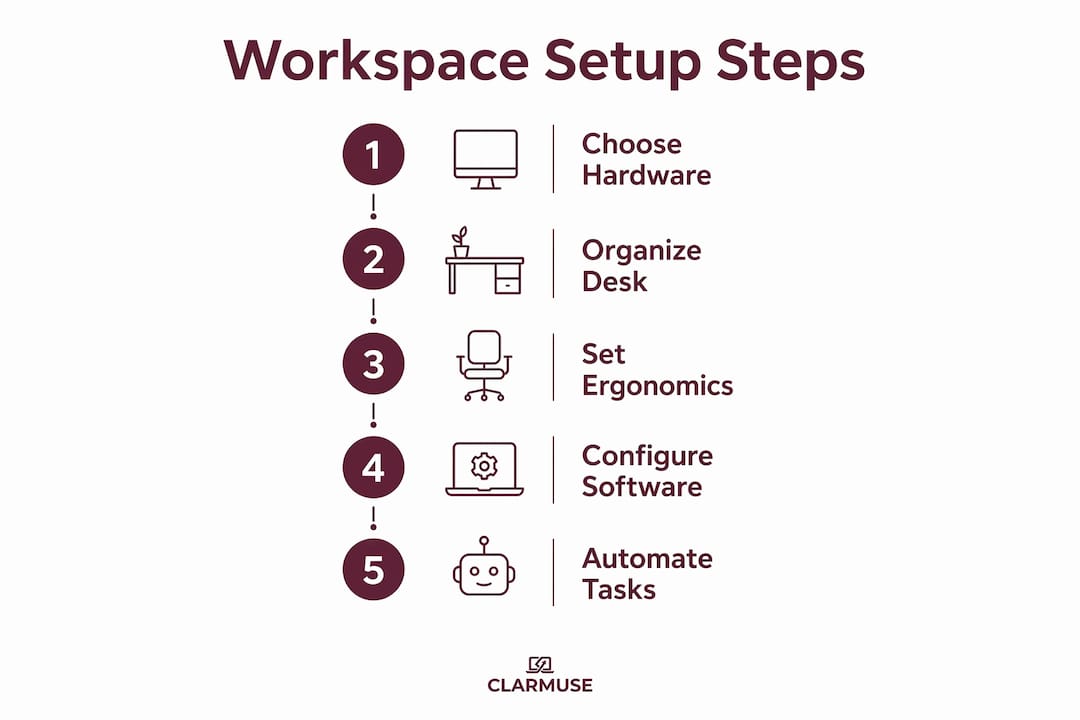
The foundation of any MacBook productivity setup is the physical layer. Get this wrong and no amount of software configuration will save you.
Ergonomic stands and display positioning
A MacBook screen at desk level forces your neck down at roughly 30 degrees. Over a full workday, that angle creates real strain. A vertical stand or adjustable monitor arm raises the display to eye level and immediately corrects posture. When running in closed-lid (clamshell) mode, vertical stands require airflow clearance to prevent overheating. The MacBook’s cooling relies partly on keyboard surface dissipation, so a stand that blocks airflow will throttle performance during demanding tasks.

Docking stations vs. USB-C hubs
The single biggest desk organization upgrade for MacBook users is a Thunderbolt or USB-C dock. A single-cable dock handles power, data, and display simultaneously. That means one cable connects your MacBook to your entire desk setup. USB-C hubs are lighter and cheaper, but most lack the bandwidth for 4K displays at full refresh rates. Thunderbolt docks cost more and deliver more. The right choice depends on whether you run an external monitor above 1080p and how many peripherals you need connected at once.
| Feature | USB-C hub | Thunderbolt dock |
|---|---|---|
| Max display output | 1080p–4K (varies) | 4K–8K at full refresh |
| Power delivery | Up to 100W | Up to 140W |
| Data bandwidth | USB 3.2 (10 Gbps) | Thunderbolt 4 (40 Gbps) |
| Port count | 4–7 ports | 8–12 ports |
| Best for | Travel, light use | Fixed desk, multi-monitor |
Cable management and daily friction
Organized cable management reduces the friction of starting and ending work sessions. Under-desk cable trays, velcro ties, and a single charging address for all devices cut the time you spend untangling before you can start working. In shared environments like coworking spaces or libraries, a clean cable setup also signals professionalism and prevents accidental disconnections from foot traffic.
Pro Tip: Label your cables at both ends with small adhesive tags. When you pack up quickly in a shared space, you will never grab the wrong cable again.
How can you optimize your MacBook digital workspace for multitasking and context switching?
The macOS digital workspace is the layer most people underuse. macOS Spaces, Focus Modes, and named contexts are the three tools that separate a productive setup from a cluttered one.
macOS Spaces and virtual desktops
macOS Spaces lets you create multiple virtual desktops, each holding a different set of open windows. A common setup assigns one Space to communication apps (Mail, Messages, Slack), one to a primary project, and one to reference material. Switching between Spaces with a three-finger swipe or a keyboard shortcut takes under a second. The key is assigning apps to specific Spaces permanently so they always open in the right place.
Focus Modes and workspace switching
macOS Focus Modes do more than silence notifications. They filter which apps and contacts can reach you, and they integrate with the Lock Screen and Home Screen on connected Apple devices. Setting a “Deep Work” Focus Mode that blocks all communication apps while you are in your primary project Space creates a genuine context boundary. Named contexts that visually and technically shift to match current projects reduce cognitive fatigue. That reduction is measurable in how long you can sustain focused work before needing a break.
Common mistakes in digital workspace organization
- Leaving all apps open in a single Space creates visual noise that pulls attention away from the current task.
- Not assigning apps to fixed Spaces means every restart scrambles your layout.
- Using Focus Modes only for Do Not Disturb misses their full potential for workspace switching.
- Relying on mouse navigation for Space switching adds 2–3 seconds per transition. Custom keyboard shortcuts for system actions like app switching and screen tiling cut that time to near zero.
- Building one giant Space for all work instead of project-specific contexts forces your brain to filter irrelevant information constantly.
Pro Tip: Assign Mission Control shortcuts in System Settings so that Control+1 jumps to your communication Space and Control+2 jumps to your project Space. You will stop reaching for the trackpad within a week.
What software tools and automation solutions enable quick restoration of personalized MacBook workspaces?
Manual workspace setup takes time. Automation tools eliminate that time entirely.
Context managers: Ikuna and similar tools
Context managers like Ikuna save and restore app configurations, window layouts, browser tabs, and active Focus Modes with one keyboard shortcut. That means switching from a “Client Work” context to a “Personal Finance” context takes a single keypress. The tool handles everything: which apps are open, where their windows sit on screen, which browser tabs are loaded, and which Focus Mode is active. Professional workflows require this level of bundling because macOS Spaces alone cannot save browser tab states or restore window positions after a restart.
What a full automation setup includes
- App state saving: Which applications are open and in what configuration
- Window layout restoration: Exact screen positions and sizes for each window
- Browser tab groups: Saved tab sets for each named context
- Focus Mode activation: Automatic notification filtering tied to each context
- Keyboard shortcut triggers: One shortcut per context for instant switching
A full workspace context restores in under 5 seconds with this approach. That is the difference between a 30-second manual setup ritual and an instant environment switch.
Advanced automation for power users
Power users who want a fully reproducible system go further. Tools like Nix and nix-darwin allow full system recreation in approximately 30 minutes unattended. This means your entire MacBook configuration, including installed apps, system preferences, and shell environment, can be rebuilt from a single configuration file. For people who work across multiple machines or travel frequently, this removes the anxiety of a lost or replaced laptop entirely.
| Automation level | Tool example | What it restores | Setup time |
|---|---|---|---|
| Basic | macOS Spaces | Window layout only | Manual |
| Intermediate | Ikuna | Apps, tabs, Focus Mode, layout | Under 5 seconds |
| Advanced | Nix + nix-darwin | Full system environment | ~30 minutes unattended |
How to personalize your MacBook workspace setup for shared environments ensuring privacy and comfort?
Working in a café, airport, or coworking space introduces two problems that a home office does not: visual exposure and distraction. Both are solvable with the right configuration.
Screen privacy in shared spaces
Screen visibility from the side is the most common privacy risk in shared environments. A magnetic privacy screen protector limits the viewing angle so that only the person directly in front of the screen can read it. Clarmuse makes model-specific magnetic privacy screens for MacBook Air and MacBook Pro that attach and detach without tools or adhesive. This matters in shared spaces because you can remove the filter when working alone and reattach it in seconds when someone sits nearby.
Open-lid vs. closed-lid mode in shared spaces
Open-lid mode offers communication flexibility while closed-lid mode maximizes desk space and focus. In a crowded café with limited table space, closed-lid mode with a compact external keyboard and mouse frees up significant room. In an airport lounge where you need to stay aware of departure announcements, open-lid keeps the built-in camera and microphone accessible. The right choice depends on your specific shared environment, not a single rule.
Practical tips for shared-space comfort
- Position your screen at a slight backward tilt to reduce glare from overhead lighting.
- Use a compact keyboard and mouse to keep your footprint small at shared tables.
- Activate a Focus Mode before sitting down in a shared space. It signals to connected devices that you are working and blocks non-urgent interruptions.
- Keep cables routed along the table edge rather than across the surface to avoid accidental disconnections.
- Adjust display brightness to match ambient light. A screen that is too bright in a dim café draws attention from nearby people.
Pro Tip: Set up a dedicated “Public Work” Focus Mode that silences all notifications and sets your status to Do Not Disturb on messaging apps. Activate it with one shortcut the moment you open your MacBook in a shared space.
Key takeaways
A well-configured MacBook workspace combines ergonomic hardware, named digital contexts, automation tools, and privacy accessories to reduce setup time and cognitive friction in any environment.
| Point | Details |
|---|---|
| Single-cable docking | A Thunderbolt dock connects power, data, and display through one cable for a clean desk. |
| Named digital contexts | Assign apps to fixed Spaces and use Focus Modes to create project-specific environments. |
| Automation saves time | Tools like Ikuna restore a full workspace context in under 5 seconds with one shortcut. |
| Privacy in shared spaces | A magnetic privacy screen limits side-angle visibility without adding bulk to your setup. |
| Open vs. closed lid | Choose open-lid for communication flexibility and closed-lid for focus and desk space. |
What I have learned from building MacBook workspaces in shared spaces
The biggest shift in how I think about MacBook workspace customization came when I stopped treating my laptop as a single environment. Before that, every task competed for the same screen real estate. Switching from a writing project to a client call meant manually closing and opening apps, hunting for the right browser tabs, and resetting my mental state. It was slow and annoying.
Named contexts changed that. The moment I assigned specific apps, layouts, and Focus Modes to named work states, the cognitive cost of switching dropped sharply. The productivity gains from treating workspaces as contexts are not theoretical. You feel them within the first week.
The physical layer matters more than most people admit. A clean desk with one cable and a properly positioned screen is not an aesthetic choice. It is a functional one. Every piece of clutter or tangled cable is a small tax on your attention each time you sit down.
My advice: start with one change at a time. Set up a Thunderbolt dock first. Then build two named Spaces. Then add a context manager. Trying to rebuild everything at once leads to a half-finished setup that you abandon. Gradual changes stick. And if you work in shared spaces regularly, add a privacy screen for your MacBook early. The confidence of knowing your screen is not readable from the side changes how you work in public in a way that is hard to explain until you experience it.
— Gabriel
Clarmuse magnetic privacy screens for your MacBook setup
A personalized MacBook workspace is not complete without screen privacy in shared environments. Clarmuse makes magnetic privacy screen protectors designed specifically for MacBook Air and MacBook Pro models, with a precise fit for each screen size.
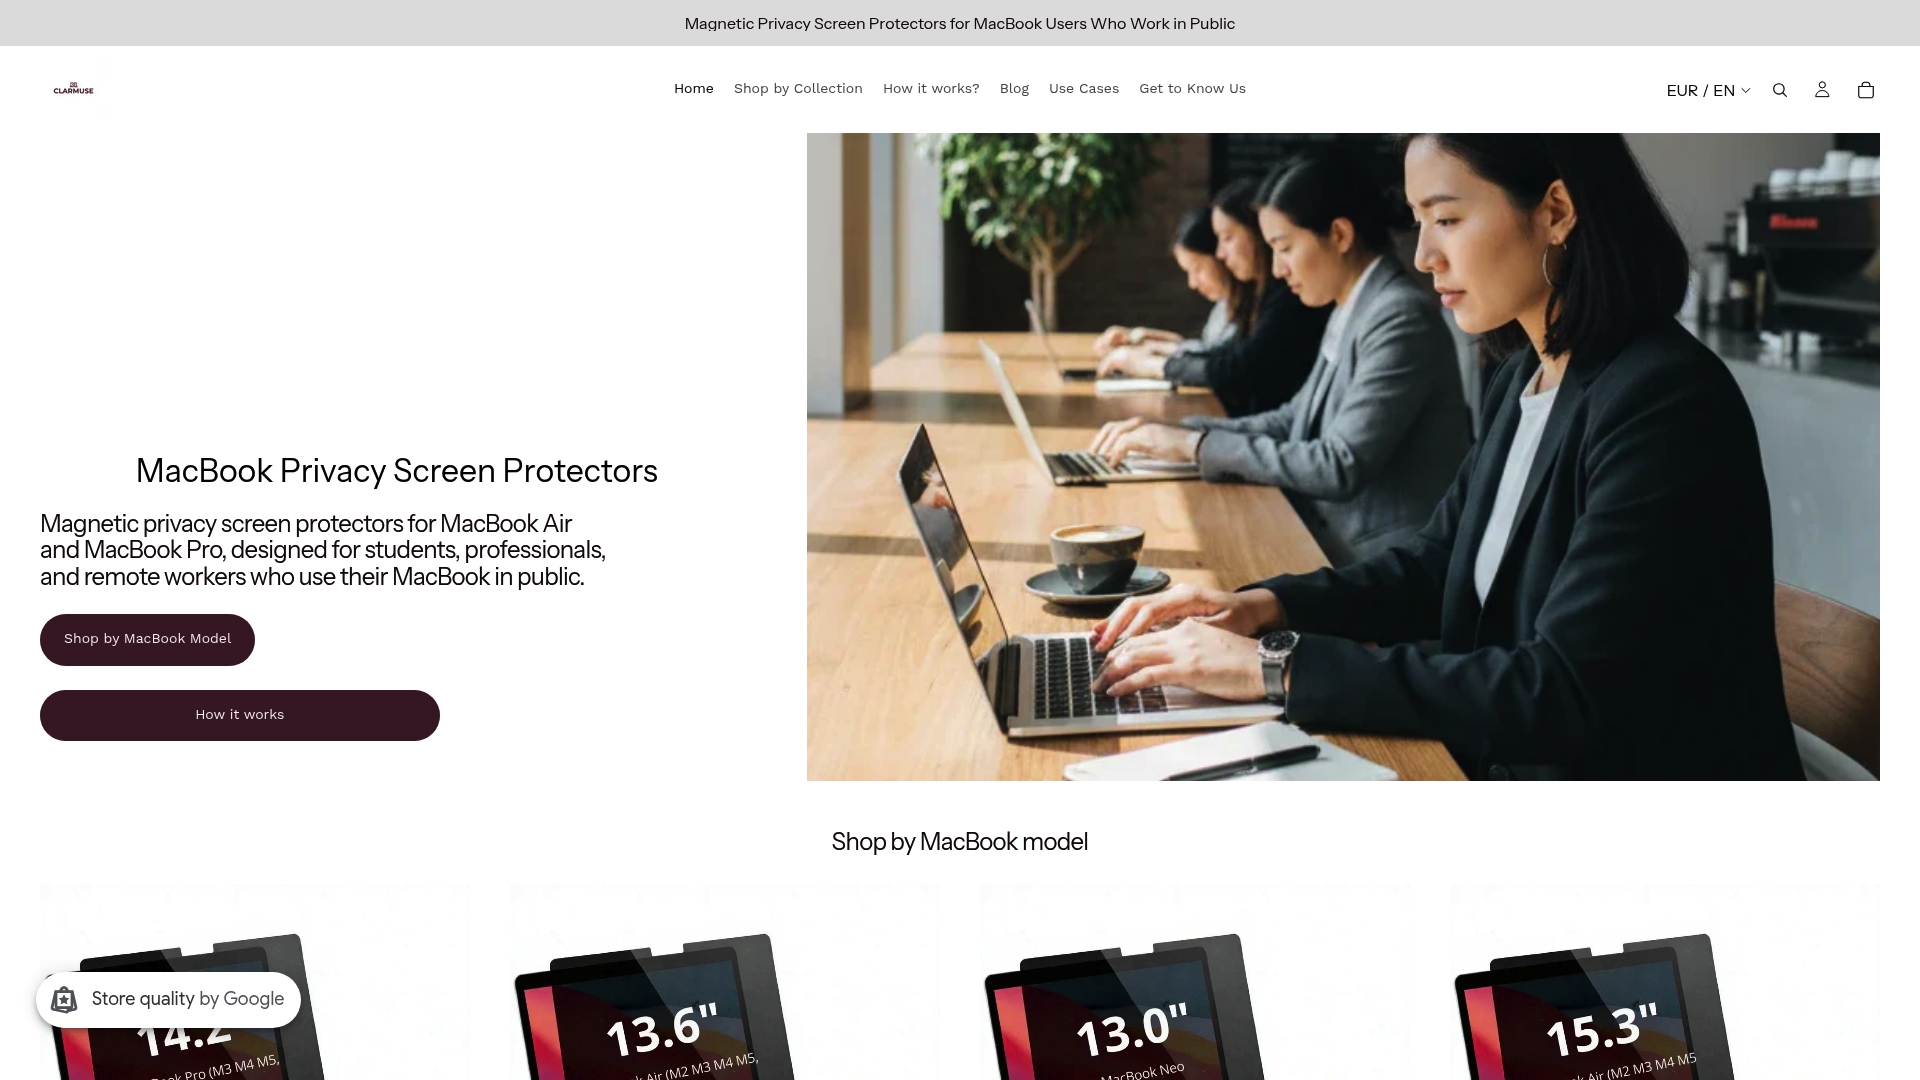
The magnetic attachment system means no adhesive, no residue, and no tools. You attach the screen in seconds and remove it just as fast. Each protector limits side-angle visibility so that only you can read your screen, whether you are in a café, an airport lounge, or an open-plan office. Clarmuse screens are available for the MacBook Pro 16.2", the MacBook Air 13.6", and other current MacBook models. Browse the full MacBook privacy screen collection to find the right fit for your setup.
FAQ
What does it mean to customize your MacBook workspace setup?
Customizing your MacBook workspace setup means configuring both the physical desk environment and the digital macOS environment to match your workflow, tools, and location. This includes hardware like docks and stands, digital tools like macOS Spaces and Focus Modes, and privacy accessories for shared spaces.
How do macOS Spaces help with productivity?
macOS Spaces creates separate virtual desktops, each holding a different set of apps and windows. Assigning apps to fixed Spaces and switching with keyboard shortcuts reduces the time and mental effort needed to change tasks.
What is the fastest way to restore a MacBook workspace context?
Context managers like Ikuna restore a full workspace, including apps, window layouts, browser tabs, and Focus Modes, in under 5 seconds using a single keyboard shortcut.
Should I use open-lid or closed-lid mode in a shared space?
Open-lid mode suits shared spaces where you need camera and microphone access. Closed-lid mode works better when desk space is limited and you want to minimize distractions.
How does a privacy screen improve a MacBook workspace in shared environments?
A magnetic privacy screen limits side-angle visibility so that people sitting beside you cannot read your display. Clarmuse model-specific screens attach and detach without adhesive, making them practical for daily use in cafés, offices, and transit spaces.


