

A minimal laptop setup improves privacy, focus, ergonomic comfort, and portability for MacBook users working or studying in public spaces. Here is what that delivers in practice:
- Reduced shoulder-surfing via side-angle screen visibility reduction (a magnetic privacy screen handles this without adding bulk)
- Stronger attention insulation through the one-window workflow, which limits task-switching and app fatigue
- Better ergonomics for sustained sessions using compact, lightweight accessories
- Faster setup and teardown in cafés, trains, airports, and coworking spaces, typically a short time
Clarmuse magnetic privacy screen protectors, including the Magnetic Privacy Screen Protector for MacBook Pro 16.2", are built specifically for this kind of setup: model-specific fit, magnetic attachment, and no added weight.
Table of Contents
- What each benefit actually does for you in shared spaces
- Exactly what to bring: the minimal kit checklist
- How to set up and pack down fast in any public space
- Ergonomic micro-upgrades that fit in a carry-on
- Security steps that pair with a minimal physical kit
- When a minimal setup is the wrong choice
- Key Takeaways
- Why the “minimal” label undersells what this setup actually does
- Clarmuse magnetic privacy screens for your MacBook model
- FAQ
What each benefit actually does for you in shared spaces
Privacy is the most immediate gain. When you open your MacBook in a café or on a train, anyone seated at an angle can read your screen. A magnetic privacy screen narrows the visible cone to the person directly in front of the display, blocking side-angle views without dimming the screen for you. Sensitive documents, client data, and personal messages stay off neighboring screens. For public workspace privacy, this is the single fastest upgrade.
Focus works differently. The one-window workflow treats your MacBook as a performance zone: one screen, one window, one task at a time. Minimalist tech setups make technology fade into the background so work takes center stage, reducing the constant micro-decisions that drain attention over a session. Fewer open apps means fewer interruptions, fewer context switches, and more usable concentration.
“When time and attention are scarce, simpler setups matter because they help you preserve your most limited resource: reliable execution.” — DiscoverResults
Comfort does not require a large kit. Compact, high-quality input devices and proper screen height are what ergonomics experts emphasize for sustained focus sessions. A low-profile stand that raises the screen to eye level and a compact keyboard that keeps wrists neutral costs almost nothing in bag space.
Portability closes the loop. MacBooks already qualify as ultrabooks: lightweight, long battery life, and clean design that aligns with minimalist travel values. A single reliable device plus a short accessory list consistently outperforms multi-device setups for speed, battery management, and the mental overhead of keeping everything charged and synced.
Exactly what to bring: the minimal kit checklist
A practical public-session kit has three tiers. Keep the must-have tier non-negotiable; treat the rest as optional based on session length and task type.
- MacBook — your only computing device. No tablet backup, no second laptop.
- Model-specific magnetic privacy screen protector — attaches and detaches in seconds; no tools, no adhesive residue.
- Single USB-C charger or compact power bank — one cable, one brick. A 65W GaN charger covers most MacBook models and fits in a jacket pocket.
- Noise-canceling earbuds or headphones — blocks ambient noise without requiring a separate app or configuration.
- Small zip pouch — keeps cables, adapters, and the privacy screen together so teardown is one motion.
- Compact external keyboard (optional) — useful for sessions over two hours; a low-profile mechanical or scissor-switch keyboard adds negligible weight.
- Foldable stand (optional) — raises screen height for better posture; folds flat in the pouch.
- Short USB-C cable (optional) — for connecting to a monitor or power source in coworking spaces.
- External battery or small mouse — only if your core tasks require it. Most users should skip both.
For travel-optimized MacBook setups, the rule is simple: if an item does not serve a task you will actually do in the next session, leave it at home.
Cloud backup and sync: use iCloud Drive, Dropbox, or Google Drive with selective sync enabled. Keep only active project files local. This eliminates the need for an external drive in most public sessions and ensures files are accessible from any location.
How to set up and pack down fast in any public space
The goal is to be working within 90 seconds of sitting down and packed in under 30.
One-minute scan before you sit: look for a seat near a power outlet, with your back to a wall or partition, and away from high foot-traffic paths. This single habit reduces interruptions and improves physical security without any gear.
Setup order: place your MacBook, attach the privacy screen (magnetic, takes three seconds), adjust screen tilt and brightness, open one window for your first task, enable Do Not Disturb, connect headphones, and zip your bag closed with valuables inside.
Teardown order: close the window, detach the privacy screen, slide it into the pouch, close the MacBook, pack the charger, zip the bag. Done.
Timing: setup runs a minute or two; teardown runs under a short half minute when peripherals live in a single pouch. Simple, repeatable systems reduce decision fatigue and make daily routines faster to complete.
Pro Tip: When connecting to power in a tight café space, route the cable under the table edge rather than across the surface. It keeps your footprint small and the cable out of sight, which reduces the chance someone trips on it or notices your gear.
For café-specific setup practices, seat selection and cable management matter more than most users expect.
Ergonomic micro-upgrades that fit in a carry-on
Ergonomics supports focus rather than contradicting minimalism. A few targeted adjustments prevent the posture fatigue that cuts sessions short.
- Screen height: the top of your MacBook display should sit at or just below eye level. A foldable stand achieves this; a hardcover book works in a pinch.
- Wrist position: keep wrists neutral, not bent upward. A compact external keyboard placed flat on the table achieves this when the MacBook is raised on a stand.
- Microbreak schedule: work in 20–40 minute blocks. At each break, roll your shoulders back, drop your chin to your chest for five seconds, and stand briefly if possible. Two minutes of movement prevents the stiffness that builds over a two-hour café session.
- Slim wrist rest: a thin silicone or memory-foam wrist rest adds negligible weight and meaningfully reduces forearm fatigue during long typing sessions.
Quality beats quantity here. One well-chosen compact keyboard and a single foldable stand outperform a bag full of mediocre accessories. For ergonomic accessory choices that stay within a minimal kit, prioritize adjustability and packability over features.
Security steps that pair with a minimal physical kit
A minimal setup reduces physical exposure, but digital hygiene still requires deliberate configuration.
Digital checklist:
- Enable FileVault (System Settings > Privacy & Security) to encrypt your drive.
- Set macOS auto-lock to a short interval when idle (System Settings > Lock Screen).
- Use a password manager such as 1Password or Bitwarden rather than browser-saved passwords.
- Prefer your iPhone’s personal hotspot over public Wi-Fi. When public Wi-Fi is unavoidable, use a vetted VPN such as Mullvad or ProtonVPN.
- Set a hot corner (bottom-left or bottom-right) to lock the screen immediately when you move the cursor there.
Physical safety: keep your bag zipped and in contact with your body at all times. Never leave an unlocked MacBook unattended, even briefly. A privacy screen limits what bystanders can see, but it does not replace screen locking. Security on public networks depends on consistent habits more than on any single tool.
Backup reminder: cloud save plus selective local copies eliminates the need for a bulky external drive while keeping files recoverable. Set iCloud or your preferred service to back up automatically; check that it is running before each session.
When a minimal setup is the wrong choice
Minimal setups have real limits. Recognizing them prevents frustration.
Scenarios where minimal falls short:
- Heavy media editing: video or audio production requires external storage, a color-accurate monitor, and often a dedicated GPU. A MacBook alone is insufficient for professional-grade output.
- Large-screen collaborative work: reviewing architectural drawings, spreadsheets with many columns, or multi-panel dashboards is genuinely harder on a single 13–16" screen.
- High-security corporate environments: some enterprise setups require hardware security keys, smart card readers, or docking stations with specific port configurations.
How to decide: ask three questions. How complex is the task? How long is the session? Does the work require real-time collaboration on shared screens? If the answer to any of these is “very” or “yes,” add the specific resource the task needs rather than defaulting to minimal. A lightweight dock at a home desk handles most of these cases without compromising the public-session kit.
The complexity tax is real in both directions: over-minimizing for the wrong task costs as much time as over-equipping for a simple one.
Key Takeaways
A minimal MacBook setup in public spaces delivers the most value when privacy, focus, and portability are the primary goals.
| Point | Details |
|---|---|
| Apply a privacy screen first | A model-specific magnetic privacy screen is the fastest single upgrade for shared-space use. |
| Use the one-window workflow | One screen, one window, one task reduces context-switching and protects concentration. |
| Pack the three-tier kit | Must-haves only: MacBook, privacy screen, single charger, earbuds, and one zip pouch. |
| Configure macOS security | Enable FileVault, set auto-lock to 1–2 minutes, and use a personal hotspot over public Wi-Fi. |
| Clarmuse privacy screens | Clarmuse offers model-specific magnetic privacy screens for MacBook Air and Pro that slot into a minimal kit without adding bulk. |
Why the “minimal” label undersells what this setup actually does
Most articles treat a minimal laptop setup as an aesthetic preference. That framing misses the point. The real value is operational: fewer items to manage, fewer decisions to make, and fewer failure points when you are tired, rushed, or working in a noisy environment.
The mistake most people make is treating minimalism as a one-time declutter. They remove a few apps, leave the external drive at home, and call it done. What actually works is building a small, repeatable system: a fixed kit, a fixed setup order, and a fixed set of macOS configurations that do not change between sessions. That consistency is what produces speed and reliability over time.
A second common mistake is skipping the privacy screen because it feels like an optional extra. In a shared space, it is the item that most directly affects what you can work on comfortably. Sensitive client work, financial data, and personal communications all become off-limits without one. The Clarmuse magnetic design means it adds no friction to the setup routine.
The third mistake is over-optimizing the kit before using it. Buying a stand, a keyboard, a mouse, a hub, and a wrist rest before you know which two items actually matter is the complexity tax in hardware form. Start with the must-have tier, use it for two weeks, then add only what a specific repeated friction point requires.
Clarmuse magnetic privacy screens for your MacBook model
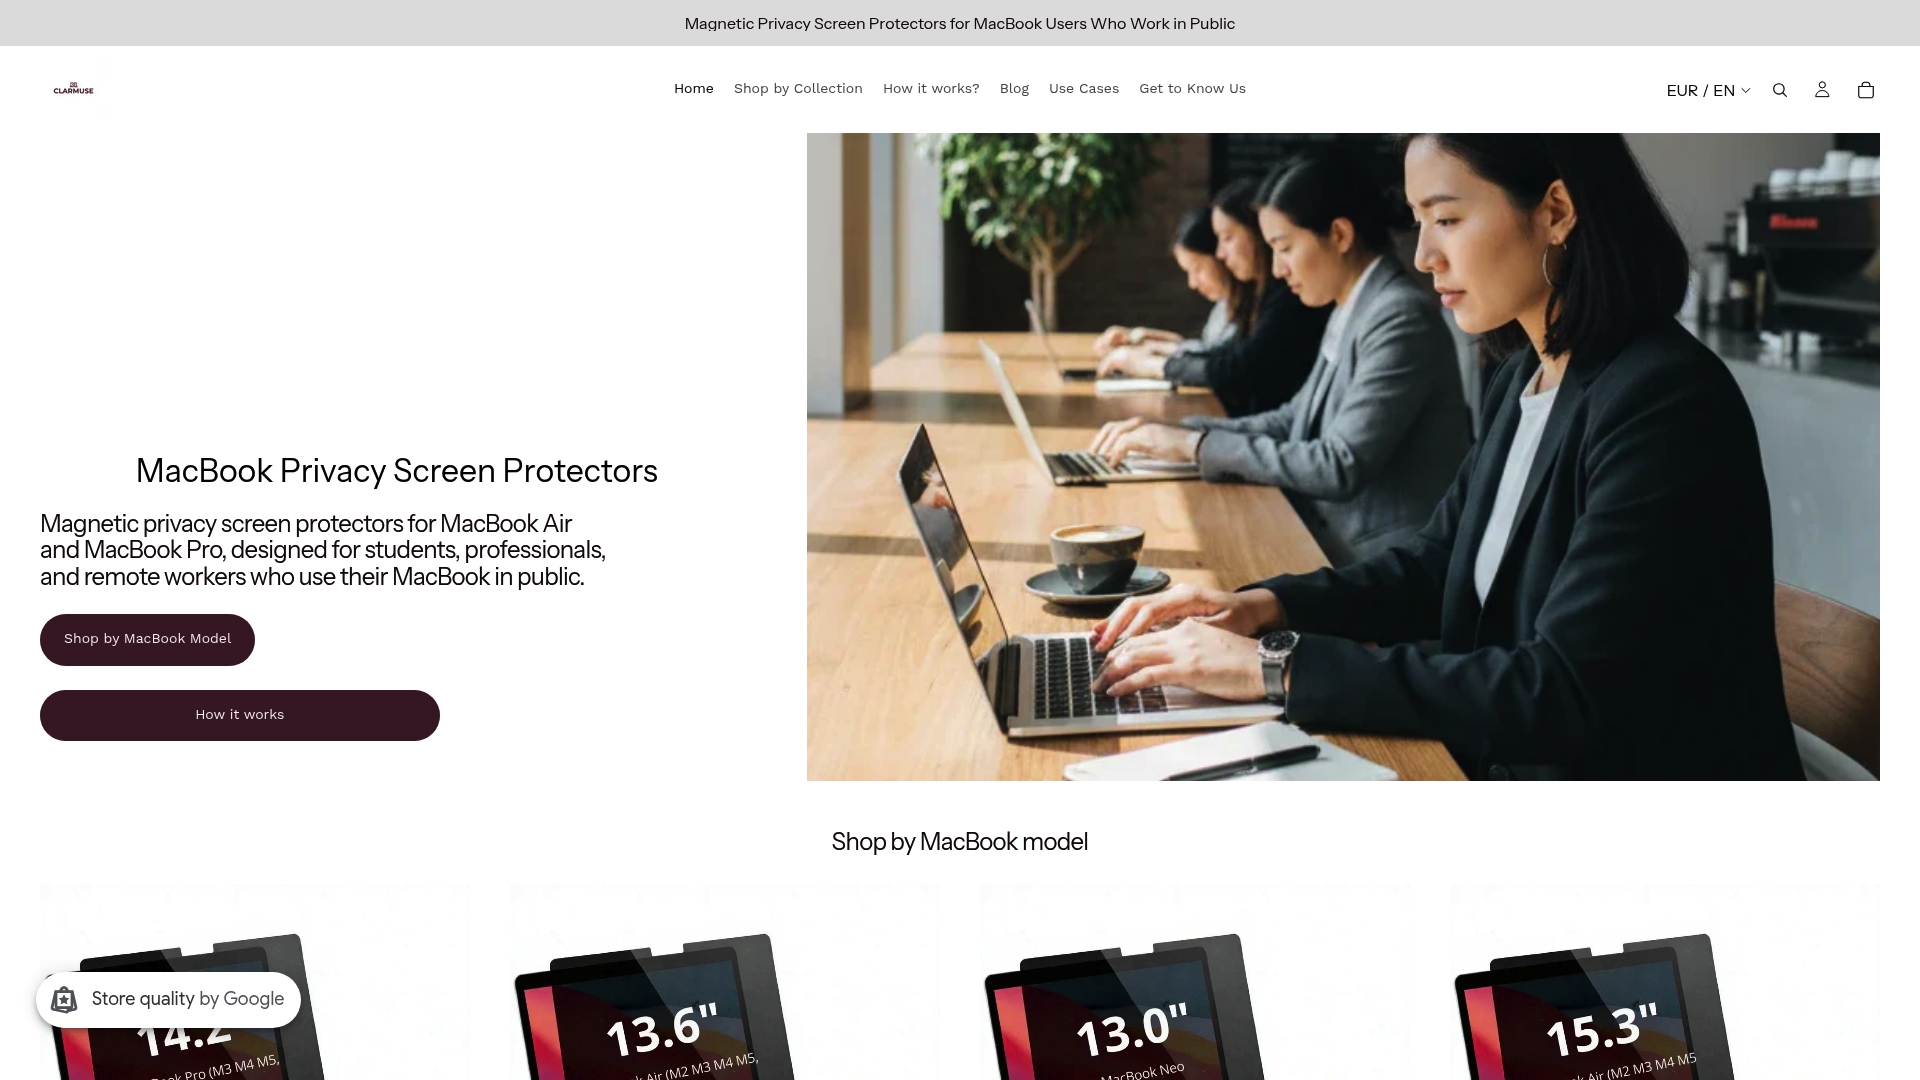
Clarmuse makes magnetic privacy screen protectors built specifically for MacBook Air and MacBook Pro models. Each screen attaches and detaches without tools or adhesive, fits the exact dimensions of its target model, and reduces side-angle visibility so the person next to you in a café or on a train cannot read your display. The profile is thin enough to store in a zip pouch alongside your cables.
Available models:
- MacBook Pro 16.2"
- MacBook Air 15.3"
- MacBook Pro 14.2"
- MacBook Neo 13.0"
- MacBook Air 13.6" (M2, M3, M4, M5 2022–2026)
Match your model and order directly at Clarmuse.
FAQ
What is the biggest benefit of a minimal laptop setup in public?
Privacy and focus. A minimal setup reduces what bystanders can see on your screen and limits the number of open apps competing for your attention during a session.
Do I need a privacy screen if I already sit with my back to the wall?
A wall position helps, but it does not block side-angle views from people seated beside you. A magnetic privacy screen narrows the visible cone to the person directly in front of the display, covering angles a seat position cannot.
How many accessories does a truly minimal MacBook kit need?
Five items cover most public sessions: the MacBook itself, a model-specific privacy screen, a single USB-C charger, noise-canceling earbuds, and a zip pouch. Everything else is optional based on session length and task type.
Does a minimal setup work for longer work sessions, not just quick stops?
Yes, with two additions: a compact foldable stand to raise screen height and a low-profile external keyboard to keep wrists neutral. Both fit in a small zip pouch and add under 30 seconds to setup time.
Which Clarmuse privacy screen fits the MacBook Air M2, M3, M4, or M5?
The Magnetic Privacy Screen Protector for MacBook Air 13.6" covers M2, M3, M4, and M5 models from 2022 through 2026, with a model-specific fit and magnetic attachment.


