
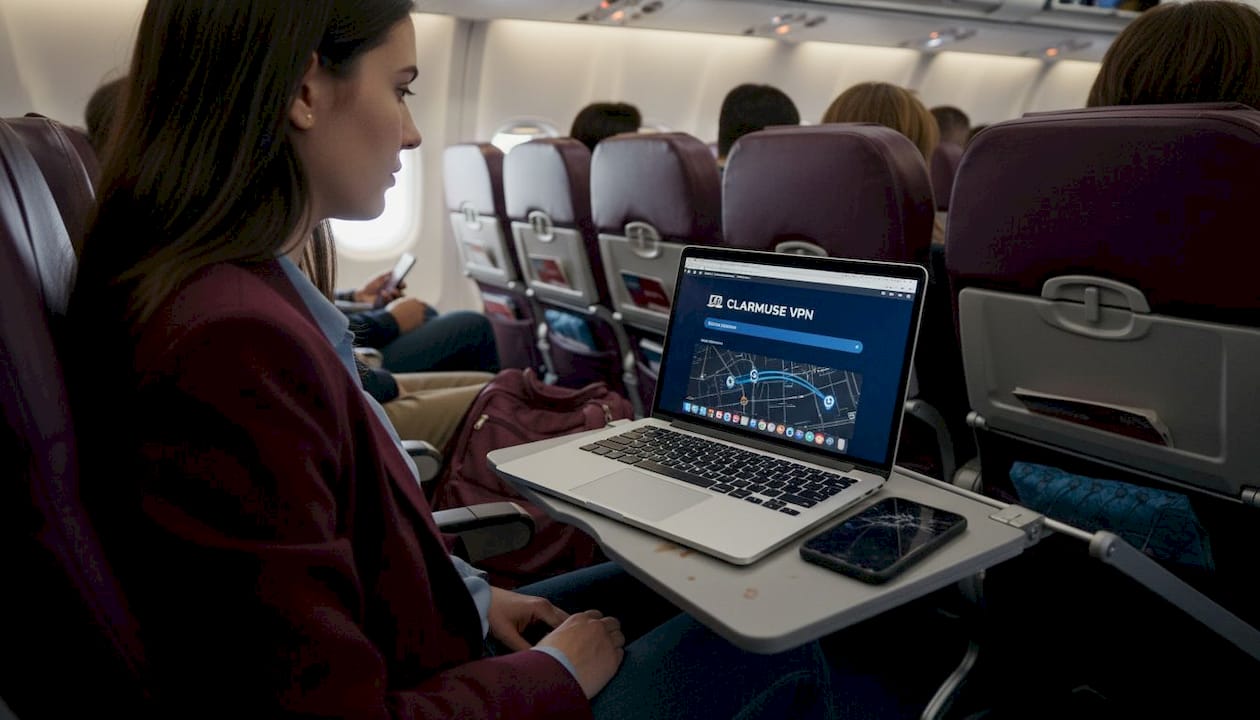
You settle into your seat, pull out your MacBook, and start working on a client proposal. The person in the middle seat glances over. The passenger behind you has a clear view of your screen. The cabin Wi-Fi connects automatically, and somewhere between 30,000 feet and your destination, your business data is exposed in ways you never planned for. Long-haul flights are high-productivity windows for frequent travelers, but they also concentrate three serious risks in one place: visual hacking, insecure networks, and physical device vulnerability. This guide covers every step, from pre-flight settings to in-flight habits, to keep your MacBook and your data fully protected.
Table of Contents
-
Shield your work from prying eyes: Privacy screens and physical security
-
Why airline privacy is not just ‘paranoia’ and what most tech guides miss
Key Takeaways
| Point | Details |
|---|---|
| Secure before you board | Set up FileVault, Firewall, and Find My Mac ahead of your journey for maximum protection. |
| VPN is non-negotiable | Always connect a VPN before using airplane Wi-Fi to defend your data from public network threats. |
| Use a privacy screen | A magnetic screen filter protects your work from prying eyes when working in cramped airplane cabins. |
| Go advanced for high-risk travel | Consider Lockdown Mode and a travel-only device for highly sensitive work or travel to risky destinations. |
| Verify, don’t assume | Double-check all security settings and test protections before and during your flight. |
What you need to secure your MacBook on a flight
Now that you’re ready to protect your MacBook, let’s start with assembling the right tools and settings. Before you board, you need a clear inventory of what actually defends your device at altitude. Security on a flight is layered: digital encryption, network protection, and physical barriers all work together.
Here is a reference table covering the core tools and their specific purpose:
| Tool or setting | Purpose | Where to enable |
|---|---|---|
| FileVault | Full-disk encryption | System Settings > Privacy & Security |
| VPN | Encrypts all network traffic | VPN app, enable before connecting to Wi-Fi |
| Mac Firewall / Stealth Mode | Blocks unsolicited inbound connections | System Settings > Network > Firewall |
| Privacy screen | Prevents shoulder surfing | Attach magnetically before flight |
| Find My Mac | Remote tracking, lock, or wipe | System Settings > Apple ID > iCloud |
| Lockdown Mode | Blocks high-risk features | System Settings > Privacy & Security |
FileVault full-disk encryption protects all stored data if your MacBook is lost or stolen during travel. It works silently in the background once enabled, with no measurable hit to daily performance. On the network side, airplane Wi-Fi traffic is inherently exposed, so a VPN encrypts everything that leaves your device.
Beyond software, physical gear matters too. A privacy screen for working in public cuts side-angle visibility dramatically, which is the exact angle a neighboring passenger sees your display from. Check travel data security tips for additional context on what data is most at risk when crossing borders.
Optional additions worth considering:
-
YubiKey or hardware security key for two-factor authentication without relying on SMS
-
USB-C data blocker to prevent juice jacking at airport charging stations
-
iCloud Private Relay as a lightweight Safari-level traffic option
-
Encrypted password manager stored offline for flight use
Step-by-step: Preparing your MacBook before the flight
With your security kit ready, it’s time to configure your MacBook for maximum protection before your journey. Running through these steps at home, not in an airport lounge, gives you time to troubleshoot and verify each setting properly.

1. Enable FileVault disk encryption. Go to System Settings > Privacy & Security > FileVault. Toggle it on. macOS will prompt you to create a recovery key. FileVault is off by default in some configurations, so you should verify this regardless of how long you have owned your machine. Encryption runs in the background and completes within a few hours.
2. Store your recovery key securely. The recovery key unlocks your drive if you forget your login password. Do not store it on the same MacBook.
Warning: Saving your FileVault recovery key in a document on your MacBook defeats the entire purpose of encryption. Write it down on paper and store it somewhere physically separate, or use a secure offline vault.
3. Enable the firewall and activate Stealth Mode. Navigate to System Settings > Network > Firewall. Switch the firewall on, then click Options and enable Stealth Mode. This stops your MacBook from responding to unsolicited network probes, which are common on shared Wi-Fi networks. Mac Stealth Mode prevents your device from appearing as a target to network scanners.
4. Turn on Find My Mac. Go to System Settings > Apple ID > iCloud and enable Find My Mac. This activates Activation Lock, meaning even if someone reinstalls macOS, they cannot use the device without your Apple ID. Activation Lock with Find My lets you remotely track, lock, and wipe your MacBook if it goes missing.
5. Test device tracking before you leave home. Sign into iCloud.com from another device and confirm your MacBook appears on the map. Do this at home, not at the boarding gate.
Pro Tip: Set up a separate privacy screen for students profile or guest account on your MacBook for flight use. This limits what apps and files are accessible during travel, reducing exposure if someone gets physical access.
Keep your data safe on airplane Wi-Fi
With your device’s core security features ready, the next challenge is the airplane’s public Wi-Fi. Cabin Wi-Fi is convenient, but it is one of the least secure networks you will ever use. It is shared across hundreds of passengers, and there is no guarantee the operator applies serious encryption or filtering between users.
Even with HTTPS, airplane Wi-Fi exposes metadata, including which domains you visit, how long you stay, and how much data you transfer. That metadata is enough for a determined observer to build a profile of your work activity. A VPN eliminates this by wrapping all your traffic in a single encrypted tunnel before it leaves your MacBook.
Here is a comparison of VPN approaches worth knowing for frequent travel:
| VPN type | Key advantage | Best for |
|---|---|---|
| Commercial VPN app | Consistent encryption, reliable kill switch | Most travelers |
| Corporate VPN | Connects to employer infrastructure | Business users |
| iCloud Private Relay | Built-in, Safari only, no extra app | Light web browsing |
| Self-hosted VPN | Maximum control, no third party | Advanced users |
Using a VPN on public networks is one of the highest-impact single actions you can take for in-flight data security. Enable your VPN before connecting to the cabin Wi-Fi, not after. Some VPN apps offer an auto-connect feature that triggers whenever you join an untrusted network, which is worth setting up before departure.
Pro Tip: If you are only browsing in Safari, iCloud Private Relay provides basic traffic masking without requiring a separate app. For anything involving work email, cloud storage, or business apps, a full VPN is the right choice.
For broader context on protecting all your devices while traveling, mobile security tips outline the same principles applied to phones and tablets.
Shield your work from prying eyes: Privacy screens and physical security
Beyond digital threats, visual hacking in shared spaces is a real concern. Here’s how to keep your display off others’ radar. A nearby passenger in economy class has a natural sightline to your screen that you cannot adjust by changing an angle or turning up a digital setting.
Magnetic privacy screens reduce side-angle visibility, blocking the view from anyone not looking directly at your display. This protects passwords, financial data, client files, and anything else you do not want broadcast to the cabin. Privacy screen protectors use a micro-louver film that narrows the visible angle without degrading your straight-on viewing experience.
Attaching and removing a magnetic privacy screen:
-
Open your MacBook to your normal working angle.
-
Align the magnetic privacy screen with the top edge of the display.
-
Let the magnets seat the protector flat against the screen without pressing.
-
To remove, slide or lift from a corner. No adhesive, no residue.
-
Store the protector in its case when not in use to protect the film surface.
A privacy screen for travelers is a one-time investment that stays useful across every flight, train ride, and hotel lounge. The MacBook Air magnetic protector fits specific models without any generic trimming or fitting required.
Additional physical security practices:
-
Choose a window seat when possible. It eliminates one angle of exposure entirely.
-
Lower your display angle slightly so passengers behind you see less.
-
Never leave your MacBook unattended in overhead storage or on a tray table during layovers.
-
Use a TSA-approved laptop bag with a separate sleeve so your MacBook does not mix with general contents during security screening.
-
Be aware of keystroke visibility. A privacy screen protects your display, but your fingers are still visible. For passwords, use a password manager’s auto-fill rather than typing credentials manually.
Advanced: Lockdown Mode and high-risk travel tips
If your travel involves higher risks or sensitive data, consider adding these advanced defenses. Lockdown Mode is a feature built into macOS Ventura and later that dramatically reduces the attack surface of your MacBook by disabling features that are rarely needed but frequently exploited.
Lockdown Mode is designed for journalists, executives, legal professionals, and anyone traveling to regions with elevated surveillance risk. It is not the right setting for every flight, but it is worth knowing about.
| Lockdown Mode restriction | What it blocks |
|---|---|
| Message attachments | Most attachment types blocked except images |
| Web browsing | Complex web technologies like JIT compilation disabled |
| Wi-Fi connections | Prevents joining non-standard Wi-Fi configurations |
| Wired device connections | Accessories blocked when device is locked |
| Configuration profiles | Cannot install during Lockdown Mode |
For high-risk destinations, even more separation is wise. A dedicated travel MacBook with no personal data, no saved credentials, and no corporate access tokens is the gold standard. Review eSIM security tips for parallel guidance on mobile data security in those environments.
Additional advanced measures:
-
Create a separate travel user account with limited app access and no admin privileges.
-
Disable biometric unlock (Touch ID) at borders if required, so only your password works.
-
Remove sensitive files from your MacBook before travel and access them via a secure cloud service once at your destination.
-
Review what is in your login items and disable apps that auto-connect to networks or services.
-
Set a short auto-lock timer so your screen locks within 60 seconds of inactivity.
Verify your security: Testing and troubleshooting
After setup, make sure every defense is working and know what to do if you encounter issues. A checklist is only useful if you actually run it before boarding.
Quick verification checklist:
-
Open System Settings > Privacy & Security. Confirm FileVault shows as “On.”
-
Go to System Settings > Network > Firewall. Confirm the firewall is active and Stealth Mode is enabled.
-
Open your VPN app. Confirm the kill switch is enabled and it connects before joining public networks.
-
Sign into iCloud.com from your phone and confirm Find My Mac shows your MacBook’s location.
-
Attach your privacy screen and view from a 45-degree angle to confirm it limits visibility.
-
Check System Settings > General > Login Items and remove anything that should not auto-launch.
Troubleshooting common problems:
-
FileVault shows as paused: This happens after a macOS update. Restart your MacBook to resume encryption.
-
VPN keeps dropping on cabin Wi-Fi: Switch to a UDP protocol or try IKEv2 in your VPN settings. Some airline networks throttle certain VPN protocols.
-
Privacy screen causes glare at altitude: Adjust your MacBook display brightness up by 20 to 30 percent. The anti-glare coating on most magnetic screens performs differently under cabin lighting than indoor office lights.
-
Find My Mac not showing location: Enable Location Services for System Services in System Settings > Privacy & Security > Location Services.
Pro Tip: Test Stealth Mode without losing internet access by running the command "nmap -sP [your local IP]` from another device on the same network. If your MacBook does not appear in the results, Stealth Mode is active and working with no impact on outbound traffic.
| Security layer | Status check | Common fix |
|---|---|---|
| FileVault | System Settings > Privacy & Security | Restart to resume after update |
| Firewall / Stealth Mode | System Settings > Network > Firewall | Re-enable after OS update |
| VPN | VPN app status | Switch protocol if dropping |
| Find My Mac | iCloud.com | Enable Location Services |
| Privacy screen | Visual 45-degree check | Clean film, increase brightness |
Why airline privacy is not just ‘paranoia’ and what most tech guides miss
Most security checklists focus on software settings. They walk you through enabling FileVault, turning on a VPN, and calling it done. Those steps matter. But the real gaps in flight security are not technical. They are behavioral.
Visual hacking is measurably common in business-class cabins where executives process genuinely sensitive information. A well-dressed passenger watching another person type a password or review an acquisition document is not a movie scenario. It happens on routes where high-value business travel concentrates. The physical exposure is not accounted for by any software setting.
Wi-Fi metadata leakage is another area that checklists understate. Even with a VPN active, connection timing and volume patterns can be observed at the network level. This is not a threat for most travelers on most routes, but it is a real consideration for anyone in a regulated industry or working on information that would be valuable to a competitor.
What almost no guide mentions: the moment your MacBook goes through airport security screening. You place it in a tray, it travels through the scanner, and for 20 to 40 seconds it is physically accessible to anyone standing near the conveyor exit. Device tampering at security checkpoints is documented in high-risk travel contexts. Setting a short lock timer and requiring a password immediately on wake addresses this directly.
Keystroke observation is another gap. A privacy screen for working in public protects what is on your display, but a passenger seated just behind and to one side can still observe your hands. For high-value credentials, using a password manager’s auto-fill rather than typing removes that exposure entirely.
The uncomfortable reality is that security on a flight is not a toggle you flip before takeoff. It is a posture you maintain. Technology creates the foundation. Awareness keeps it intact.
Get true peace of mind with MacBook privacy solutions
For next-level privacy on the move, professional-grade tools make all the difference. The digital steps in this guide give you a strong technical foundation, but physical screen protection is the layer that directly addresses what the passenger next to you can see in real time.
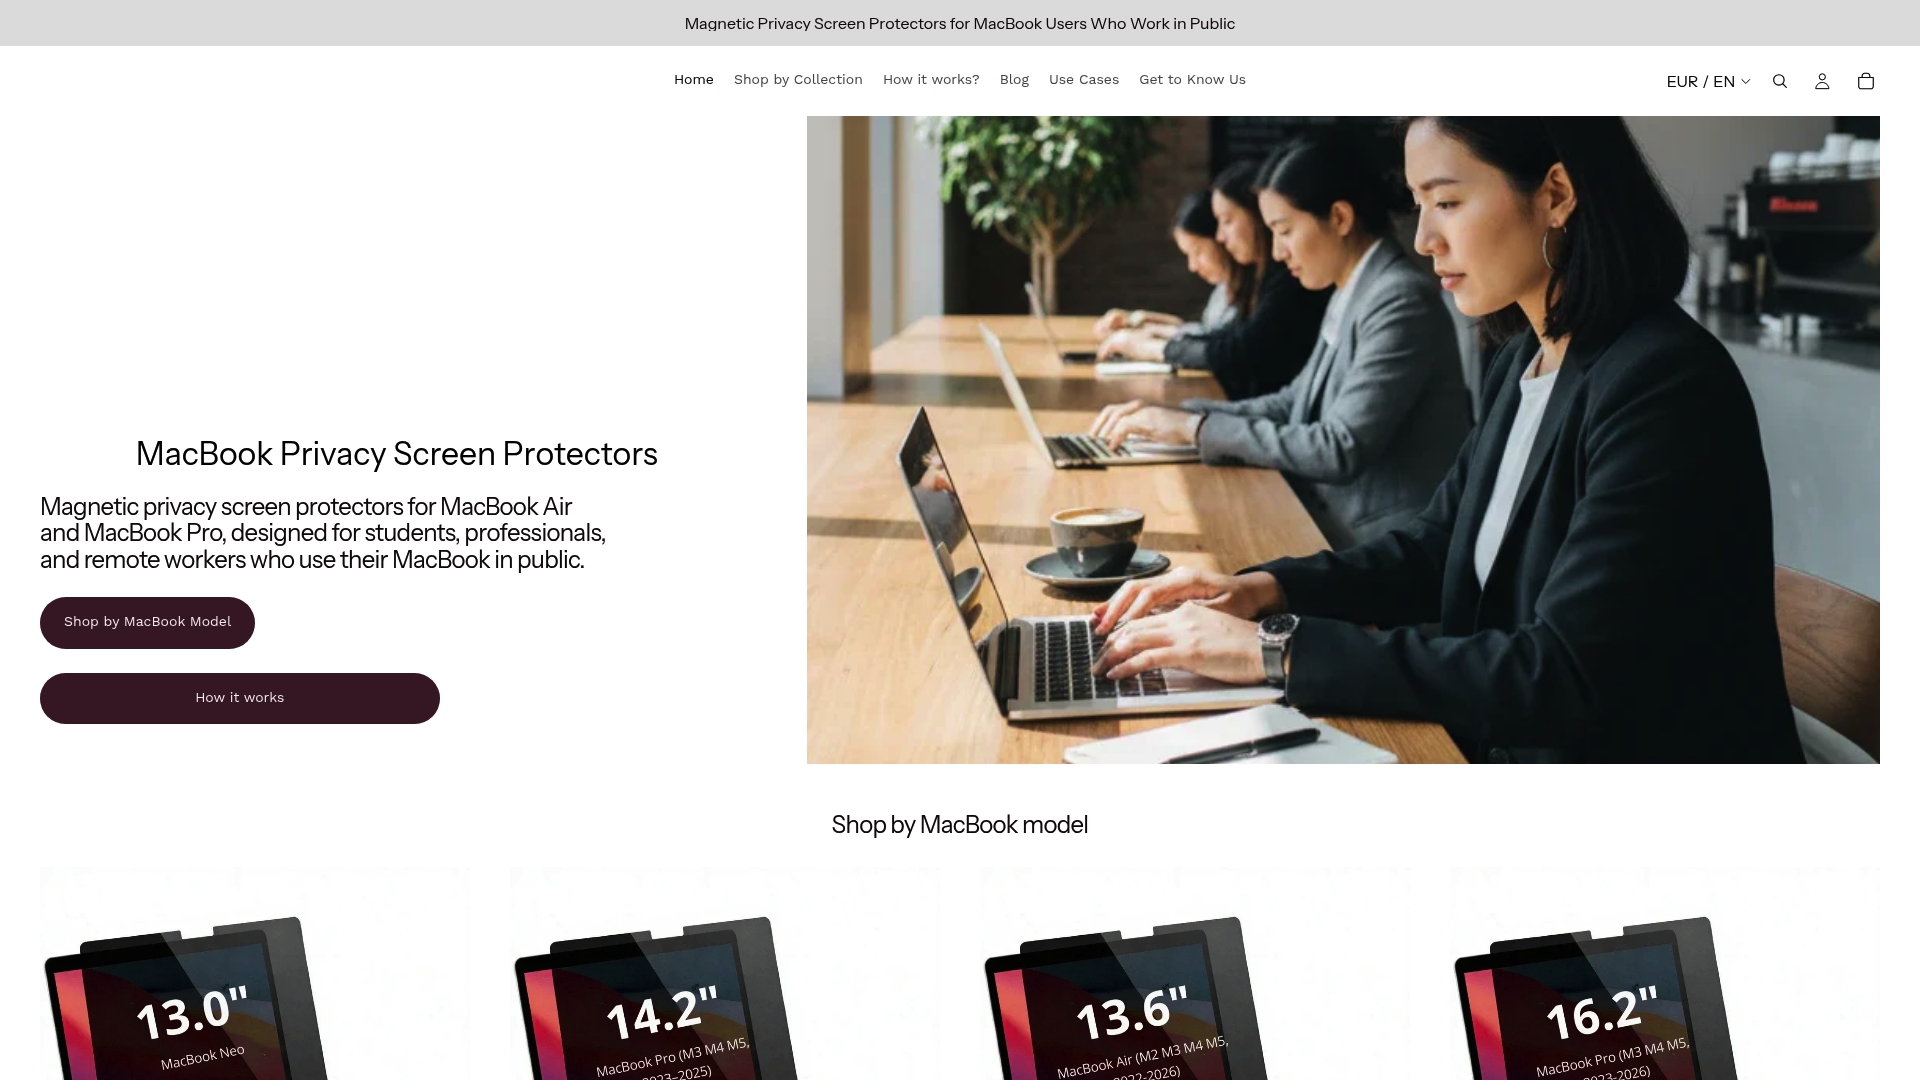
Clarmuse designs MacBook privacy screens specifically for MacBook Air and MacBook Pro models, with magnetic attachment that takes seconds to apply and remove. There is no adhesive, no generic trimming, and no bulky frame. Browse the full range of MacBook Pro privacy filters to find the exact fit for your model, including the privacy filter for MacBook Pro 14.2. Pair it with the software setup in this guide for complete coverage on every flight.
Frequently asked questions
Is airplane Wi-Fi safe for MacBook users?
Airplane Wi-Fi is inherently insecure. Always connect to a trusted VPN before doing any sensitive work, since even HTTPS traffic can expose metadata on untrusted cabin networks.
How do I know FileVault is working?
Go to System Settings > Privacy & Security and look for the FileVault section. The status panel will clearly display whether encryption is on, off, or currently running.
Can I use a MacBook privacy screen through airport security?
Yes. Magnetic privacy screens detach in seconds for device checks and reattach without leaving residue, making them practical for frequent security screening.
What is Lockdown Mode and who needs it?
Lockdown Mode disables vulnerable macOS features and is recommended for journalists, executives, or anyone carrying sensitive data who is traveling to high-risk regions or high-surveillance environments.


