
Working on your MacBook in a café, library, or coworking space sounds productive until the person next to you can read your screen, your shoulders start aching after an hour, and a public Wi-Fi network quietly puts your data at risk. These are not edge cases. They are everyday realities for students, remote workers, and digital nomads who rely on shared spaces to get things done. A generic out-of-the-box MacBook setup was not designed with these environments in mind. This article walks through a practical framework covering privacy settings, ergonomic adjustments, workflow optimization, and hardware choices so your setup works for you wherever you open your laptop.
Table of Contents
- Establish your criteria: Key setup goals for shared spaces
- Privacy essentials: Proven settings and hardware fixes
- Comfort and ergonomics: How to work pain-free on the go
- Optimized workflows: Adapting your MacBook for mobility and focus
- Desk setups: Making the most of your MacBook with external gear
- Hard-won lessons: Why privacy and comfort require ongoing tweaks
- Take your MacBook protection further with Clarmuse privacy screens
- Frequently asked questions
Key Takeaways
| Point | Details |
|---|---|
| Define clear setup goals | Identify your top privacy and comfort priorities before adjusting your MacBook in shared spaces. |
| Layer privacy solutions | Combine settings, hardware, and habits to lock down your device and protect on-screen information. |
| Prioritize ergonomic tweaks | Use external devices and proper posture to stay comfortable and prevent pain during long sessions. |
| Adapt workflows for mobility | Create profiles and adjust notifications so your MacBook fits both travel and public workspace scenarios. |
| Stay flexible and update often | Continuously adjust your setup for each new environment rather than sticking to one fixed configuration. |
Establish your criteria: Key setup goals for shared spaces
Now, let’s define what effective MacBook setup really aims to achieve in shared environments.
Before buying accessories or adjusting settings, it helps to know exactly what you are trying to solve. Most MacBook users in shared spaces need to address five core goals:
- Privacy: Prevent unauthorized people from seeing your screen or accessing your data.
- Comfort and ergonomics: Reduce physical strain from poor posture, screen glare, and awkward typing angles.
- Focus: Minimize distractions from notifications, noise, and visual clutter.
- Mobility: Keep your setup light and fast to pack up and move when needed.
- Adaptability: Switch between different environments, like a quiet library versus a noisy airport lounge, without rebuilding your workflow from scratch.
The strongest setups address all five. Focusing on just one, say privacy alone, leaves gaps. Someone might lock their screen but still sit hunched over a low table for three hours, leading to neck pain that kills their productivity for the rest of the day.
A multi-layered approach works best. That means combining software settings (technology), physical tools like stands and filters (hardware), and consistent habits (behavior). None of these layers works well in isolation.
“Apple’s privacy and security baseline for shared public work includes locking the Mac when stepping away, managing app permissions, using Safari Private Browsing, and signing in with passkeys.”
Take a moment to reflect on your own priorities. If you frequently work in open-plan offices or cafés, screen visibility from the side is probably your biggest concern. If you travel often, weight and quick setup time matter more. Knowing your top priorities helps you apply the right fixes first. You can explore a full privacy and comfort setup guide to map out your personal checklist. For a broader look at online privacy practices, there are solid resources that cover habits beyond the device itself.
Privacy essentials: Proven settings and hardware fixes
With core goals set, let’s focus on privacy, arguably the most overlooked yet essential component in public workspaces.
Most people think about privacy only after something goes wrong. A better approach is building it into your standard setup before you ever sit down in a public space. Here is a numbered checklist of actions that cover both software and hardware:
- Set an immediate password lock. Go to System Settings > Lock Screen and set “Require password after screen saver begins or display is off” to “Immediately.” This prevents anyone from accessing your Mac if you step away for even a minute.
- Enable Safari Private Browsing by default. When working in shared spaces, use Private Browsing windows so your session data, history, and autofill information are not stored locally or visible to anyone who might glance at your screen.
- Audit app permissions regularly. Go to System Settings > Privacy and Security and review which apps have access to your camera, microphone, location, and contacts. Remove access for any app that does not clearly need it.
- Sign in with passkeys where available. Passkeys replace traditional passwords with device-based authentication, making it much harder for someone to steal your credentials even on a compromised network. MacBook privacy settings walk through exactly how to set this up.
- Enable Find My Mac. If your MacBook is lost or stolen in a public space, Find My Mac lets you locate, lock, or erase it remotely. This is a basic but critical safety net.
- Use a VPN on public Wi-Fi. Public networks in cafés and airports are frequent targets for data interception. A VPN (Virtual Private Network) encrypts your traffic so others on the same network cannot read it.
- Add a webcam cover. A simple physical cover over your built-in camera prevents any unauthorized app or person from activating it without your knowledge.
- Use an RFID-protected sleeve. If you carry cards or passports in your laptop bag, an RFID sleeve blocks wireless skimming attempts in crowded spaces.
Pro Tip: If you use multiple Apple devices, passkeys sync through iCloud Keychain. That means setting up a passkey on your MacBook automatically makes it available on your iPhone and iPad, reducing the risk of weak password reuse across devices.
The most important hardware upgrade for public spaces is a physical privacy screen filter. Software settings protect your data from network threats, but they do nothing about the person sitting next to you reading your screen. The best privacy screens for MacBook use a micro-louver technology that narrows the viewing angle so only the person directly in front of the screen can see it clearly. Anyone looking from the side sees a dark, unreadable display. For thorough guidance on safeguarding your data in public, combining software and physical layers is consistently the most effective approach.
Comfort and ergonomics: How to work pain-free on the go
With privacy covered, preventing pain and fatigue through smart ergonomics is the next must-have practice.
Ergonomic problems from laptop use build up slowly. You might not notice the tension in your neck after one session, but after a week of working hunched over a café table, the pain becomes hard to ignore. Here are the most common discomforts and practical fixes:
| Common discomfort | Cause | Quick ergonomic fix |
|---|---|---|
| Neck and upper back pain | Screen too low, head tilted forward | Raise MacBook on a stand to eye level |
| Wrist and forearm strain | Keyboard at wrong angle | Use external keyboard at elbow height |
| Eye fatigue and headaches | Glare, screen brightness, poor angle | Adjust display angle, reduce brightness, add privacy filter |
| Shoulder tension | Arms reaching forward or upward | Relax shoulders, position keyboard closer |
| Lower back pain | No lumbar support, long sitting periods | Use a chair with back support, take breaks every 45 minutes |
Key ergonomic adjustments to build into your routine:
- Adjust the display angle to reduce glare and reflections. Apple’s ergonomic comfort guidance specifically recommends tilting the screen to minimize eye strain.
- Keep shoulders relaxed and away from your ears. Tension in the shoulders often comes from a keyboard or trackpad that is too far forward.
- Maintain a neutral wrist line. Your wrists should be roughly flat and in line with your forearms when typing, not bent upward or downward.
- Change hand positions regularly. Staying in one position for too long, even a correct one, creates fatigue. Shift between trackpad and keyboard use, and stretch your hands every 30 to 40 minutes.
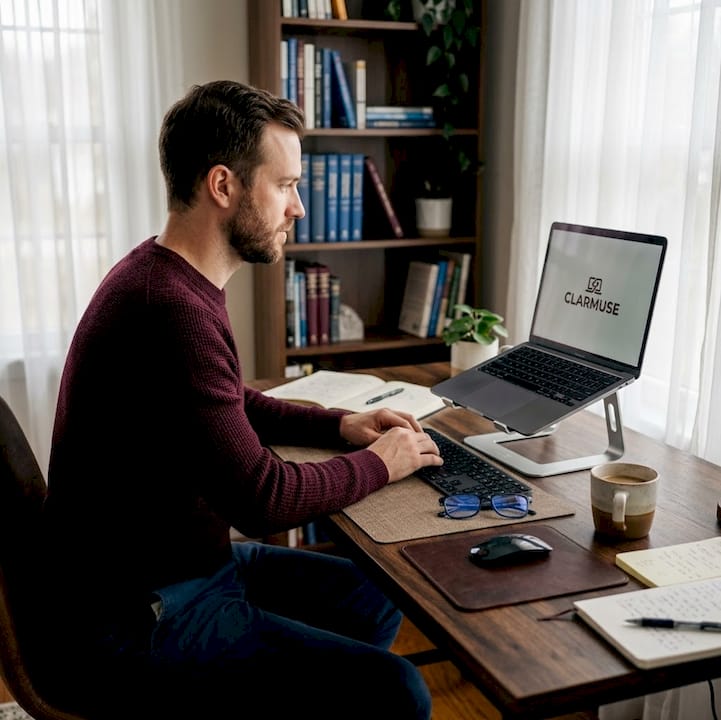
Pro Tip: For sessions longer than 90 minutes, raise your MacBook on a portable stand and connect an external keyboard and mouse. University ergonomic guidance supports separating screen height from typing position so your wrists stay neutral while the screen sits closer to eye level. Lightweight foldable stands are available for under $40 and fit easily in a laptop bag.
If you develop persistent pain in your wrists, shoulders, or neck, consult a specialist before it becomes a chronic issue. For more detail on adapting your setup for travel and shared spaces, the business travel setup tips page covers practical gear and positioning advice. Additional ergonomic workspace adjustments are worth reviewing if you work in multiple locations regularly.
Optimized workflows: Adapting your MacBook for mobility and focus
Once comfort is in check, the right workflow tweaks let you work fast and distraction-free even in unpredictable environments.
One of the most effective strategies is using separate profiles or configuration sets for different contexts. A profile mindset for travel means adjusting syncing, notifications, and low-power behavior for each environment rather than running one static setup everywhere.
| Setting | Default setup | Focus profile for shared spaces |
|---|---|---|
| Notifications | All apps active | Only critical alerts enabled |
| Background app refresh | On for all apps | Disabled or limited |
| Low Power Mode | Off | On when on battery |
| Screen timeout | 5 minutes | 1 to 2 minutes |
| Bluetooth | On and discoverable | On but not discoverable |
| Universal Control | Enabled | Disabled in public |
Actionable workflow tips for shared spaces:
- Create a “shared space” Focus profile in System Settings > Focus. Silence non-essential notifications and hide personal app badges when you are in a café or library.
- Reduce screen brightness slightly to save battery and reduce visibility from angles, especially in dim environments.
- Enable Low Power Mode when working away from a charger to extend battery life without interrupting your session.
- Turn off Universal Control in public. Universal Control is useful for multi-device workflows, but the “allow pointer and keyboard to move between any nearby Mac or iPad” setting can create unintended connections in shared spaces. Disable it when you are working near other Apple device users you do not know.
Adapting your workflow to each new location is a habit, not a one-time setup. The more consistently you apply these adjustments, the faster they become automatic. For more on-the-go workflow tips, there is a detailed breakdown of how to configure your MacBook for different travel scenarios. If you are a student looking for gadgets for mobile work, pairing software habits with the right tools makes a significant difference.
Desk setups: Making the most of your MacBook with external gear
For semi-permanent or office-style desk work, you can take your comfort and privacy even further with external setups.
Clamshell mode is one of the most underused features for MacBook users who work in libraries, coworking spaces, or home offices. It lets you close your MacBook lid and use an external monitor as your primary display, which improves both posture and screen privacy. Here is how to set it up:
- Connect your MacBook to an external monitor using a USB-C, Thunderbolt, or HDMI cable.
- Connect an external keyboard and mouse or trackpad via Bluetooth or USB.
- Connect your MacBook to a power source (clamshell mode requires power).
- Close the MacBook lid. The external monitor becomes the active display automatically.
- Adjust the monitor height so the top of the screen is at or slightly below eye level.
External monitor setup on Mac follows the principle of separating the screen from the keyboard position, which is the foundation of good laptop ergonomics. With the screen at eye level, you eliminate the forward head tilt that causes neck strain.
For travelers, lightweight foldable stands paired with compact Bluetooth keyboards replicate many of the benefits of clamshell mode without requiring an external monitor. This setup works well in hotel rooms, airport lounges, and coworking spaces. For those who need office-ready privacy screens, there are options designed specifically for MacBook models used in open-plan environments.
Hard-won lessons: Why privacy and comfort require ongoing tweaks
The most common mistake MacBook users make is treating their setup as finished. They spend an afternoon configuring privacy settings, buy a stand, and consider the problem solved. Then they sit down in a new coworking space with different lighting, a different table height, and a different crowd, and the same issues return.
The truth is that privacy threats and ergonomic risks shift with every location. A setting that works perfectly in your usual café becomes inadequate in a busy airport terminal where people walk behind you constantly. A stand that helps in a hotel room does nothing when the only available seat is a low couch.
Real-world experience confirms this. Consider a common scenario: a student sets up Private Browsing and a password lock, then sits down in a university library. The privacy settings are correct, but the open seating arrangement means three people can see the screen from the side. The fix is not a new setting. It is a physical privacy filter that narrows the viewing angle. One layer of protection was missing, and no amount of software adjustment could replace it.
The same logic applies to ergonomics. A stand that works at a standard café table becomes useless at a low coffee table. You need to reassess your setup each time you move.
“The best setup is the one you are willing to adjust every time you move.”
Build a short personal checklist for each type of location you frequent. A library checklist might include: privacy filter on, Focus mode active, screen brightness reduced, and external keyboard connected. A café checklist might add: VPN on, screen angled away from foot traffic, and low-power mode enabled. For a starting point, the custom setups for public spaces guide provides a solid template you can adapt.
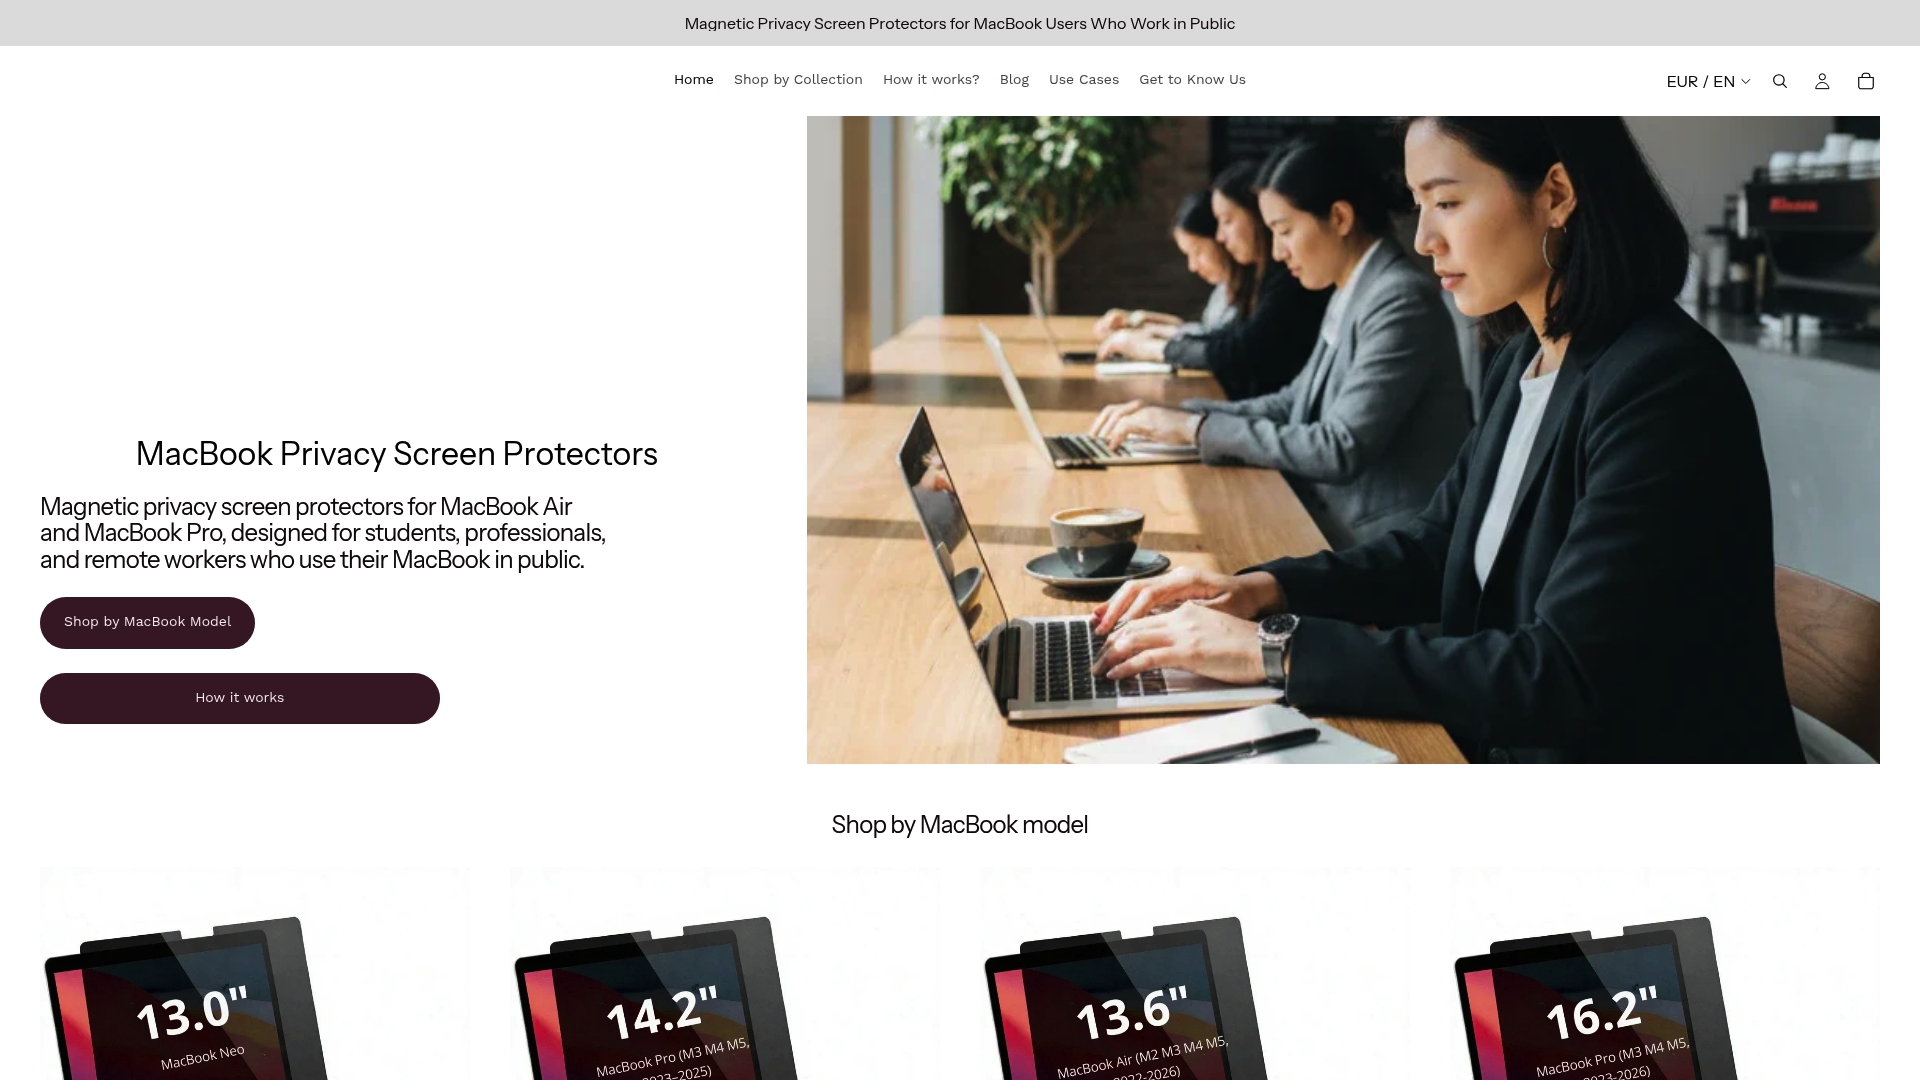
Take your MacBook protection further with Clarmuse privacy screens
Ready to put your privacy plans into action? Let’s look at solutions built to keep your work safe in any space.
Software settings handle network-level threats, but they cannot stop the person at the next table from reading your screen. That is where a physical privacy filter becomes essential. Clarmuse designs magnetic privacy screens specifically for MacBook Air and MacBook Pro models, so the fit is precise and the attachment is clean with no adhesives or bulky frames.
Whether you are a student working in a library, a digital nomad in a café, or a professional in a coworking space, Clarmuse has a model for your MacBook. The MacBook Pro privacy screens collection covers a range of screen sizes with filters that narrow side-angle visibility without affecting the clarity of your direct view. For a full comparison of best screen options by use case, the guide breaks down which filter works best for each type of shared space. You can also go directly to the privacy filters for MacBook Pro product page to find the right fit for your model.
Frequently asked questions
What MacBook setting locks my screen automatically in public?
Set your Mac to require a password immediately after sleep or screen saver begins for instant security. This option is in System Settings > Lock Screen, and Apple recommends it as a baseline for shared-space use.
How can I prevent shoulder and wrist pain during long MacBook sessions?
Adjust the display angle, keep shoulders relaxed, wrists in a straight line, and change hand positions often. Apple’s ergonomic guidance recommends these adjustments as core habits for pain-free laptop use.
Is a physical privacy screen necessary if I use Private Browsing?
A privacy screen blocks side glances and visual hacking, adding a layer that Private Browsing alone cannot provide. MacBook privacy settings protect your data on the network, but a physical filter protects what is visible on your screen.
What is clamshell mode and how does it help?
Clamshell mode lets you close your MacBook and use an external display, keyboard, and mouse for improved ergonomics. This setup raises the screen to eye level and separates it from the typing position, reducing neck and wrist strain significantly.
How can I avoid connecting to the wrong device with Universal Control?
Turn off “allow pointer and keyboard to move between any nearby Mac or iPad” in settings to prevent accidental device switching. Universal Control settings give you precise control over which devices are allowed to connect.


