
The best MacBook study accessories are tools that directly improve your workflow, protect your device, and reduce physical strain during long sessions. Whether you study in a library, café, or shared office, the right gear makes a measurable difference. This article covers the top MacBook study accessories examples across every category, from USB-C hubs and GaN chargers to privacy screens and AI-powered file organizers. Every recommendation is grounded in real use cases and current pricing, so you can build a setup that fits your budget and your environment.
1. What are the best MacBook study accessories examples for productivity?
The single most impactful productivity upgrade for any MacBook setup is a USB-C hub with Power Delivery pass-through. Models like the Anker 547 offer 100W PD pass-through, meaning you can charge your MacBook at full speed while simultaneously connecting a monitor, keyboard, mouse, and USB drive through a single port. That matters because the MacBook Air and MacBook Pro ship with limited ports, and a hub removes the constant cable-swapping that breaks focus.

An external monitor is the second biggest productivity upgrade. A full-size display gives you the screen real estate to keep your notes, browser, and writing app open at once. Productivity accessories like monitors typically cost $120–$250, while portable monitors in the $100–$150 range work well for students who move between locations.
Wireless keyboards and mice complete the productivity tier. They let you position your MacBook on a stand at eye level while typing from a comfortable distance. The key is choosing peripherals that support multi-device Bluetooth switching.
- USB-C hub with 100W PD pass-through (Anker 547, $25–$50): connects monitor, keyboard, mouse, and storage simultaneously
- External monitor ($120–$250): expands screen space for multitasking
- Wireless keyboard and mouse with multi-device Bluetooth: reduces desk clutter and supports ergonomic positioning
Pro Tip: Invest in a keyboard and mouse that support at least three Bluetooth device profiles. Multi-device Bluetooth peripherals let you switch between your MacBook, iPad, and phone without re-pairing, which saves real time across a study day.
2. How to protect and carry your MacBook safely during studies
Device protection is not optional for students who carry their MacBook daily. High-quality 360-degree sleeves offer significantly more practical protection than skins or standard shells. WIRED editors specifically recommend sleeves over skins because they absorb impact from drops and protect against scratches on all surfaces, not just the lid.
Laptop sleeves and neoprene pouches sized to specific MacBook models cost $15–$30 and fit inside any backpack without adding bulk. Hard shell cases are a step up in protection and preserve the MacBook’s original finish while preventing dents from minor impacts. The best options come in colors that match MacBook finishes, so the device still looks clean.
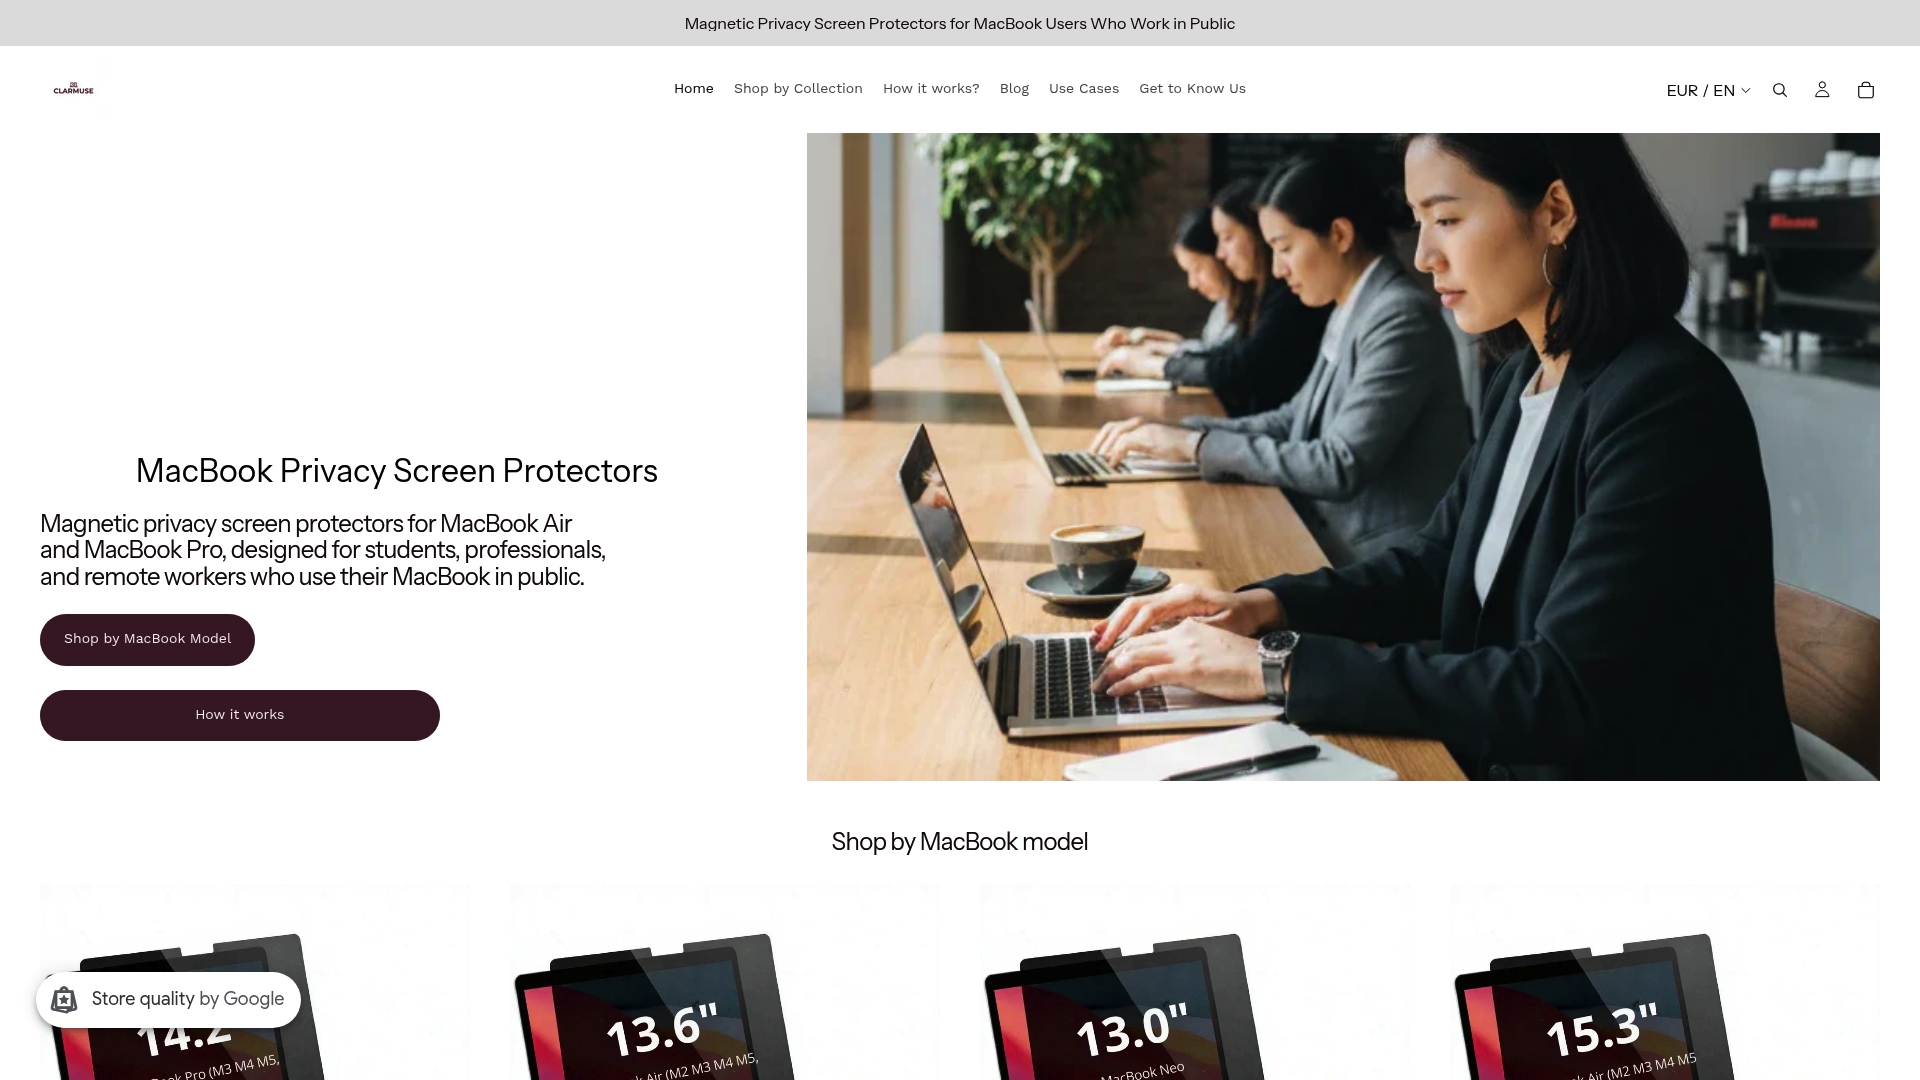
A magnetic privacy screen protector adds a third layer of protection. It guards the display against scratches and limits side-angle visibility in public spaces like classrooms and cafés. Clarmuse makes magnetic privacy screens designed specifically for MacBook Air and MacBook Pro models, with a fit that attaches and detaches cleanly without adhesives.
| Accessory | Protection level | Typical cost |
|---|---|---|
| Neoprene sleeve | Drops, scratches, dust | $15–$30 |
| Hard shell case | Scratches, minor impacts | $20–$45 |
| Magnetic privacy screen | Display scratches, visual privacy | $40–$80 |
| GaN charger with case | Cable and adapter damage | $30–$60 |
- Neoprene or padded sleeve: best for daily backpack transport
- Hard shell case: best for students who keep the MacBook in a case at all times
- Magnetic privacy screen: best for shared spaces and display protection combined
3. Which ergonomic accessories optimize your MacBook study environment?
A laptop stand is the most underrated item in any list of essential study gadgets for MacBook users. Positioning the screen at eye level with a stand prevents the forward head tilt that causes neck and upper back strain during long sessions. Most students who study for three or more hours at a stretch will notice the difference within a week of switching.
The correct ergonomic setup pairs a stand with an external wireless keyboard and mouse. This combination lets you keep your arms at a natural angle while the screen sits at the right height. Lightweight, foldable stands fit easily in a backpack and cost $20–$50, making them one of the highest-value upgrades per dollar in any MacBook accessories for students list.
A desktop light bar placed on top of the monitor or behind the MacBook reduces eye strain without creating glare on the screen. Unlike traditional desk lamps, light bars illuminate your keyboard and desk surface without reflecting off the display. This matters most during evening study sessions in dorm rooms or home offices.
Pro Tip: When choosing a stand for commuting, look for fold-flat aluminum designs that weigh under 300 grams. They survive backpack compression and set up in under 10 seconds, which makes them practical for library use, not just home desks.
- Foldable aluminum laptop stand ($20–$50): elevates screen, folds flat for transport
- Wireless ergonomic keyboard ($40–$100): positions hands at a natural angle below screen height
- Desktop light bar ($25–$60): reduces eye strain without screen glare
4. What software and organizational tools complement MacBook study accessories?
Hardware accessories work best when your software setup matches them. Native macOS apps like Planit and Clearly improve study workflows by providing efficient planning and markdown note-taking without the performance overhead of Electron-based apps. Planit runs in the macOS menu bar and lets you schedule study blocks without opening a full calendar app. Clearly is a markdown editor built for MacBook users who want fast, keyboard-first note-taking.
The advantage of native apps over cross-platform tools like Notion or Obsidian (which use Electron) is battery life and response speed. Native macOS apps avoid the Electron runtime, which means faster load times and longer battery life during long study sessions. That is a real advantage when you are three hours into a study block at a library without a power outlet nearby.
For file organization, AI-powered tools like Tidy run locally on Apple Silicon Macs to automatically sort files into folders like Finance, Research, and Screenshots. Tidy reads file content contextually and organizes without sending data to the cloud. That local-first approach matters for students handling research documents, personal notes, and assignment drafts.
| Tool | Type | Key benefit |
|---|---|---|
| Planit | Menu bar planner | Fast study block scheduling |
| Clearly | Markdown editor | Lightweight, keyboard-first notes |
| Tidy | AI file organizer | Local, private, automatic sorting |
| Sorty | AI file organizer | Apple Silicon native, no cloud sync |
Combining these software tools with your hardware setup creates a study environment where your desk is organized, your files are sorted, and your schedule is visible without switching apps. The shared-space productivity guide from Clarmuse covers how hardware and software choices interact in real study environments.
5. GaN chargers: the most overlooked MacBook study tool
A GaN (Gallium Nitride) charger is the most overlooked item in most MacBook study tools recommendations. Students consistently underestimate how much the stock Apple charger limits their setup. Upgrading to a 45W–65W GaN charger improves charging speed and adds multi-device support, so one charger handles your MacBook and iPad simultaneously.
GaN chargers are physically smaller and lighter than standard Apple bricks. That weight reduction matters when your bag already carries a laptop, textbooks, and accessories. A 65W GaN charger from brands like Anker or Belkin typically costs $35–$55 and fits in a jacket pocket.
The practical rule is to avoid minimum wattage chargers entirely. A 30W charger will charge your MacBook Air, but it will not keep up with active use. A 65W charger charges at full speed even when the display is on and apps are running.
6. How to build a minimalist MacBook study setup for shared spaces
A minimalist study setup for MacBook users in shared spaces prioritizes three things: portability, privacy, and clean desk organization. The minimalist MacBook setup guide from Clarmuse identifies the core accessories that deliver the most value without adding bulk.
The foundation is a foldable stand, a compact wireless keyboard, and a USB-C hub. These three items fit in a single pouch and transform any desk or café table into a functional workstation. Add a magnetic privacy screen and you have a setup that works in a library, airport lounge, or coworking space without drawing attention or requiring a full unpack.
The goal is to carry fewer items that each serve multiple functions. A USB-C hub replaces four separate adapters. A multi-device keyboard replaces separate peripherals for each device. A magnetic privacy screen replaces both a screen protector and a privacy filter.
7. Affordable MacBook study accessories under $50
Affordable MacBook study accessories exist across every category. The $50 budget covers a USB-C hub ($25–$50), a neoprene sleeve ($15–$30), or a foldable laptop stand ($20–$40). These three items address connectivity, protection, and ergonomics at a price point accessible to most students.
For students on a tighter budget, the priority order is: sleeve first, hub second, stand third. A sleeve protects a $1,000+ device from the most common damage scenario, which is a drop or scratch during transport. A hub solves the port limitation that affects every MacBook user. A stand addresses ergonomics, which matters more over time.
The $50–$100 range adds a GaN charger and a desktop light bar. The $100–$250 range adds an external monitor, which is the single largest productivity upgrade available. You can also explore repair services for MacBooks if your device needs attention before you invest in new accessories.
8. Privacy accessories for studying in public spaces
Privacy is a specific need for students who study in cafés, libraries, classrooms, and coworking spaces. A magnetic privacy screen limits the viewing angle of your display so that people sitting beside you cannot read your screen. This matters for students working on research, personal notes, or exam preparation in shared environments.
Clarmuse designs magnetic privacy screens specifically for MacBook Air and MacBook Pro models. The magnetic attachment means the screen goes on and off in seconds without adhesive residue. The best privacy screen for students page covers model-specific options and explains how the viewing angle reduction works in practice.
Privacy screens also filter blue light, which reduces eye strain during long study sessions. That dual function, privacy plus blue light filtering, makes them one of the more practical additions to any study setup for MacBook users who spend time in shared spaces.
Key takeaways
The most effective MacBook study setup combines ergonomic hardware, protective accessories, and native software tools to maximize productivity and device longevity.
| Point | Details |
|---|---|
| USB-C hub is the first upgrade | A hub with 100W PD pass-through connects all peripherals while charging through one port. |
| Sleeves outperform skins | High-quality 360-degree sleeves protect against drops and scratches better than hard shells alone. |
| GaN chargers save weight and time | A 45W–65W GaN charger charges faster and supports multiple devices from a single adapter. |
| Native apps extend battery life | Planit and Clearly avoid Electron overhead, delivering faster performance and longer sessions. |
| Privacy screens serve two functions | Magnetic privacy screens protect the display and limit side-angle visibility in shared spaces. |
My take on what actually moves the needle
The accessory lists you find online tend to cluster around the same five items. What they miss is the compounding effect of getting the fundamentals right before adding extras.
The GaN charger is the clearest example. I have seen students carry heavy stock Apple bricks and then spend $80 on a keyboard stand, when a $45 GaN charger would have removed more daily friction. The charger is the one accessory you interact with every single day, often multiple times. Getting it right matters more than most people realize.
The second thing most lists undervalue is comprehensive protection. A $20 sleeve is not glamorous, but it is the reason a MacBook survives two years of backpack transport without a cracked corner or scratched display. WIRED’s editors make this point directly: sleeves beat skins on practical protection, and the difference shows up over time, not immediately.
The third observation is about privacy in shared spaces. Students who study in libraries and cafés often do not think about screen visibility until someone reads over their shoulder. A magnetic privacy screen from Clarmuse solves that problem without changing how the MacBook looks or feels. It attaches in seconds and comes off just as fast. That kind of low-friction solution is what separates a good accessory from one that sits in a drawer.
The software side is where I see the most missed opportunity. Native macOS tools like Tidy and Planit are genuinely better than their cross-platform equivalents for MacBook users. They are faster, lighter on the battery, and they stay out of the way. If you are still using an Electron-based app for notes or scheduling, switching to a native alternative is worth the hour it takes to migrate.
— Gabriel
Protect your screen and your privacy with Clarmuse
Clarmuse makes magnetic privacy screen protectors designed specifically for MacBook Air and MacBook Pro models. Each screen attaches magnetically in seconds, filters blue light, and limits side-angle visibility so your work stays private in libraries, cafés, coworking spaces, and classrooms.
Unlike generic privacy filters, Clarmuse screens are cut to fit each MacBook model exactly, with no adhesive and no bulk. If you study or work in shared spaces regularly, a Clarmuse privacy screen is one of the most practical additions to your setup. Browse options for the MacBook Pro 16.2", the MacBook Air 13.6", or explore the full MacBook Pro privacy screen collection to find your model.
FAQ
What are the most useful MacBook study accessories for students?
The most useful MacBook study accessories for students are a USB-C hub, a foldable laptop stand, a GaN charger, and a protective sleeve. These four items address connectivity, ergonomics, charging speed, and device protection at a combined cost of $80–$150.
How much should a student budget for MacBook accessories?
Essential MacBook study accessories typically cost between $15 and $250 depending on the category. A functional starter setup covering protection, connectivity, and ergonomics costs around $80–$120.
Do privacy screens affect MacBook display quality?
A well-fitted magnetic privacy screen reduces brightness slightly at direct viewing angles but does not distort colors or resolution for the person using the MacBook. Clarmuse screens are designed to maintain display clarity for the primary user while limiting side-angle visibility.
Are native macOS apps better than cross-platform tools for studying?
Native macOS apps avoid the Electron runtime used by many cross-platform tools, which means faster load times, better battery life, and lower memory use during long study sessions. For MacBook users, native apps like Planit and Clearly are the more practical choice.
Can I share study notes effectively while using a MacBook setup?
Yes. Tools and strategies for sharing study notes with classmates work well alongside a MacBook productivity setup, especially when combined with markdown editors like Clearly that export clean, readable files.


