
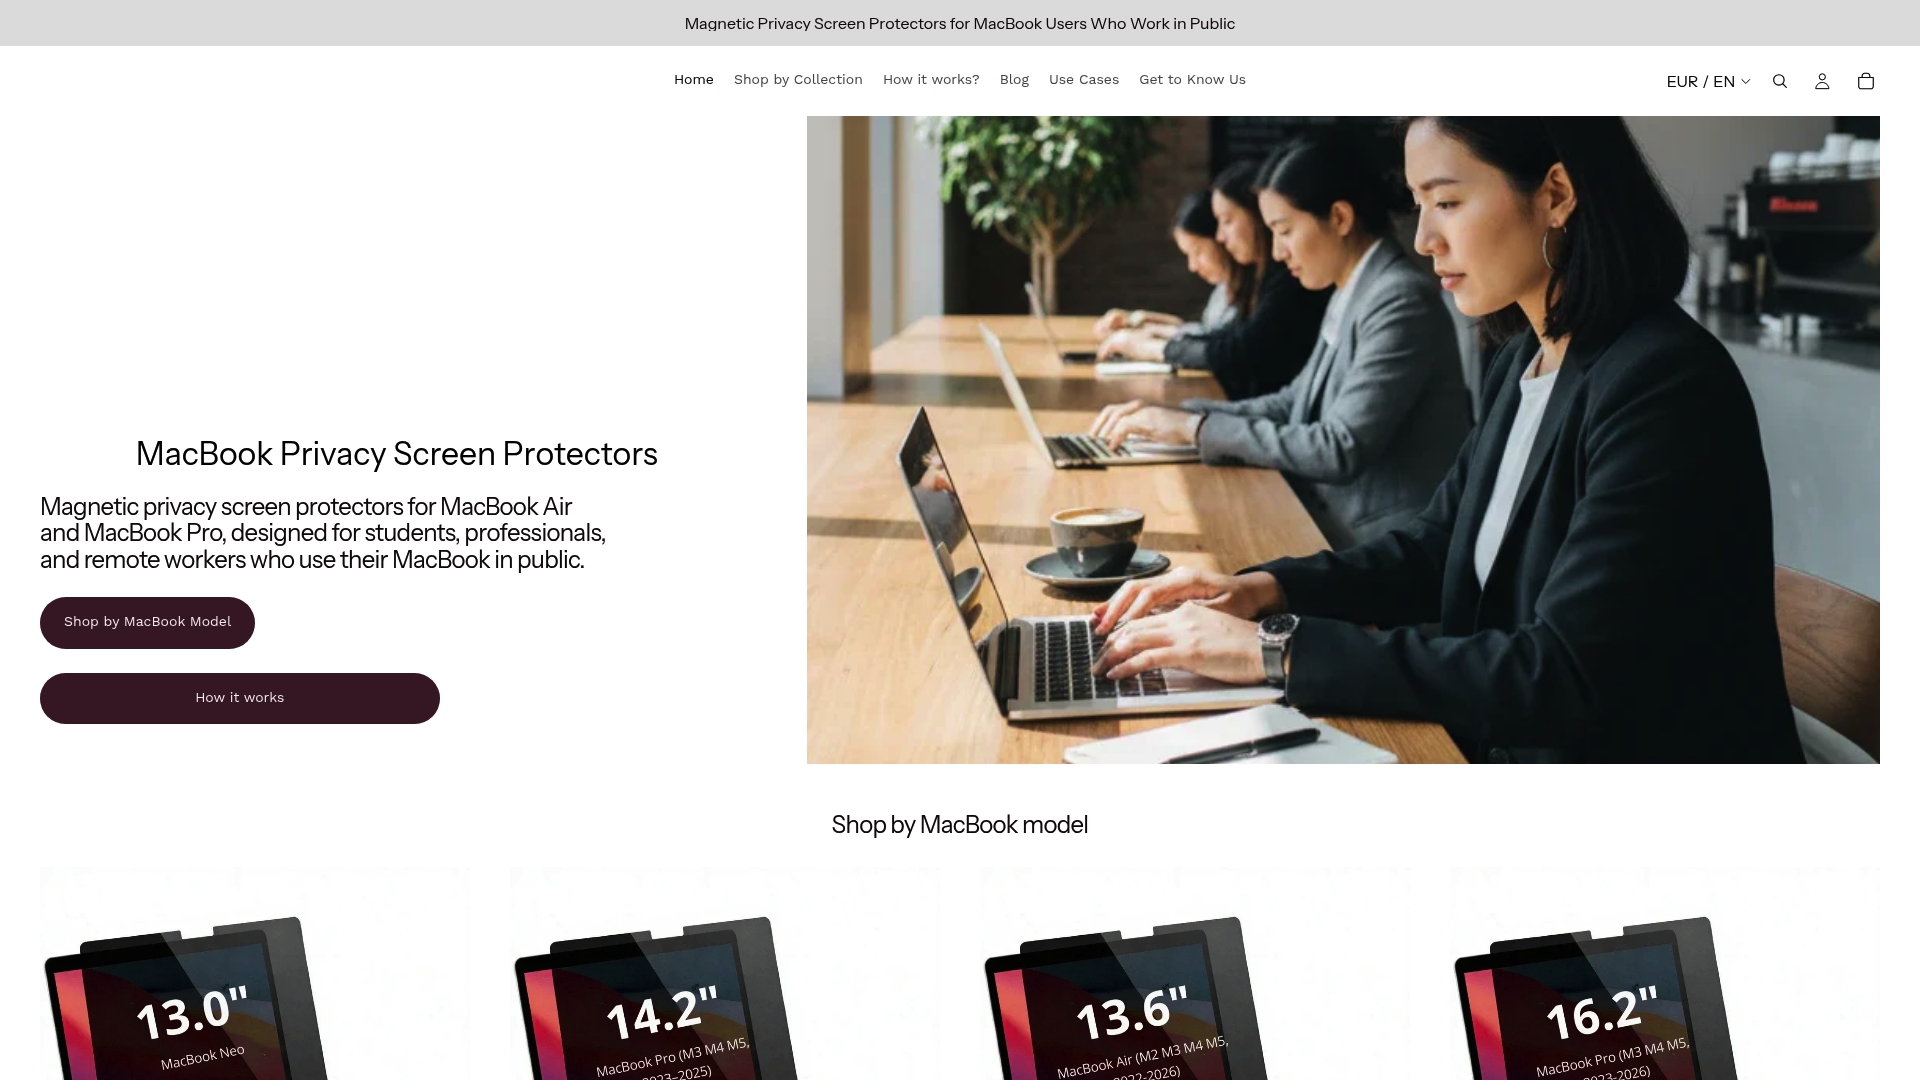
Working in a café, airport lounge, or hotel lobby puts your MacBook screen in full view of anyone nearby. Most users understand the role of magnetic screens in hassle-free travel only after a stranger glances at their confidential work or client data. That moment of exposure is avoidable. Magnetic privacy screens attach in seconds, narrow your screen’s visible cone, and let you close your laptop without removing anything. This guide covers how they function, what trade-offs to expect, and how to use them effectively across every shared space in your travel routine.
Table of Contents
- Understanding magnetic privacy screens and how they work
- Benefits and practical trade-offs of using magnetic screens during travel
- Key considerations to choose and use magnetic screens effectively
- Maximizing privacy and productivity with magnetic privacy screens on the go
- Why magnetic privacy screens are essential travel tools for MacBook users, not just accessories
- Secure your MacBook privacy with Clarmuse magnetic screens
- Frequently asked questions
Key Takeaways
| Point | Details |
|---|---|
| Magnetic attachment | Magnetic privacy screens attach quickly without adhesives, enabling hassle-free use during travel. |
| Privacy by angle | Screens protect data by blacking out views outside a narrow ±30° viewing cone, not by obscuring all angles. |
| Laptop closure | Selecting screens that allow full MacBook closure maintains sleep mode and protects your device on the go. |
| Trade-offs | Expect a brightness drop up to 15% and potential slight fit gaps depending on screen thickness. |
| Eye comfort | Blue light filtering dual benefits privacy and reduces eye strain during extended screen time. |
Understanding magnetic privacy screens and how they work
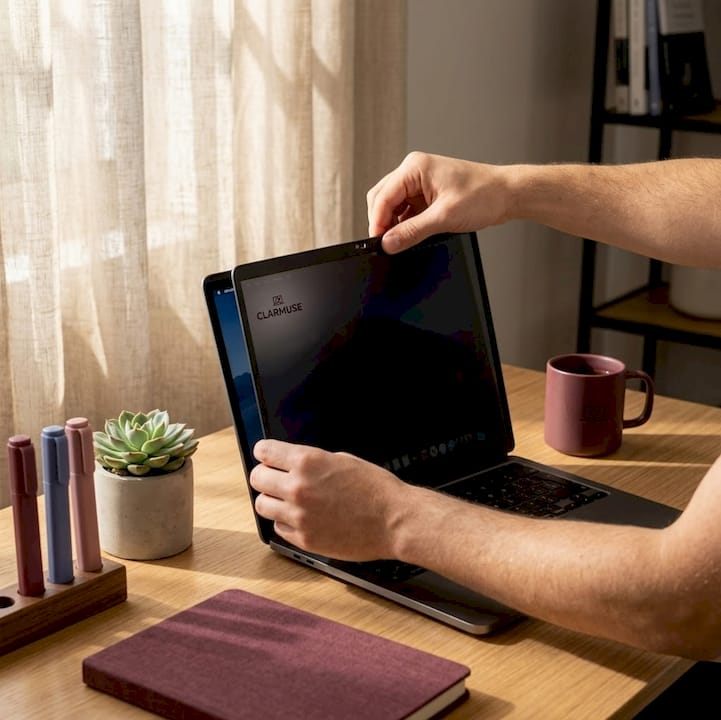
Magnetic privacy screens solve a problem that adhesive filters never fully cracked: convenience. Standard privacy filters require careful application, leave residue, and rarely survive repeated removal. Magnetic versions use built-in magnet strips along the frame edges to snap directly onto your MacBook’s magnetic bezel. The result is a clean, flush fit you can pull off and put back on in two seconds.
The core technology is view-angle engineering, not just screen darkening. The filter contains microscopic louver layers, similar to window blinds, that block light traveling at angles beyond roughly ±30° from center. That creates a 60-degree visibility cone for the person sitting directly in front. Anyone sitting to the side sees a blacked-out panel. Understanding how MacBook privacy filters work helps you position your laptop correctly to get the full benefit of this cone.
A key advantage specific to MacBook-compatible designs: magnetic privacy screen protectors attach in seconds using built-in magnets and narrow the viewing angle to ±30°, while allowing your MacBook to close completely and enter sleep mode without removing the filter. That last point matters more than most buyers realize. If closing the lid requires you to peel off the filter first, you will stop using it within a week.
Most quality magnetic screens also offer a reversible design:
- Matte side scatters ambient light to cut glare, ideal for window seats or bright coworking spaces
- Glossy side preserves richer color and contrast for design reviews or video calls in controlled lighting
- Blue-light filtering built into the layers reduces eye strain during long work sessions
- Model-specific sizing ensures coverage reaches the exact screen edges without gaps or overhang
Pro Tip: When you first attach the screen in a new location, glance at a reflective surface nearby, such as a window or dark wall, to confirm the side-view is genuinely blacked out. The reflection test catches misalignment that’s easy to miss when focused on your work.
Benefits and practical trade-offs of using magnetic screens during travel
Traveling with a MacBook means working in unpredictable conditions. Coffee shop tables vary in width. Plane seats put strangers within inches of your screen. Train seating is almost always side-by-side. Magnetic screens address these conditions directly, but they come with real trade-offs worth understanding before you buy.
The case for using one:
- Blocks visual hacking in public spaces without requiring posture changes or constant vigilance
- Reduces blue light by 35% and provides reversible matte and glossy finishes, which is meaningful relief during a six-hour flight
- Quick magnetic removal means you can share your screen with a colleague without fumbling with adhesive edges
- No residue, no alignment tape, no accessories to lose in a bag
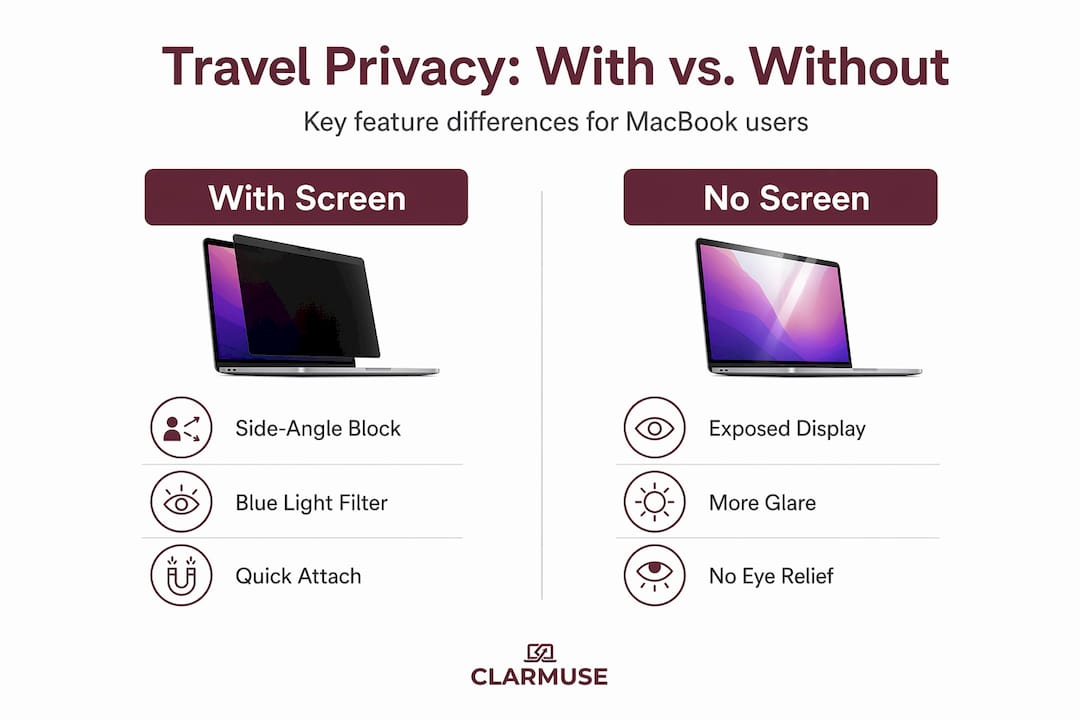
The honest trade-offs:
| Feature | With magnetic screen | Without magnetic screen |
|---|---|---|
| Side-angle privacy | Blocked at ±30° | Fully visible |
| Screen brightness | Reduced by ~15% | Full brightness |
| Laptop closure | Possible (model dependent) | Standard |
| Blue-light reduction | Yes, ~35% | No |
| Color accuracy | Slightly reduced | Full gamut |
| Glare control | Matte side reduces glare | No reduction |
| Weight added | Minimal (< 50g) | None |
The brightness reduction deserves attention. Screen brightness drops by 15%, which is noticeable in direct sunlight. You can compensate by increasing display brightness in System Settings, but on battery that speeds up drain. In indoor or shaded environments, the difference is rarely a problem.
Fit is another practical consideration. Filter thickness varies by manufacturer. Thicker builds, generally above 0.5 mm, can create a small gap between the screen and keyboard deck when the lid is closed. That gap is usually harmless, but it means the MacBook does not fully enter sleep mode on some older models.
Before committing to any filter, check whether the product page specifically confirms full laptop closure and sleep mode compatibility with your exact MacBook model. A Magnetic Privacy Screen for MacBook Pro 14.2 designed for that specific chassis will fit more precisely than a generic size.
Pro Tip: Use the matte side as your default for travel. Most shared spaces, airports, and hotel lobbies have overhead lighting that creates glare, and the matte finish handles that better than glossy. Switch to glossy only when color work demands it.
Key considerations to choose and use magnetic screens effectively
Selecting the wrong screen size or attachment type turns a useful tool into a frustrating one. Here is a focused checklist for getting this right before your next trip.
- Match your exact MacBook model. Screen dimensions vary by fractions of an inch across MacBook Air and Pro generations. A screen cut for a 13-inch Pro will not align correctly on a 14-inch Pro. Check your device’s exact inch designation in System Information before ordering.
- Confirm sleep mode compatibility. Choose screens that allow the MacBook to close completely and enter sleep mode without removal. Waking issues during transit, such as a laptop that turns on inside a bag, drain battery and risk data exposure.
- Check filter thickness. Aim for 0.3 to 0.5 mm. Screens in this range consistently allow full closure on modern MacBook models without a gap.
- Verify magnet placement. Quality magnetic screens align their magnet strips with the MacBook’s built-in bezel magnets. If a screen uses generic corners-only magnets, it will shift during use and compromise the privacy cone.
- Test alignment on arrival. Every time you open your MacBook in a new location, spend two seconds confirming the filter sits flush. A screen shifted by a few millimeters can open up visible angles you did not intend.
- Clean regularly. Static charge on screen surfaces attracts dust faster than most surfaces. A quick wipe with a microfiber cloth before each use keeps the filter clear and prevents particulates from scratching the glass beneath.
Explore MacBook Pro magnetic privacy screen options organized by exact model to simplify the compatibility check.
Pro Tip: Mark your filter with a small sticker dot on the matte side so you always know which side faces out. After swapping sides a few times in different lighting conditions, it gets easy to lose track, especially when packing quickly.
Maximizing privacy and productivity with magnetic privacy screens on the go
Owning the right screen is step one. Using it correctly across different travel environments is where most people leave value on the table. These habits separate users who get consistent privacy from those who have the screen attached but are still being watched.
Build a placement routine. Every time you settle into a new seat, position your MacBook screen at a slight backward tilt, around 100 to 105 degrees from the keyboard. This angle points the visibility cone toward your eye level, not upward toward someone standing behind you. Combined with a properly aligned filter, this cuts off most viable observation angles.
- Switch to the matte side for window seats, outdoor terraces, and airport gates where overhead or natural light causes glare
- Switch to glossy for hotel room desks, dimly lit lounges, or any environment where color accuracy matters for the work at hand
- Remove the screen entirely in private rooms where color-critical work is the priority and no observers are present
Use blue-light filtering intentionally. View-angle engineering creates a precise narrow cone, not just screen darkening, and the same filter also handles blue light in the process. On overnight flights or early-morning hotel sessions, this combination reduces the eye fatigue that accumulates over a full travel day. It is not a substitute for proper sleep, but the difference over a multi-day trip is tangible.
Pair the screen with seating awareness. Magnetic filters block side angles well. They do not block direct views from directly behind you. When sitting in open café seating, position yourself with your back to a wall or corner. The filter handles the sides. Your position handles the rear. Together, these layers of protection cover nearly all realistic observation angles. Learn more about applying these strategies by visiting best privacy screens for public spaces.
Store it properly. Most filter damage happens in transit, not during use. Place the screen in a rigid sleeve or the main laptop compartment of your bag, never loose in a side pocket where keys or cables can scratch the surface.
Pro Tip: Establish a two-check habit: once when you open your laptop to confirm alignment, and once when you pack to confirm the filter is stored flat. Two seconds per session prevents the most common problems.
Why magnetic privacy screens are essential travel tools for MacBook users, not just accessories
Here is the misconception we see most often: people assume a privacy screen is just a tinted overlay that makes the display harder to see from any direction. That thinking leads to disappointment and abandonment of a genuinely useful product.
Magnetic privacy works by view-angle engineering requiring correct alignment. It is not total privacy from all sides. It is a calibrated, directional tool. Used correctly, it is highly effective. Used carelessly, with the screen shifted two centimeters to the left or the laptop at the wrong tilt angle, it can leave meaningful gaps in coverage.
This distinction matters because it changes how you think about the product. If you treat a magnetic privacy screen like a passive, set-and-forget accessory, you will underuse it. If you treat it like a deliberate work habit, the same way you would choose a seat facing a wall or reduce your screen brightness before opening sensitive documents in public, you get consistent, reliable protection.
The blue-light filtering built into these screens is an underrated benefit. Most travelers accept eye strain as part of working on the road. The combination of privacy and eye protection in one lightweight attachment is a practical return on a modest investment, one that compounds across dozens of trips per year.
For frequent MacBook travelers, the cost of one data exposure incident, reputational or professional, far exceeds the cost of the tool that prevents it. The real value is not the filter itself but the habit it supports: being intentional about where your data is visible, and to whom. Understanding how MacBook privacy filters work at a mechanical level makes that intentionality easier to build.
Secure your MacBook privacy with Clarmuse magnetic screens
Working in shared spaces does not have to mean compromising what is on your screen. Clarmuse designs MacBook Pro magnetic privacy screen protectors built for exactly this situation: quick magnetic attachment, full laptop closure support, blue-light filtering, and reversible matte and glossy finishes.
Each screen is sized for specific MacBook Air and MacBook Pro models, so compatibility is built in rather than guessed at. The viewing angle narrows to ±30°, blocking side-view exposure in cafés, airports, trains, and hotel lobbies without changing how your laptop looks or feels in your bag. The privacy screen protector for MacBook Pro 14.2 is a practical starting point if you want a model-specific fit. For a broader overview of how these filters function before you choose, learn how MacBook privacy filters work on the Clarmuse site.
Frequently asked questions
What does the ±30° viewing angle mean for privacy screens?
The screen is visible only within a 60-degree cone directly in front of you, blocking side views to prevent people seated nearby from seeing your content. Anyone outside that cone sees a dark, unreadable panel.
Will magnetic privacy screens reduce my MacBook’s screen brightness?
Yes. Peak brightness drops by ~15%, which is manageable indoors but noticeable in direct sunlight. Increasing display brightness in System Settings compensates for most conditions.
Can I close my MacBook fully with the magnetic screen attached?
Most quality magnetic screens allow full closure. Screens that let the MacBook close completely prevent sleep disruption and battery drain during transit, so confirm this before buying.
Are magnetic privacy screens effective against all viewing angles?
No. They block views outside the specified cone effectively, but only when the screen is correctly aligned. Correct placement is essential for the filter to function as intended. Rear angles are not blocked regardless of alignment.
How do I maintain my magnetic privacy screen while traveling?
Wipe the surface with a microfiber cloth before each use, as filters attract dust rapidly due to static charge. Store the filter flat in a protective sleeve rather than loose in a bag pocket to prevent scratches.


