

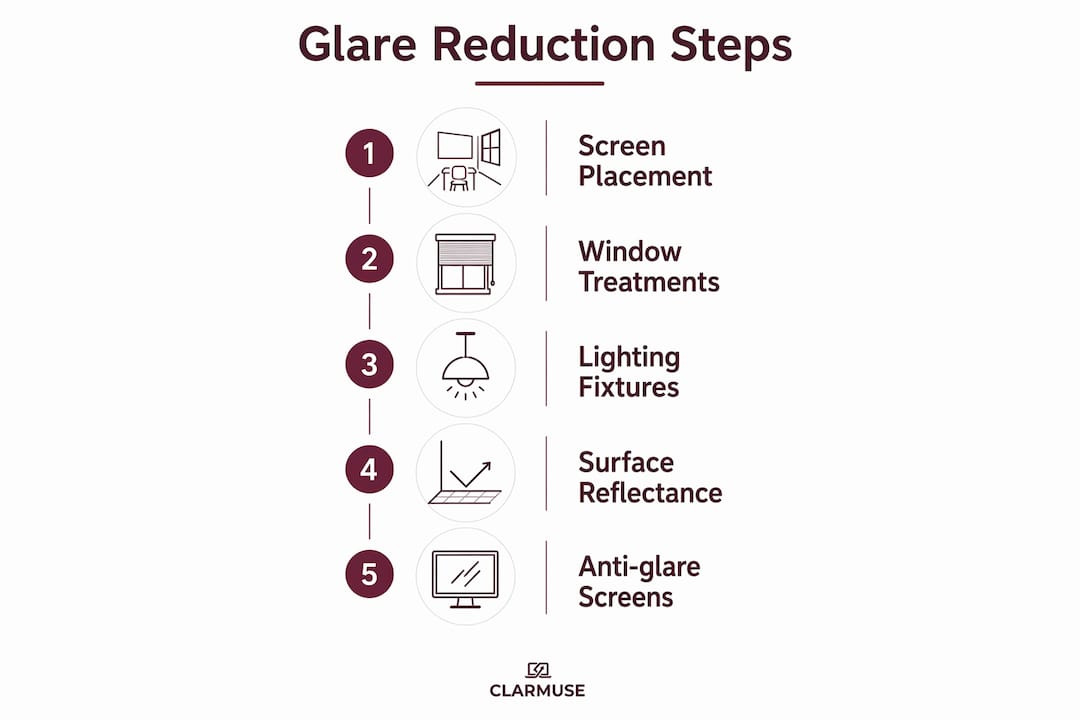
The most effective way to reduce screen glare in classroom lighting combines three actions: position screens perpendicular to windows, select diffused LED fixtures that keep the Unified Glare Rating below 19, and treat reflective surfaces with matte finishes. No single fix works alone. Glare is a geometry and contrast problem, not simply a brightness problem, and solving it requires addressing all three layers simultaneously.
Key methods at a glance:
- Position screens so windows fall to the side, never in front or behind
- Install adjustable blinds or solar control window films to moderate natural light
- Choose pendant asymmetric lens (PAL) or blackboard asymmetric lens (BAL) LED luminaires for diffused, uniform output
- Apply matte coatings to desks, whiteboards, and walls to absorb reflected light
- Maintain illuminance levels of 30–50 foot-candles (300–500 lux) with a CRI of 80 or higher
- Balance screen brightness with ambient light to reduce eye strain rather than simply dimming screens
- Clean screens and fixtures regularly to prevent haze and scattering
How to reduce screen glare with classroom window treatments
Natural light is the most variable and hardest-to-control glare source in any classroom. The direction a window faces determines which treatment works best, and getting that match right makes a measurable difference in screen visibility throughout the day.
- Install vertical blinds on east- and west-facing windows, where low-angle morning and afternoon sun creates the most direct glare. Use horizontal blinds on north- and south-facing windows for more even solar control.
- Apply high-performance solar control window films, which can reject 50–80% of solar radiation while preserving usable daylight. Unlike blinds, films require no daily adjustment and work passively throughout the school day.
- Layer sheer curtains over primary blinds to diffuse intense sunlight without darkening the room. This approach keeps the space bright enough for reading while softening the contrast that causes veiling glare on screens.
- Position desks and screens at least 3 feet from windows and never facing them directly. That distance alone reduces the intensity of reflected light reaching the display surface.
- Balance ambient lighting across the room to prevent the extreme contrast between a bright window and a darker screen area. That contrast gap, not raw brightness, is what drives glare-induced eye strain.
Pro Tip: During a site walk, turn off all overhead lights and observe which windows create bright rectangles on screen surfaces. Those are your priority treatment locations.
Which lighting fixtures minimize glare on classroom screens?
Fixture choice is where many schools make their biggest mistake. Standard recessed fluorescent panels push light straight down, creating harsh pools of brightness that reflect directly off screens and glossy desks. The right fixture type changes the entire light distribution pattern.
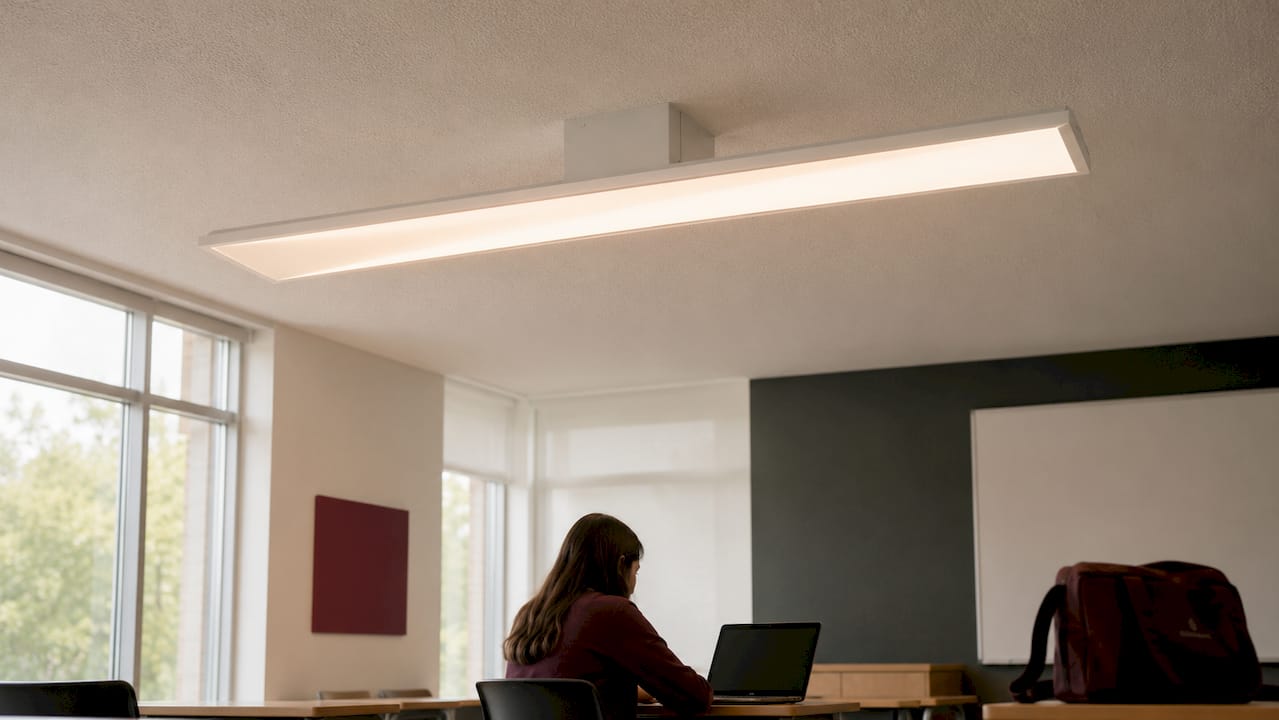
- Favor PAL and BAL LED luminaires, which achieve UGR values below 10 by directing light indirectly through the ceiling, effectively turning the ceiling into a large, soft secondary light source. That approach eliminates shadows from ceiling fans and furniture while producing uniform workspace illuminance of 660–720 lux.
- Target a UGR below 19 for all occupied classroom zones. Research confirms that UGR values approaching 19 mark the threshold where visual discomfort becomes measurable, and staying well below that threshold sustains student focus during extended screen use.
- Meet the IES illuminance standard of 300–500 lux with a CRI of 80 or higher. Computer labs specifically require glare control as a primary design criterion, not an afterthought.
- Avoid placing overhead fixtures directly above screen positions. Light hitting a display from directly above creates a reflection that no screen tilt can fully eliminate.
- Install dimmers or zoned controls so teachers can reduce output during presentations or video sessions without plunging the room into darkness. Dimming the fixtures nearest windows by 15–20% while running front-row fixtures at full output keeps illuminance uniform across the room.
- Specify diffusers or frosted lenses on any conventional fixture that cannot be replaced. Diffusers soften the luminous intensity distribution and reduce the sharp brightness contrasts that produce direct glare.
Statistic callout: Reducing lamp count from 15 to 9 cuts energy use by 40% but pushes UGR from 13 to 18, dangerously close to the discomfort threshold. A 12-lamp configuration achieves a 20% energy saving while holding UGR at 14 and uniformity at 0.67. Lamp count and fixture type must be optimized together.
How to reduce reflections from classroom surfaces
Surfaces are silent glare contributors. A glossy desk reflects ceiling fixtures upward onto a screen. A whiteboard with a semi-gloss finish bounces window light across the room. These secondary reflections are often the last thing administrators address, yet they account for a large share of the visual discomfort students report.
- Apply matte or anti-glare coatings to desks, whiteboards, and walls. Matte finishes scatter incident light rather than reflecting it directionally, which prevents the mirror-like reflections that cause veiling glare on nearby screens.
- Choose furniture with laminate or textured matte surfaces rather than glass or polished wood. Glass desks amplify upward light bounce; even lightly polished wood creates subtle reflections that reach display surfaces during bright hours.
- Avoid glossy or semi-gloss wall paints, particularly on walls that face windows. Light-colored glossy walls act as secondary reflectors, spreading sunlight and artificial light unpredictably across the room.
- Target surface reflectance values that support both comfort and energy efficiency: ceiling at 85% or higher, walls at 80% or higher, and floor at 40% or higher. Ceiling reflectance alone accounts for 50.9% of illuminance variance in classroom simulations, making it the single most impactful surface to address.
- Clean screens, whiteboards, and desk surfaces on a regular schedule. Dust and fingerprints scatter light and increase haze, which worsens both reflection glare and veiling glare without any change in the lighting setup.
- Arrange furniture so reflective angles do not point toward screen positions. Angling desks slightly away from primary light sources reduces reflection paths without requiring any surface treatment at all.
General best practices for a glare-free classroom environment
Getting the room geometry right costs nothing and delivers immediate results. Most glare problems in classrooms trace back to screen placement and contrast imbalance, both of which are fixable without purchasing new equipment.
- Position monitors perpendicular to windows so the window falls at the student’s 3 o’clock or 9 o’clock position. Perpendicular placement removes the direct reflection path that causes the most intense glare and makes contrast much easier to control.
- Use the micro-tilt technique: start with the screen vertical, then tilt it slightly downward until reflections stop following head movement. A few degrees of downward tilt redirects overhead light reflections toward the floor rather than the viewer’s eyes, and it works where brightness adjustments cannot.
- Never place a screen directly in front of or behind a window. A window behind the screen turns the display into a mirror. A window in front forces students’ eyes to fight a bright background while reading a smaller, dimmer display.
- Avoid positioning screens directly below overhead light fixtures. When that arrangement is unavoidable, reducing the number of active lamps in that fixture brings local light levels into a more compatible range for screen work.
- Set screen brightness to match the brightness of the area directly behind the display. That balance reduces the contrast gap that drives eye strain, and it works better than simply lowering screen brightness alone.
- Add supplemental task lighting directed at desk surfaces for reading and writing tasks, but never aimed at the screen itself. Task lighting behind or beside the monitor, not above it, keeps the visual field balanced.
- Remove or replace highly reflective desk accessories, white paper stacks, and glossy binders from the immediate screen area. These items act as small secondary reflectors and contribute to the overall glare load in ways that are easy to overlook.
Pro Tip: Run the “black mirror test” periodically: turn a screen off or open a fully black image and observe what bright sources appear in the reflection. Fix those sources in order: rotate the desk, micro-tilt the screen, then soften the light source.
What the latest research says about classroom lighting and student performance
The 2025 research base on classroom lighting is more specific than most facility guides acknowledge. Standards and peer-reviewed studies now point to precise targets, not general ranges, and the findings have direct implications for how schools specify and retrofit lighting.
The 2025 IES standards set general classroom illuminance at 30–50 foot-candles (300–500 lux) with a minimum CRI of 80. Computer labs carry the same foot-candle range but treat glare control as a primary requirement, not a secondary consideration. Fixtures with shielding and high Visual Comfort Probability ratings are the specified solution for whiteboard and screen environments.
Color temperature has a measurable effect on cognitive performance. A controlled study of students aged 10–13 found that 4000K correlated color temperature produced the best cognitive outcomes and the highest comfort ratings, with the lowest EEG absolute power scores indicating reduced mental stress. Female students showed slightly better performance under cooler light; male students performed better under warmer conditions. A fixed 4000K target serves as a practical compromise for mixed classrooms.
Surface reflectance is the most underused lever in classroom lighting design. High-reflectance ceilings and walls improve light distribution uniformity and lower UGR simultaneously, which means schools can often reduce lamp count and energy use without sacrificing visual comfort. The 40% energy saving cited in Section 3 depends on combining optimized lamp counts with ceiling reflectance at 90%, wall reflectance at 80%, and floor reflectance at 40%.
PAL and BAL LED luminaires represent the current performance ceiling for classroom glare control. By using the ceiling as an indirect light source, these systems achieve UGR values below 10 from every viewing angle, eliminating the shadow and glare problems that conventional fluorescent panels and recessed LED panels cannot resolve. Workspace illuminance of 660–720 lux with uniformity values above 0.8 puts these systems well above the EN 12464-1:2021 minimum requirements.
Do anti-glare screen protectors actually help in classrooms?
Anti-glare screen protectors work by scattering incident light before it reaches the viewer’s eyes, which reduces mirror-like reflections on glossy displays. They are a legitimate tool, but they belong at the end of the glare-control sequence, not the beginning.
The trade-off is real: anti-glare films scatter light and reduce direct reflections, but they can also reduce screen sharpness and contrast. In a classroom where students are reading small text or following detailed diagrams, that reduction in clarity creates its own visual fatigue. Fix the room first, then apply a protector if residual glare remains.
For MacBook users in classrooms and shared educational spaces, Clarmuse magnetic privacy screen protectors attach without adhesive and remove cleanly, making them practical for students who move between rooms or carry their laptops between campus locations. The magnetic attachment means no residue on the display and no alignment guesswork. Clarmuse designs each filter specifically for MacBook Air and MacBook Pro dimensions, so the fit is exact rather than trimmed from a generic sheet.
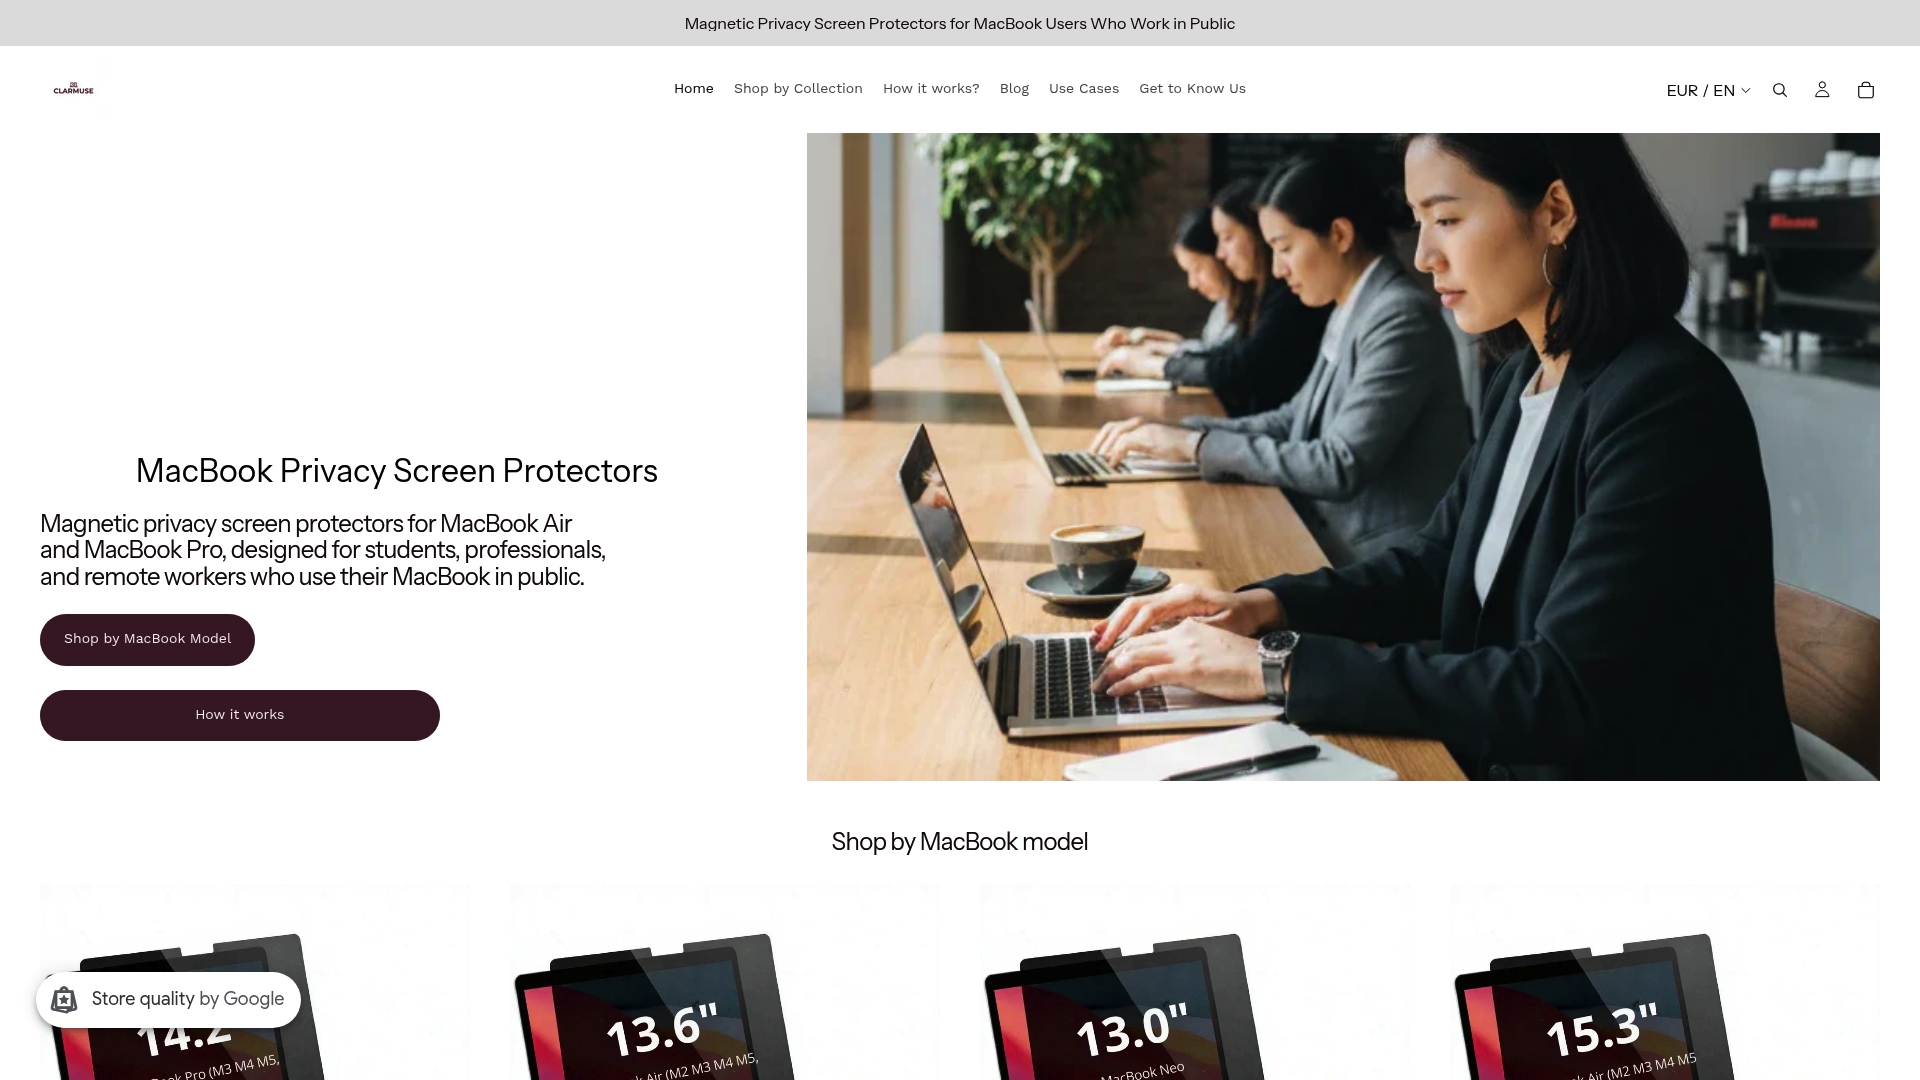
Clarmuse filters serve a dual function: they reduce side-angle screen visibility for privacy in shared spaces and diffuse direct reflections that environmental controls alone cannot eliminate. For a student working near a window in a lecture hall or library, that combination addresses both the glare problem and the privacy concern in one accessory. Browse the full range of MacBook privacy screen protectors or go directly to the MacBook Pro 16.2" filter if you know your model.
How should you position screens relative to windows and light sources?
Screen placement is the highest-leverage, zero-cost intervention available to any educator or facility manager. Getting it right before purchasing any equipment or treatment is the correct sequence.

The core rule: the window goes to the side. Place the monitor so the window falls at roughly a 90-degree angle to the screen surface. That geometry prevents the window from appearing as a bright rectangle in the display and makes contrast far easier to manage. A window directly behind the screen turns the display into a mirror. A window directly in front forces the viewer’s eyes to constantly re-adapt between a bright background and a dimmer screen, which is the primary driver of contrast fatigue and eye strain during long sessions.
Overhead lights follow the same logic. A fixture directly above a screen creates a reflection that moves as the student shifts posture. Moving the screen slightly off-axis from the fixture, or micro-tilting the display downward, redirects that reflection away from the line of sight. The goal is a stable glare-free zone across the full range of normal head movement, not a single perfect angle that disappears the moment the student leans forward.
For classrooms where desk rotation is not possible, the priority order is: soften the window with a sheer curtain or angled blind, then micro-tilt the screen downward, then add soft ambient light around the monitor to reduce the contrast gap. That sequence addresses both reflection glare and veiling glare without requiring any structural changes to the room.
Key Takeaways
Effective glare control in classrooms requires coordinating screen placement, fixture selection, surface treatment, and window management rather than addressing any single factor alone.
| Point | Details |
|---|---|
| Screen placement first | Position screens perpendicular to windows; side placement eliminates the most intense reflection glare at zero cost. |
| IES illuminance targets | Maintain 30–50 foot-candles (300–500 lux) with CRI 80 or higher per 2025 IES standards for general classrooms. |
| UGR below 19 | Keep the Unified Glare Rating below 19 across all occupied zones; PAL and BAL LED luminaires achieve UGR below 10. |
| Surface reflectance matters | Ceiling reflectance at 85% or higher accounts for 50.9% of illuminance variance and lowers UGR simultaneously. |
| Anti-glare protectors last | Apply anti-glare screen films only after fixing room geometry and lighting; they reduce reflections but can reduce screen sharpness. |
FAQ
How do you reduce screen glare from a light source?
Position the screen perpendicular to the light source so the window or fixture falls to the side rather than in front or behind. Then micro-tilt the display slightly downward to redirect overhead reflections away from the viewer’s eyes.
What type of lighting is best for classrooms with screens?
Pendant asymmetric lens LED luminaires produce the best results, achieving UGR values below 10. The 2025 IES standard targets 300–500 lux with a CRI of 80 or higher for general classrooms.
How do you reduce glare in classroom lighting without dimming the room?
Use diffusers or frosted lenses on existing fixtures, raise ceiling and wall reflectance to 85% and 80% respectively, and install solar control window films that block 50–80% of solar radiation while preserving natural light.
How do you make a light source anti-glare?
Fit the fixture with a diffuser or frosted lens to scatter the output, or replace it with an indirect luminaire that bounces light off a high-reflectance ceiling. Both methods reduce the luminance contrast that the Unified Glare Rating measures.
Do anti-glare screen protectors work for classroom laptops?
They reduce mirror-like reflections but can lower screen sharpness and contrast. Fix screen placement and room lighting first; apply a protector as a secondary measure if residual glare remains after environmental adjustments.


