
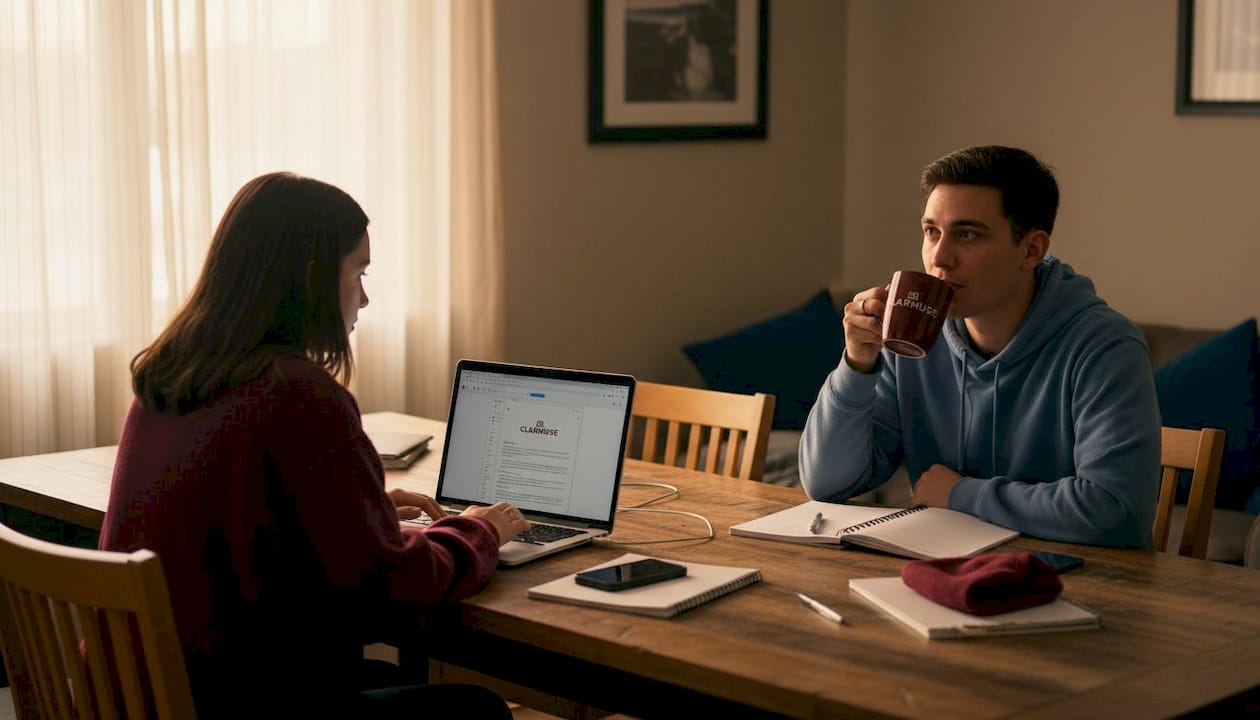
You glance away from your MacBook for a second to grab your coffee, and the person sitting two seats down at the common room table has already seen your email draft, your grade notification, or a private message thread. Most students assume that simply dimming the screen or angling it slightly is enough protection. It is not. In shared dormitory spaces, side-angle visibility is a real and underestimated risk, and the good news is there are practical, clean solutions that protect your data without making your MacBook look like it came out of a tech surplus bin.
Table of Contents
- Why privacy matters in dormitory common rooms
- How MacBook privacy screens work (and their limitations)
- Magnetic vs. adhesive privacy screens: Which is right for you?
- Installation, fit, and dorm aesthetic: Avoiding common mistakes
- What students and privacy experts wish they’d known sooner
- Find your perfect dorm-friendly MacBook privacy screen
- Frequently asked questions
Key Takeaways
| Point | Details |
|---|---|
| Side-glance blocking | Privacy screens prevent others in dorms from easily viewing your MacBook display from the side. |
| Magnetic offers flexibility | Magnetic filters enable fast on/off switching for changing between private and collaborative study sessions. |
| Model-specific fit matters | Getting a filter that matches your MacBook model ensures full closure, good sleep-mode functionality, and no blocked sensors. |
| Beware brightness changes | Privacy filters can dim your display and shift colors, so remove them for design or editing work. |
| Aesthetic stays intact | Well-chosen privacy screens maintain your MacBook’s appearance, avoiding bulky accessories or adhesive mess. |
Why privacy matters in dormitory common rooms
Dormitory common rooms are a specific kind of shared space. They are not quiet libraries or semi-private offices. They are spaces where strangers, classmates, and floormates move in and out constantly. The person next to you might change every 20 minutes. Foot traffic passes behind you regularly. The table arrangement usually puts multiple people at close proximity, often at angles where your screen is clearly visible.
The information most at risk in these environments includes:
- Academic grades and academic platform dashboards (Canvas, Blackboard, Brightspace)
- Personal emails and private message threads (Gmail, iMessage, WhatsApp Web)
- Financial account pages and bank login screens
- Assignment drafts and research notes that are not yet ready to share
- Password managers and login credential pages
The problem with communal living is that visibility risk is passive. Nobody around you has to be intentionally snooping. They simply look up, and your screen is right there. A casual glance from someone sitting at a 45 degree angle can reveal an entire browser tab. Most standard MacBook displays have wide viewing angles by design, which is a feature for collaborative work but a liability in shared study spaces.
“A laptop privacy screen narrows the viewing angle so only someone seated directly in front can read the display, while side viewers see a darkened screen.”
Understanding how screen visibility actually works in a typical dorm layout is helpful here. MacBook Retina displays are bright, high-contrast, and highly legible at off-axis angles, often up to 60 to 80 degrees from center. That means someone sitting beside you, behind you, or even passing your table has an easy line of sight to your content. A privacy setup in shared spaces starts with acknowledging that the screen itself is the vulnerability, not the behavior of the people around you.
How MacBook privacy screens work (and their limitations)
The core technology in most privacy screens is called microlouver filtering. Think of it like a window blind: thin vertical slats inside the filter layer block light at angles beyond a set threshold, usually around 60 degrees total (30 degrees to each side). Anyone looking at your screen from the front sees a normal, clear image. Anyone beyond that angle sees a nearly black surface.
This technology is practical for the most common dorm scenario. As ZDNET notes, for shared tables with strangers or roommates, a privacy filter is a fast-on solution for shielding onscreen content like spreadsheets and messages from casual shoulder-surfing. You do not need to reconfigure software settings or memorize keyboard shortcuts. The filter does the work passively as long as it is attached.
Here is a quick summary of what privacy screens handle well versus where they have limits:
| Use case | Privacy screen performance |
|---|---|
| Hiding emails and messages | Excellent |
| Blocking grade portal views | Excellent |
| Casual over-the-shoulder protection | Excellent |
| Photo and video editing (color work) | Poor |
| Late-night screen brightness | Reduced |
| HDR video playback | Reduced |
| General web browsing and writing | Good |
| Spreadsheets and academic dashboards | Excellent |
The limitation that catches most students off guard involves color accuracy. The same ZDNET review confirms that privacy filters can dim the display and change brightness and color, reducing accuracy for photo and video editing work. If you are in a design, photography, or film program, you will likely need to remove the filter during those specific sessions. The good news is that a magnetic privacy screen makes that switch fast, with no adhesive residue or awkward peeling involved.
Beyond color work, there are now AI-based privacy tools that address digital privacy at the software level, but they do not solve the physical screen visibility problem. A hardware filter remains the only reliable solution for preventing someone nearby from reading your display.
Pro Tip: Remove your privacy screen when doing any color-sensitive work. Reattach it the moment you move back to documents, email, or anything you would not want a stranger to read at a glance.
Students who want to understand more about privacy screens for students can also explore how different MacBook sizes affect the filter choice, since screen dimensions vary significantly between Air and Pro models. Knowing your exact display size before purchasing makes the difference between a clean fit and a filter that covers the camera or leaves gaps at the edges. For guidance on managing privacy in public, the same principles apply whether you are in a dorm or a cafe.
Magnetic vs. adhesive privacy screens: Which is right for you?
The method of attachment is one of the most important factors for dorm users. Two main options exist: magnetic attachment and adhesive attachment.
| Feature | Magnetic | Adhesive |
|---|---|---|
| Attachment method | Magnets align to MacBook frame | Sticky tabs or strips |
| Removal frequency | Multiple times per day, easy | Occasional, risks residue |
| Installation time | Under 10 seconds | Several minutes |
| Adhesive residue risk | None | Moderate to high |
| MacBook lid closure | Compatible when well designed | Can create clearance issues |
| Dorm aesthetic | Clean and minimal | Bulkier appearance |
| Best for | Active toggling between shared and private sessions | Permanent or near-permanent use |
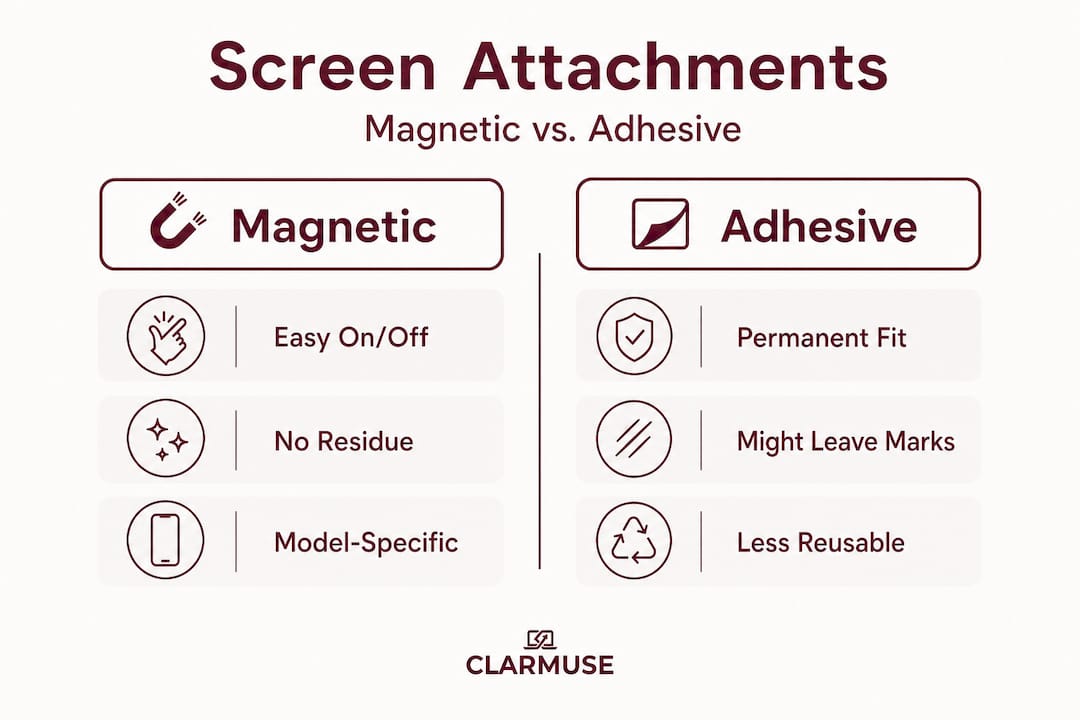
Kensington’s explainer confirms the core tradeoff: magnetic is easier to attach and remove for frequent shared-room use, while adhesive is more permanent but less convenient to toggle. For dorm life, where you might be studying alone in your room one hour and then in a packed common room the next, magnetic is the practical choice.
The other major advantage of magnetic screens for students is MacBook compatibility. When designed correctly, a magnetic MacBook filter attaches without adhesives and still allows full lid closure and sleep-mode behavior. This matters because if your MacBook cannot close fully, you risk waking up to a drained battery or, worse, stress on the display hinge over time.
Key things to look for when choosing a magnetic privacy screen for dorm use:
- Model-specific sizing so the filter aligns precisely with your display edges
- Thin profile that does not interfere with lid closure
- No adhesive strips that could leave residue on a MacBook you may want to resell
- Clean border design that does not look like an afterthought on a premium laptop
- Quick-detach mechanism so removing it before a creative session takes seconds
Pro Tip: Always verify the specific MacBook model compatibility before purchasing. A filter listed as “13-inch compatible” may not account for the different notch placement on a MacBook Air M2 versus a MacBook Pro 13. Exact model fit is non-negotiable for a clean look.
Installation, fit, and dorm aesthetic: Avoiding common mistakes
Getting the installation right the first time saves frustration and protects both your MacBook and your privacy screen. The process is straightforward, but a few common mistakes are worth knowing in advance.
Step-by-step installation basics:
- Identify your exact MacBook model. Check System Settings > About This Mac. Note the model name, year, and chip (M1, M2, M3, M4) because these affect display dimensions.
- Clean the MacBook screen before attaching. Dust or smudges under the filter will be visible and harder to remove later.
- Align from the top edge first, since the camera notch and speaker cutouts (on Pro models) are the tightest tolerance points.
- Lower the filter gently and confirm even margins on all four sides before pressing into final position.
- Close the lid gently to test clearance. The MacBook should close flush without resistance.
- Open and remove once to confirm easy release, then reattach for daily use.
The fit issue is worth dwelling on. As Accessory Tested advises, if a privacy filter is too thick for a MacBook’s hinge clearance, it can prevent the lid from closing fully and can cause sleep-mode issues or put stress on the display and hinge. This is not a theoretical concern. Filters purchased based on generic screen size rather than exact model compatibility are a common source of this problem.
“For dorm common rooms specifically, prioritize a privacy screen that is model-specific for your MacBook’s notch and camera placement, thin enough to allow full lid closure, and uses microlouver-style angle narrowing rather than just matte anti-glare.”
Matte anti-glare filters deserve a specific note here because they are sometimes marketed as privacy solutions. They reduce glare and diffuse the screen somewhat, but they do not narrow the viewing angle. Someone sitting beside you can still read your screen clearly. The microlouver structure is what creates actual privacy protection. Do not confuse the two when shopping.
For dorm aesthetics, the goal is a filter that looks like part of the MacBook rather than an accessory bolted on as an afterthought. Thin profile, clean edge alignment, and no visible adhesive marks are the benchmarks. Model-specific MacBook screens are designed around these constraints, which is why sizing precision matters beyond just getting the filter to physically fit.
Pro Tip: Wipe your privacy screen with a dry microfiber cloth whenever you clean your MacBook. Avoid any liquid cleaners on the filter surface since they can degrade the microlouver layer over time.
What students and privacy experts wish they’d known sooner
Here is something most privacy screen marketing will not tell you: the single biggest mistake students make is not buying the wrong filter. It is underestimating the risk until one specific incident changes their behavior permanently.
The “oops moment” is nearly universal. A roommate walks by and casually reads out loud a line from a private email. A classmate at the common room table asks about a grade they just saw on your screen. It is never dramatic. But it shifts how you think about screen visibility in an instant. The students who get ahead of that moment tend to be the ones who think about student-tested privacy screens before the incident rather than after.
The tradeoff between color accuracy and privacy is another area where practical experience matters more than product descriptions. Most students in design or media programs initially resist privacy screens because of the brightness reduction. What they often find, after testing, is that the filter only needs to be attached during the majority of their sessions (writing, browsing, email, reading) and removed for the minority (actual editing work). The filter is not an all-or-nothing commitment.
Model-precise fit is the detail that separates a good experience from a frustrating one. A filter that fits a MacBook Air 13-inch M1 will not necessarily fit an M2 model correctly because of the notch placement change Apple introduced in 2022. Buying based on screen size alone results in filters that block the camera, leave uneven gaps, or create hinge clearance problems. Fit specificity is not a marketing detail. It is the practical foundation of a privacy screen that works without constant adjustment.
The broader point is this: physical screen privacy is a simple, hardware-level fix for a real and underappreciated vulnerability. The students who use privacy screens in dorm common rooms do not have to think about who is sitting near them. That is the actual value.
Find your perfect dorm-friendly MacBook privacy screen
Clarmuse builds magnetic privacy screens designed specifically for MacBook Air and MacBook Pro models. Every filter is sized for exact model compatibility, covering notch placement, display dimensions, and hinge clearance so you get a clean fit without compromise.
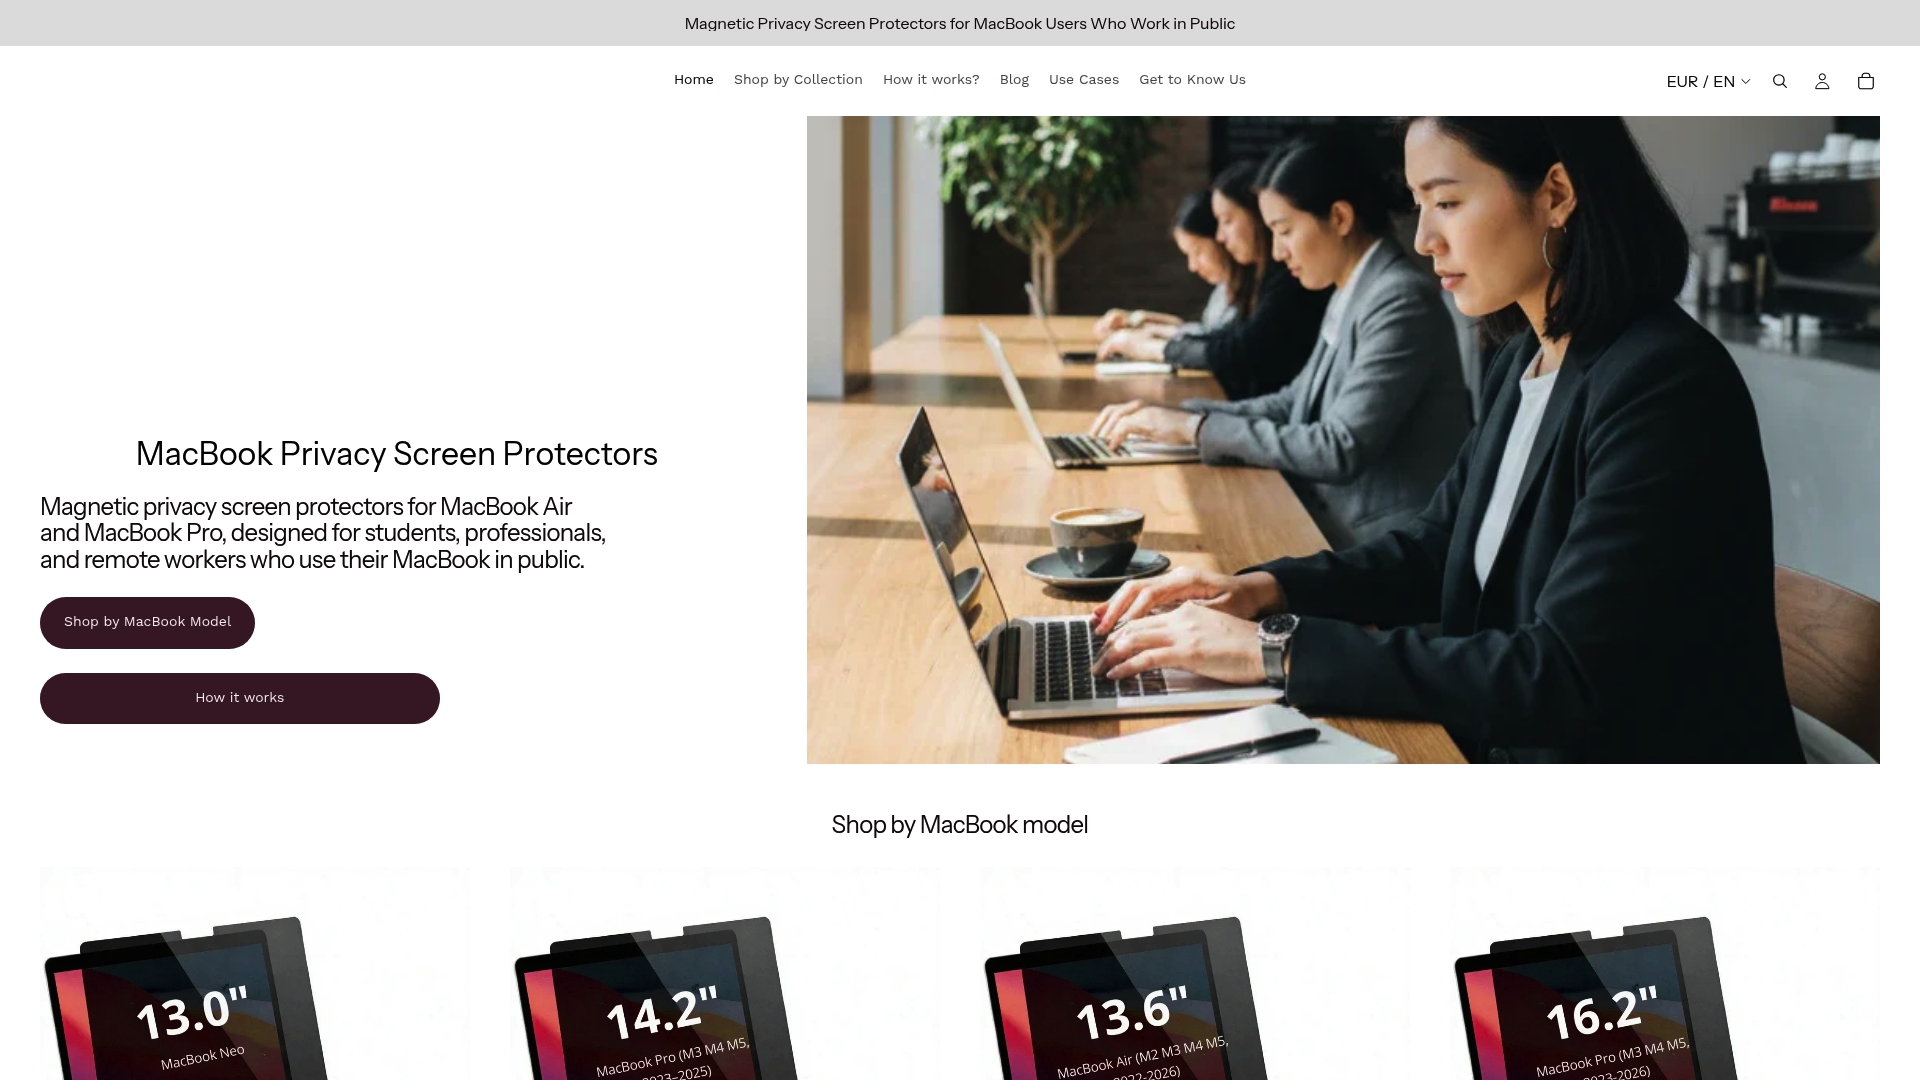
For dorm use, the magnetic attachment is the feature that makes the most practical difference. No adhesives. No residue. Quick to attach before heading to the common room and quick to remove when you are back in your room working on design files. Browse the full range of MacBook Pro magnetic privacy filters to find the right fit for your model, or go directly to the magnetic filter for MacBook Pro 14 if you are on that specific model. All MacBook privacy solutions are available in one place, organized by model for straightforward selection.
Frequently asked questions
Can a privacy screen damage my MacBook’s display or hinge?
A properly fitted, thin privacy screen will not damage your display or hinge, but filters that are too thick may prevent full lid closure and put stress on the hinge over time. Always verify that the filter you choose is rated for your specific MacBook model.
Do privacy screens affect screen brightness or color accuracy?
Yes, privacy filters dim the display and may shift color accuracy, making them less suitable for photo or video editing unless removed temporarily. For general study tasks like writing, reading, and browsing, the brightness reduction is minimal and manageable.
How do I clean and maintain my MacBook privacy screen?
Gently wipe the filter surface with a dry microfiber cloth to remove dust and fingerprints. Avoid liquid cleaners or abrasive materials, which can damage the microlouver layer and reduce the filter’s effectiveness over time.
What’s the main benefit of a magnetic privacy screen for dorm users?
Magnetic screens attach without adhesives and allow instant toggling between private and open modes, which fits the unpredictable pace of dorm life where your location and privacy needs can change multiple times per day.
Can I use a privacy screen with any MacBook model?
Generic filters may fit loosely or block sensors. For best results, use a filter model-specific to your MacBook’s notch, camera placement, and exact display size to ensure nothing is blocked and the fit is clean.


