
Most students assume you have to pick one: either find a quiet corner with decent privacy, or settle for a comfortable setup that leaves your screen exposed to everyone around you. That trade-off is not real. With the right gear and a few consistent habits, you can protect your screen from prying eyes, keep your posture in check, and stay focused whether you are in a crowded library, a busy café, or a packed airport terminal. This guide covers the practical tools and routines that make both privacy and ergonomic comfort achievable at the same time.
Table of Contents
- Why privacy and ergonomics matter for MacBook users in public spaces
- Privacy screen solutions: How to protect your data in public
- Ergonomic MacBook setup: Essential hardware for public study spots
- Extra public space security: Deterring theft and accidental loss
- The truth most guides miss: Making privacy and comfort second nature
- Ready to upgrade your MacBook setup?
- Frequently asked questions
Key Takeaways
| Point | Details |
|---|---|
| Privacy is preventable | Privacy screens block side views and keep your data safe from visual hackers. |
| Comfort equals focus | A foldable stand, external keyboard, and mouse create a study setup that supports your neck and wrists. |
| Portable solutions win | Choose lightweight, quick-setup gear to easily work in any public setting. |
| Don’t skip security | Use a laptop lock and good habits to keep your device safe even during quick breaks. |
| Habits matter most | Consistent setup routines ensure lasting comfort, privacy, and focus wherever you study. |
Why privacy and ergonomics matter for MacBook users in public spaces
Public spaces are not neutral territory for your MacBook. Every time you open your screen in a café or library, you are potentially sharing your work with anyone nearby. Visual hacking, which means someone reading your screen without your knowledge, is more common than most students realize.
23% of IT decision makers are concerned about visual hacking, with 48% of those working in public locations.
That number is significant. And students are not exempt. You may be working on a thesis, logging into a student portal, or reviewing financial aid details. Any of that is worth protecting.
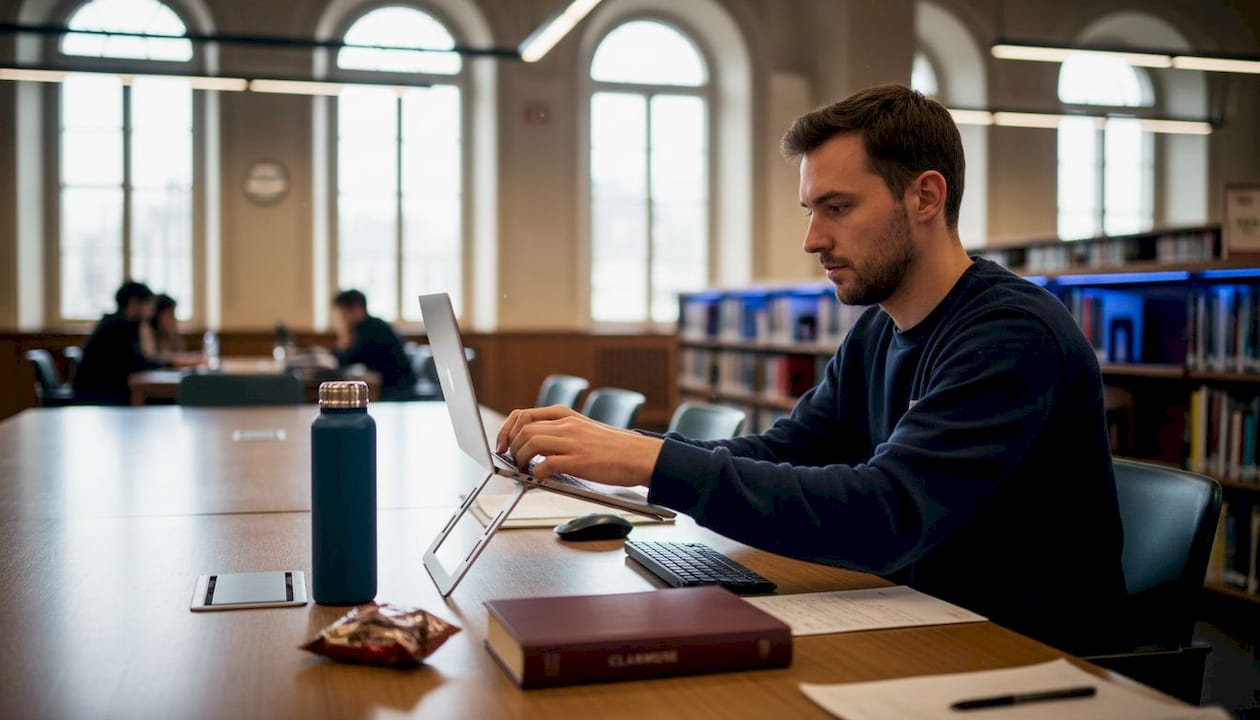
The ergonomic side of the problem is just as serious. Most café tables and library desks are not designed for long laptop sessions. You end up hunching forward, craning your neck down toward a low screen, and resting your wrists at awkward angles. Over time, that leads to neck stiffness, shoulder tension, and the kind of low-grade discomfort that makes it hard to concentrate.
Here are the most common issues students face in public study spots:
- Screen too low, causing neck strain after 30 to 60 minutes
- No external keyboard, forcing wrists into unnatural positions
- Sitting with your back to foot traffic, leaving your screen visible to passersby
- Bright overhead lighting creating glare and eye fatigue
- No physical security for the device when stepping away briefly
Most students do not address these problems until they are already dealing with soreness or a near-miss privacy incident. Checking out the best privacy screen options before you run into trouble is a much smarter approach.
With these challenges in mind, let us break down the core privacy risks and ergonomic pitfalls you face as a student.
Privacy screen solutions: How to protect your data in public
Knowing why privacy matters, let us examine the best practical ways to protect your MacBook screen in a shared environment and why hardware filters are a top choice.
A privacy screen is a physical filter that attaches to your MacBook display. It uses a microlouver technology (a layer of tiny vertical blinds built into the filter material) to restrict who can see your screen based on viewing angle. Privacy screens limit viewing angles to approximately ±30°, or 60° total, which means anyone sitting beside you sees a dark or blurred panel instead of your actual content.
Software-based privacy tools, like screen dimming apps or virtual backgrounds, do not come close to matching this. They only affect what is displayed, not what is physically visible from the side. Hardware filters are the reliable standard.
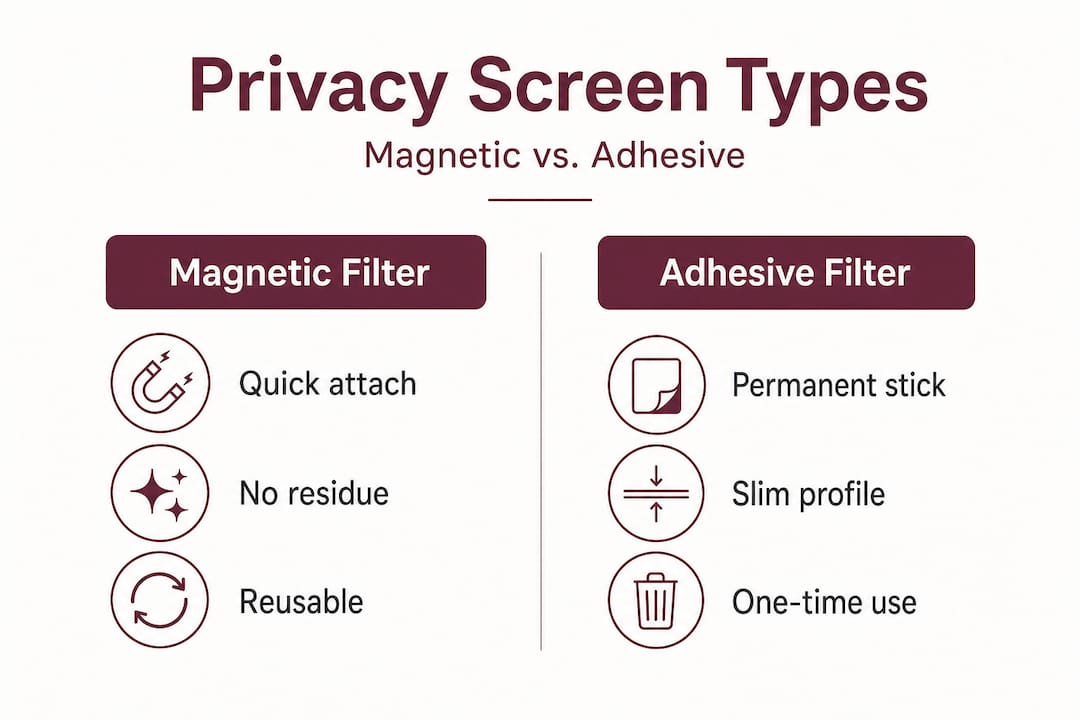
Magnetic vs. adhesive: Which type fits student life?
There are two main attachment styles for MacBook privacy screens.
| Feature | Magnetic filter | Adhesive filter |
|---|---|---|
| Attachment method | Magnetic strips on bezel | Adhesive tabs on frame |
| Removal speed | Seconds, no residue | Slower, may leave marks |
| Best for | Students toggling group/solo work | Fixed, long-term setups |
| Portability | High | Moderate |
| Lid gap | Slight gap possible | Flush fit |
| Price range | $40 to $90 | $25 to $60 |
Magnetic privacy screens allow quick attachment and removal without leaving any residue, which is ideal for students who switch between private study and group work throughout the day. The one minor trade-off is a slight gap between the filter and the lid, but this does not affect sleep mode or display performance.
Adhesive filters sit flush against the screen, which some users prefer for a cleaner look. However, removing them repeatedly can wear down the adhesive tabs or leave faint marks on the bezel. For a student who moves between different settings daily, magnetic is the more practical choice.
Here is a step-by-step process for using a magnetic privacy screen effectively:
- Attach the magnetic strips to the bezel of your MacBook once during initial setup.
- Snap the filter onto the strips when you are in a public or shared space.
- Remove it in seconds when you switch to group work or a private room.
- Store it flat in your bag or case to avoid scratching the filter surface.
- Clean it with a microfiber cloth when smudges reduce visibility.
One additional benefit worth noting: privacy screens reduce blue light by 28 to 60%, which helps reduce eye fatigue during long study sessions. The trade-off is a slight shift in color accuracy, so if you are doing photo editing or design work, you may want to remove the filter during those tasks.
Pro Tip: Look for privacy screens for students that are cut specifically for your MacBook model. A filter that does not align with your screen edges creates gaps in coverage and looks untidy on a clean MacBook design.
Ergonomic MacBook setup: Essential hardware for public study spots
Now that your privacy is covered, let us tackle physical comfort by dialing in a setup you can use anywhere, hassle-free.
The core problem with using a MacBook directly on a café table is that the screen sits too low. You tilt your head down to see it, and within an hour, your neck and upper back are under real strain. An ergonomic MacBook setup requires raising the screen to eye level and using an external keyboard and mouse to keep your wrists and shoulders in a neutral position.
The good news is that the gear you need is lightweight and fits in any student backpack.
The minimum ergonomic kit for public spaces
| Item | Purpose | Weight | Setup time |
|---|---|---|---|
| Foldable laptop stand | Raises screen to eye level | 200 to 400g | Under 30 seconds |
| Bluetooth keyboard | Keeps wrists flat and neutral | 200 to 500g | Under 1 minute |
| Wireless mouse or trackpad | Reduces shoulder reach | 80 to 150g | Under 30 seconds |
Laptop stands like the Nulaxy or Roost elevate your screen to prevent neck strain and fold flat for portability. The Roost in particular compresses to about the size of a pen, making it easy to slip into any bag pocket. The Nulaxy is slightly heavier but offers more stability on uneven surfaces.
Here is a quick posture checklist you can run through every time you sit down in a public space:
- Screen top at or just below eye level (adjust stand height accordingly)
- Viewing distance between 20 and 30 inches from your face
- Elbows at roughly 90 degrees when typing
- Feet flat on the floor or on a bag if the chair is too high
- Shoulders relaxed, not pulled up toward your ears
This setup takes under two minutes to arrange and tear down. That matters for students who move between three or four locations in a single day. Clamshell mode, where you close the MacBook lid and use an external monitor, is not practical in most public spaces since external monitors are not portable. The stand-plus-keyboard approach is the right solution for on-the-go use.
You can browse MacBook gear for all models to find accessories that are compatible with your specific MacBook Air or Pro.
Pro Tip: If you forget your stand, stack two or three thick books under your MacBook. It is not elegant, but raising the screen even 3 to 4 inches makes a measurable difference in neck comfort during a long session.
Extra public space security: Deterring theft and accidental loss
With your comfort set, do not overlook the security of your actual device while you step away, even briefly.
A MacBook left on a café table for 60 seconds is a real theft risk. Students often underestimate how quickly a device can disappear in a high-traffic space. The habits and tools in this section are simple but effective.
Practical steps to prevent theft in public
- Never leave your MacBook unattended on a table, even for a bathroom break. Take it with you or ask a trusted neighbor to watch it.
- Sit with your back to a wall when possible. This limits how many people can approach your device from behind.
- Use a laptop lock when you need to step away in a library or coworking space.
- Keep your bag strap looped around your chair leg while you work. This makes a grab-and-run harder to execute.
- Enable Find My on your MacBook through System Settings so you can locate it if it goes missing.
Kensington laptop locks secure your MacBook to an immovable object like a table leg or desk anchor point, deterring theft during short absences. Most libraries and coworking spaces have anchor points built into their furniture for exactly this purpose. The lock attaches to the Kensington Security Slot (a small port on the side of many MacBook models) and uses a combination or key mechanism.
Additional habits that reduce risk in public spaces:
- Use a low-profile bag that does not look like a laptop bag
- Avoid announcing your device loudly in conversation
- Log out of sensitive accounts before stepping away
- Use a screen lock shortcut (Control + Command + Q on macOS) before leaving your seat
If you travel frequently, these habits become even more important. Reviewing privacy while traveling gives you a fuller picture of how to protect both your data and your device across different environments.
The truth most guides miss: Making privacy and comfort second nature
Most articles on this topic hand you a product list and stop there. That is useful, but it misses the bigger point. The students who get the most out of their public setups are not the ones with the most expensive gear. They are the ones who have built fast, repeatable routines.
Attaching a privacy screen takes about five seconds once you have done it a dozen times. Unfolding a laptop stand and connecting a Bluetooth keyboard takes under two minutes. Running through a posture checklist takes another 30 seconds. That is less than three minutes total to go from bag to a fully private, ergonomically sound workspace.
The challenge is not knowing what to do. Most students already know they should sit up straighter or protect their screen. The challenge is doing it consistently, in every location, without thinking about it. That is what a habit does. It removes the decision from the equation.
Reduced neck strain from keeping your screen at eye level and maintaining a 20 to 30 inch viewing distance is well-documented in ergonomic guidance. The gains are not dramatic on day one. They accumulate over weeks of consistent practice.
The same logic applies to privacy. One session without your privacy screen in a busy café is probably fine. But the risk compounds over time, especially when you are working with login credentials, research data, or personal financial information. Consistency is the actual protection, not the filter itself.
Students who study in varied environments, including libraries, cafés, coworking spaces, and transit, adapt best when their setup is minimal and fast. If your kit takes 15 minutes to arrange, you will skip it on busy days. If it takes two minutes, you will use it every time. That is the standard worth aiming for.
Reviewing office worker privacy tips can also give you useful perspective on how professionals in shared spaces handle the same challenges, with some approaches that transfer directly to student life.
Ready to upgrade your MacBook setup?
If you are ready to build a public-friendly, private, and comfortable workspace, explore the following options:
Clarmuse designs magnetic privacy screens built specifically for MacBook Air and MacBook Pro models. The fit is precise, the attachment is clean, and the filter is easy to remove when you switch to group work. No residue, no bulk, no complicated installation.
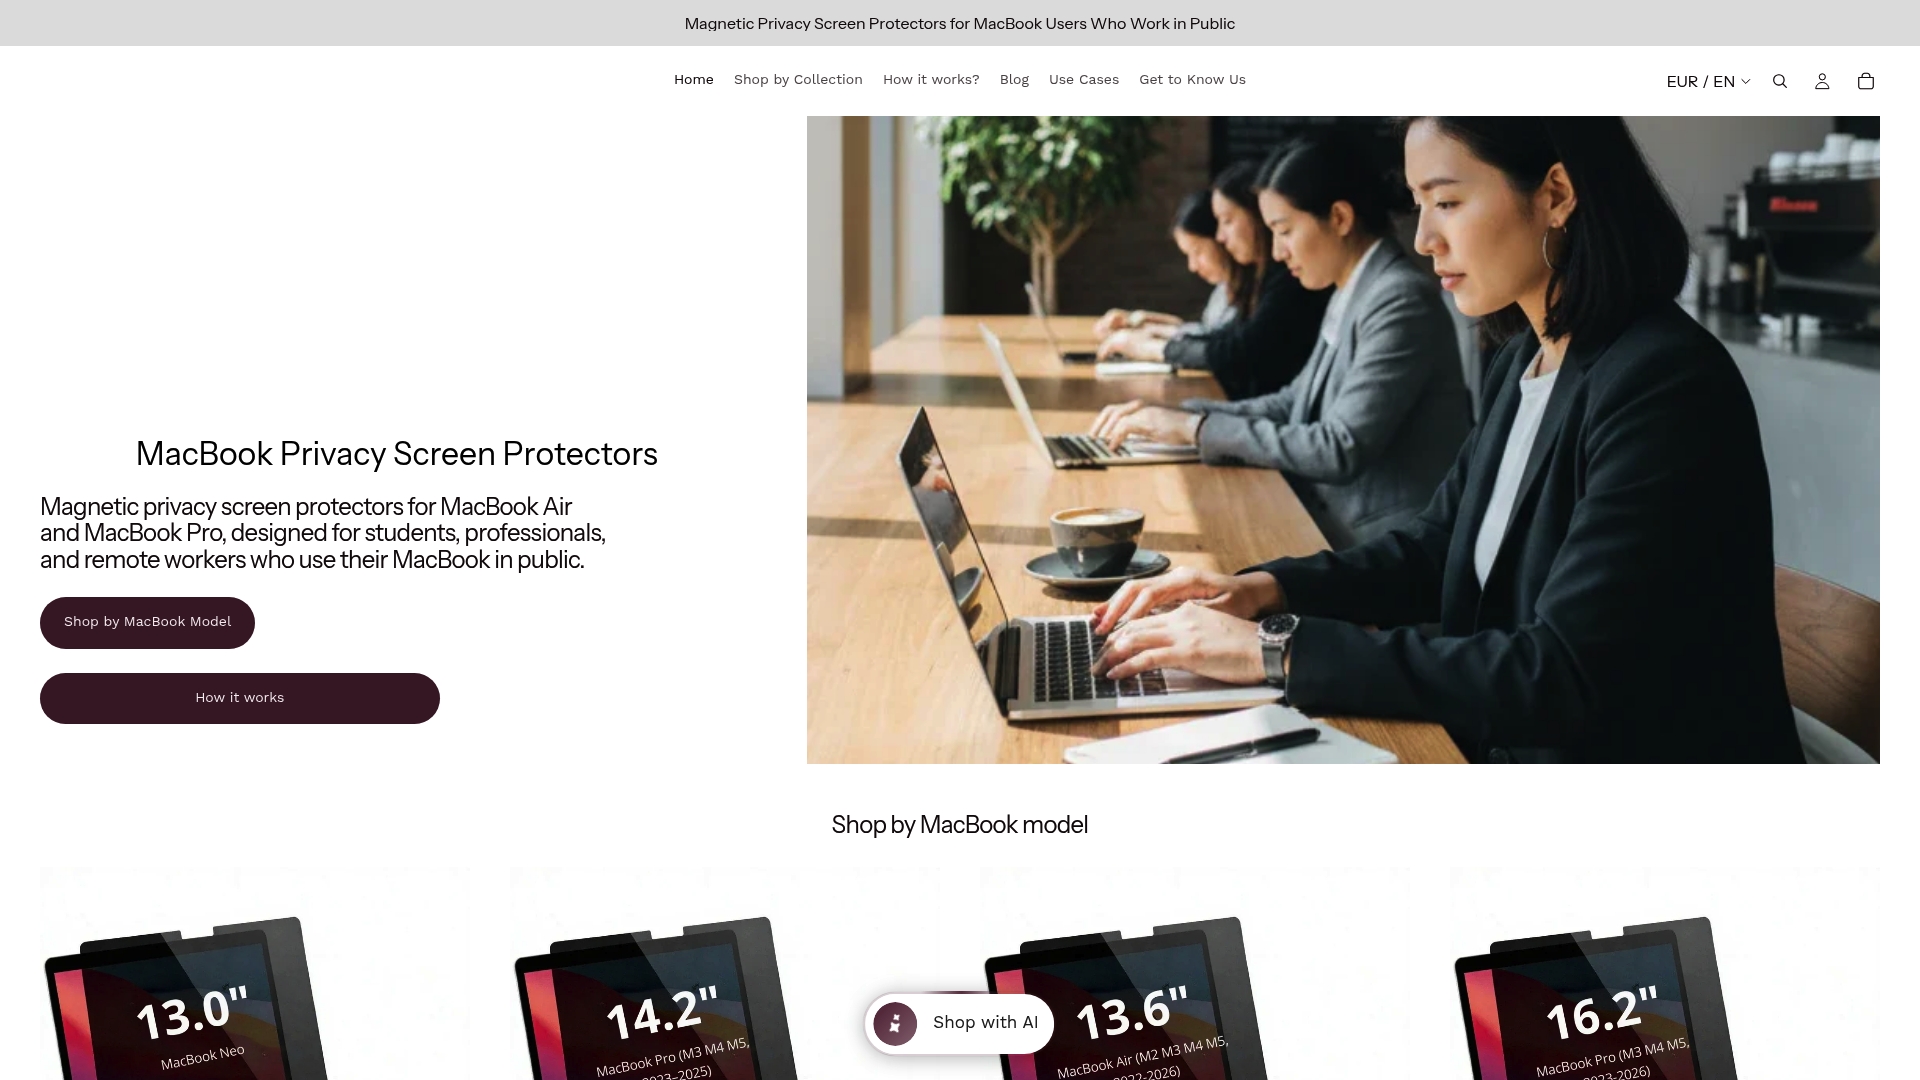
Browse MacBook Pro privacy screens to find the right filter for your model. If you want guidance on which option fits your study habits, the student privacy screen picks page walks you through the key differences and helps you choose based on how and where you work. The Clarmuse team is also available to answer questions directly if you need a recommendation for a specific MacBook model or use case.
Frequently asked questions
How do privacy screens work on a MacBook in a busy café?
Privacy screens use a microlouver filter that limits the viewing angle to about ±30°, so people sitting beside you cannot easily see your screen content.
Can a privacy screen affect my MacBook’s color accuracy for art or design projects?
Yes, privacy screens can alter color accuracy, making them less suitable for photo or design editing work. Removing the filter during those tasks is the practical solution.
What’s the fastest way to make my MacBook setup more ergonomic in the library?
Use a foldable laptop stand to raise your screen to eye level, then add a Bluetooth keyboard and mouse for proper hand and shoulder position.
What can I do to prevent someone from stealing my MacBook in a public area?
Secure your MacBook with a Kensington laptop lock attached to a fixed object and avoid leaving it unattended, even for short breaks.


