
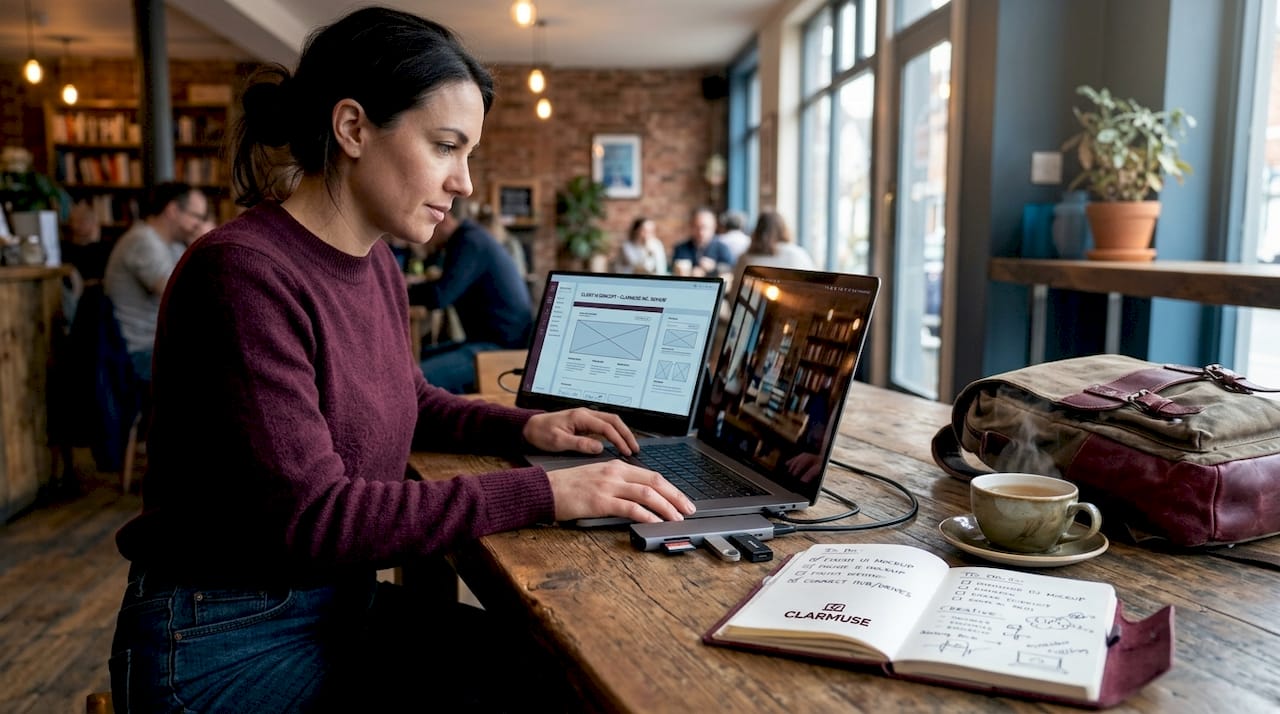
Working from a café in Lisbon, an airport lounge in Seoul, or a coworking space in Medellín puts different demands on your gear than sitting at a fixed desk. Getting your macbook essentials for nomad life right means choosing tools that travel without complaint, connect without friction, and protect your work in unpredictable environments. This guide covers every core category: power, ports, displays, ergonomics, privacy, and organization. Each recommendation reflects the real constraints nomads face daily.
Table of Contents
- Key Takeaways
- 1. Power essentials for uninterrupted work on the road
- 2. Compatibility and hub essentials: making your ports work everywhere
- 3. Portable external displays and multi-monitor setups
- 4. Ergonomic and privacy accessories for shared-space work
- 5. Organizational and backup essentials
- My take on building a frictionless nomad setup
- Protect your screen and your work with Clarmuse
- FAQ
Key Takeaways
| Point | Details |
|---|---|
| Power setup matters first | A GaN multi-port charger plus a universal adapter covers most global power needs in one small kit. |
| Match accessories to your Mac model | Port generation and display support vary by MacBook model, so confirm specs before buying any hub or dock. |
| DisplayLink unlocks dual monitors | M1 and M2 MacBook Air users need a DisplayLink dock and driver to run two external screens simultaneously. |
| Ergonomics beat gadget stacking | A portable stand with a separate keyboard and mouse reduces strain more than adding another device to your bag. |
| Privacy screens protect in public | Magnetic privacy filters let you work confidently in shared spaces without worrying about screen visibility. |
1. Power essentials for uninterrupted work on the road
Power is the foundation of your entire mobile setup. Without it, everything else is irrelevant. The right power kit for a nomad is compact, high-output, and covers multiple scenarios at once.
A GaN multi-port charger is the first item on any digital nomad MacBook gear checklist for good reason. Gallium nitride technology lets manufacturers pack 65W to 100W into a block roughly the size of a deck of cards. One unit charges your MacBook, phone, and earbuds simultaneously without needing a power strip. That matters when you are competing for outlets in a hostel common room or a packed airport gate.
Pair that with a universal travel adapter that handles Type A, C, G, and I plugs in a single housing. The folding plug designs are far more practical than carrying a set of loose adapters. Look for one with two USB-C pass-through ports built in so you are not burning an outlet slot just for the adapter itself.
For power banks, backup batteries reduce downtime significantly in locations where reliable outlets are scarce. A 20,000mAh bank with 65W USB-C output can top off a MacBook Air by roughly 60 percent, which is enough to extend a work session by several hours. Sizes above that get heavy fast. For most nomads, 20,000mAh sits at the right point between capacity and weight.
Pro Tip: Use a USB-C cable rated for Thunderbolt 4 or at least 100W EPR charging. Standard USB-C cables often cap at 60W and will slow-charge or not charge at all under load. The cable spec is printed on the packaging — check it before you buy.
2. Compatibility and hub essentials: making your ports work everywhere
The MacBook port situation is less confusing than it used to be, but it still trips people up. Understanding Thunderbolt and USB-C compatibility is the single most useful thing you can do before spending money on hubs or docks.
Thunderbolt 3, 4, and 5 ports are physically identical to USB-C ports but carry significantly more bandwidth. A Thunderbolt 4 hub can drive a 4K monitor, transfer files at 40Gbps, and charge your laptop simultaneously. A generic USB-C hub cannot do all of that at once without compromises. This is what macbook accessory compatibility explained actually means in practice: the connector looks the same, but the port behind it determines what the accessory can do.
For most nomads, a mid-range USB-C hub with HDMI, two USB-A ports, SD card slot, and pass-through charging covers 90 percent of daily needs. It is light, inexpensive, and works with any MacBook made in the last four years. If you are doing video editing or running multiple monitors, a Thunderbolt 4 dock justifies the higher price because it uses the full bandwidth of the port.
Pro Tip: Before buying any hub or dock, open System Information on your Mac, go to Hardware, and check your exact chip and port generation. M2 Pro, M3 Pro, M4, and M4 Pro all have meaningfully different display output capabilities. The MacBook model-specific accessories explained principle matters here.
3. Portable external displays and multi-monitor setups
More screen space almost always means more productive work sessions. For nomads, the challenge is that portable monitors draw power from your MacBook, which directly compresses your battery window. You need to weigh the productivity gain against the power cost honestly.
USB-C portable monitors in the 15-inch to 16-inch range are the practical sweet spot. They weigh under 1.5kg, fold into a slim sleeve, and run off a single USB-C cable. The trade-off: expect your MacBook battery drain to increase by 30 to 40 percent during use. If you are near a power outlet, this is not a problem. If you are working untethered on a train, a second screen becomes a liability.
Using an iPad via Apple Sidecar is a smarter option when you already own a compatible iPad. Sidecar requires macOS Catalina or later, a compatible iPad model, and both devices on the same Wi-Fi network within 10 meters. It draws far less power than a USB-C monitor and adds no physical weight to your bag if the iPad is already coming with you. The screen is smaller, but for reference material, Slack, or a notes panel, it works well.
For dual external monitors, the picture gets complicated fast. M1 and M2 MacBook Air models require DisplayLink docks to run two screens; without one, they support only a single external display. M4 and M5 Air models lifted this restriction and handle dual monitors natively.
| Option | Weight | Power Draw | Best For |
|---|---|---|---|
| USB-C portable monitor | 1.2–1.5kg | High (30–40% battery impact) | Outlet-available workspaces |
| iPad via Sidecar | 0kg added | Low | Nomads who carry an iPad already |
| DisplayLink dock + external monitor | Varies by monitor | Moderate with dock power | M1/M2 Air users needing dual screens |
| Native dual output (M4/M5 Air, Pro) | Varies | Moderate | Newer Mac owners near power |
Pro Tip: DisplayLink docks generally perform reliably, but they require a driver installation and occasional software updates. Test yours at home before a trip. Edge-case video artifacts appear rarely, but finding out mid-client call is not the time.
4. Ergonomic and privacy accessories for shared-space work
Ergonomics get ignored until something hurts. By that point, a week of stiff neck or wrist pain has already cost you productivity. The fix is simpler than most people expect.
A portable laptop stand improves posture significantly during long work sessions by raising the screen to eye level. Adjustable stands like the Roost collapse to pencil size and weigh under 200 grams. Pair one with a compact Bluetooth keyboard and mouse, and you have an ergonomic workstation that fits inside your main bag’s front pocket.
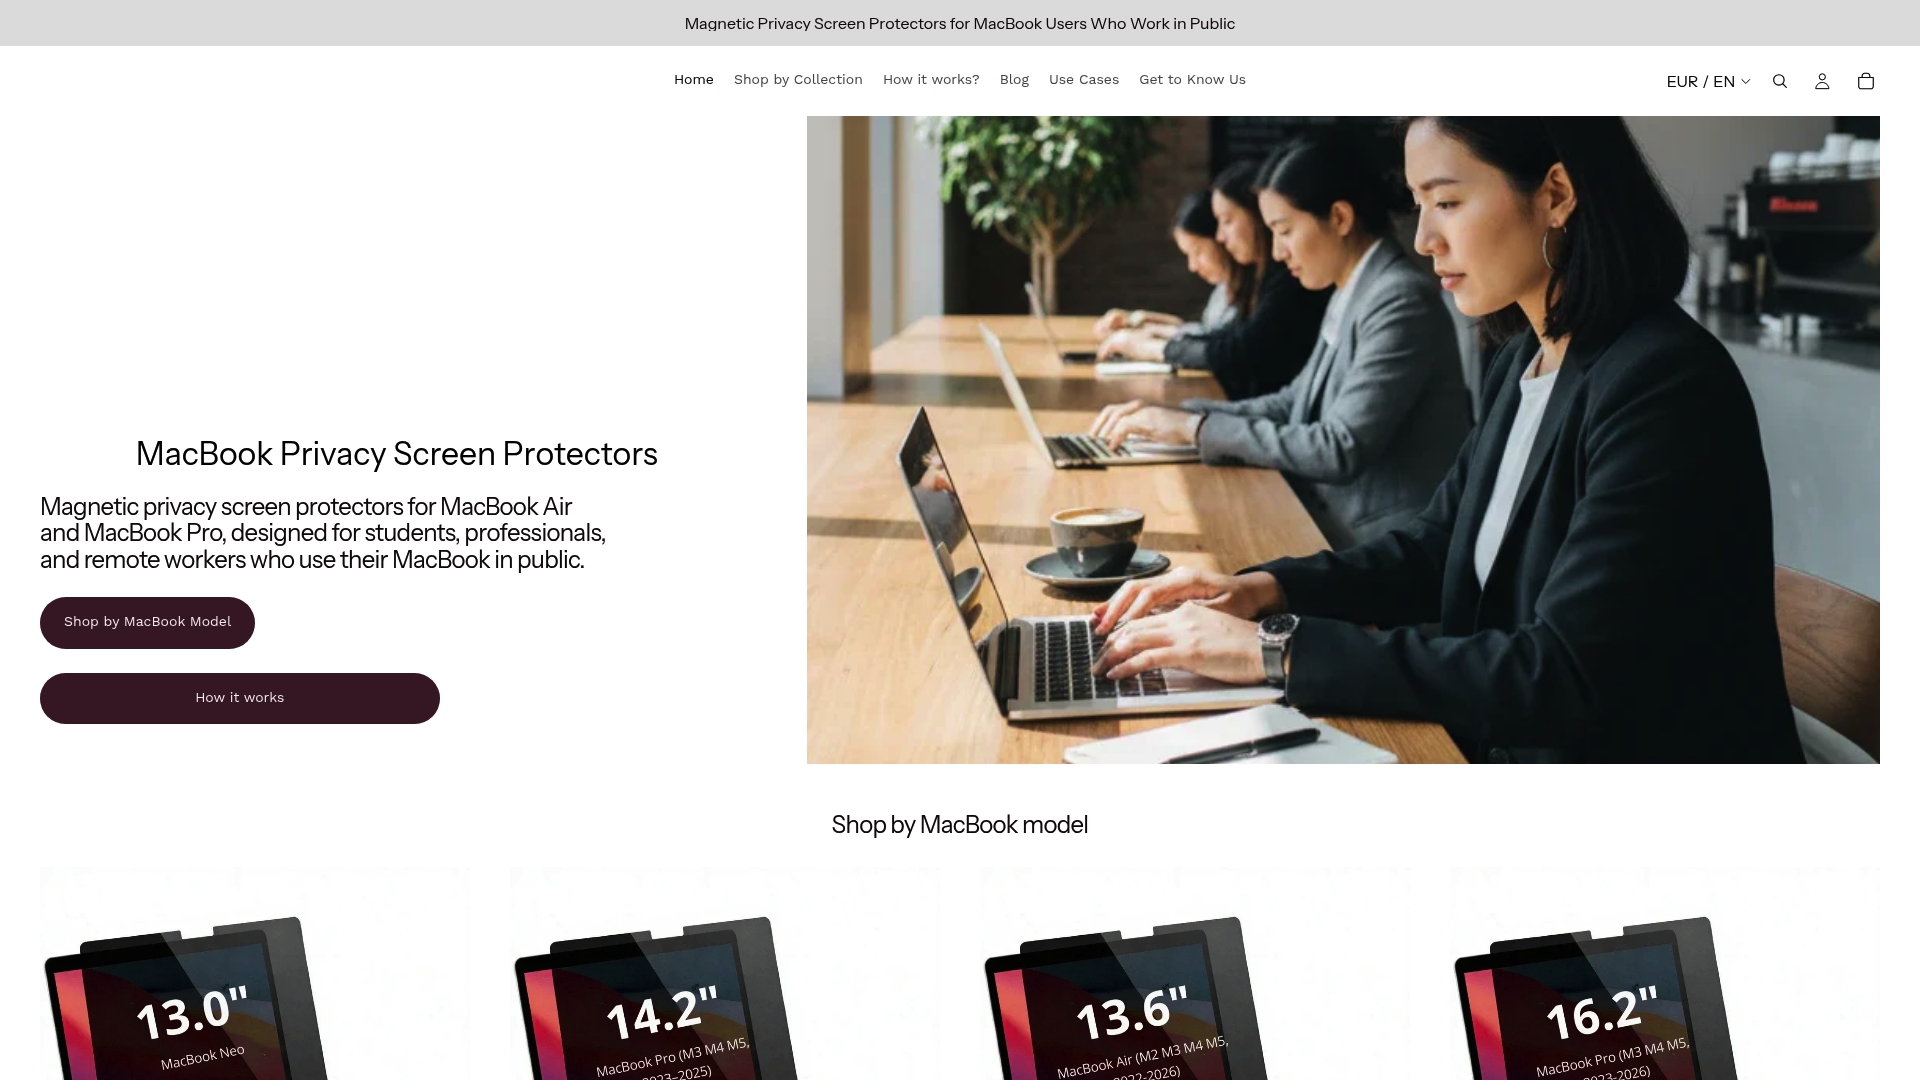
Privacy is the other issue that most nomads underestimate until someone leans over and reads their screen in a coffee shop. A magnetic privacy screen addresses this directly. Magnetic privacy filters for MacBooks attach and detach in seconds without adhesive, leaving no residue and no fuss. The filter narrows the viewing angle from the sides so only the person directly in front of the screen can read it clearly.
For nomads working in cafés, coworking spaces, airports, and hotel lounges, this is one of the most practical additions to a mobile setup. You can work on sensitive documents, client data, or personal finances without actively shielding your screen with your body. Clarmuse builds these specifically for MacBook Air and Pro models, which means precise fit rather than a generic filter that hangs off the edges or leaves gaps.
Key features to look for in ergonomic and privacy accessories:
- Stands: Adjustable height, sub-250g weight, stable at multiple angles
- Keyboards: Compact 75 percent layout, USB-C or Bluetooth, scissor-switch keys for low travel noise in shared spaces
- Mice: Silent-click models for library or open-office use; compact enough to fit in a jacket pocket
- Privacy screens: Magnetic attachment for quick on/off, model-specific sizing, matte finish to reduce glare
Pro Tip: When choosing a magnetic privacy screen for travel, confirm it is made for your exact MacBook model and year. A filter cut for a 16-inch Pro will not fit a 14-inch correctly. The fit determines whether the viewing angle narrowing actually works as intended.
5. Organizational and backup essentials
Data loss and cable chaos are the two most predictable problems in nomad life. Both are solvable with minimal added weight.
For data security, a rugged external SSD is the most reliable physical backup option. Drives like the Samsung T7 Shield handle drops, dust, and moisture, weigh under 100 grams, and connect via USB-C. Combine this with Time Machine set to back up automatically whenever you plug in, and you have a functioning backup system that requires no ongoing attention. Cloud backup alone is not sufficient when you spend time in locations with unreliable internet.
For cables and small accessories, a fabric tech pouch keeps everything accessible without becoming the tangled pile that slows you down during airport security. The best ones have individual elastic loops for cables, adapters, and power banks so you can see and grab each item without unpacking the whole bag. A well-organized travel MacBook setup saves time at security checkpoints and reduces the chance of leaving a $50 adapter on a café table.
Organizational tools worth carrying:
- Rugged USB-C SSD (500GB minimum) for local backups
- Fabric tech pouch with elastic loops for cables and adapters
- Short USB-C to USB-C cables (20cm length) for hub connections to reduce desk clutter
- A small cable bag or silicone ties to keep charging cables from tangling
My take on building a frictionless nomad setup
I’ve spent a lot of time watching nomads over-engineer their setups and under-deliver on the basics. The most common mistake is treating gear accumulation as progress.
In my experience, the biggest upgrade you can make is reducing friction at setup and teardown. If unpacking your workspace takes more than three minutes, you will avoid doing it in shorter stops. That means you lose productive time in airport lounges, short café visits, and between meetings. Every item you carry should justify its place by cutting time or solving a real recurring problem.
What I’ve learned about power management is that most people carry too much redundancy and not enough capacity. One good 100W GaN charger beats two mediocre ones. A single 20,000mAh bank beats three small ones.
The ergonomics often get skipped because a stand and keyboard feel optional until month three, when the neck pain kicks in. Pack the stand from day one.
Privacy screens changed my working experience in public more than I expected. I stopped positioning myself facing walls and started choosing seats based on light quality instead. That sounds small, but it changes where and how often you work. Test all your gear at home before a trip. A compatibility problem discovered in your living room takes five minutes to fix. The same problem in a foreign city takes a day.
— Gabriel
Protect your screen and your work with Clarmuse
Whether you are working on client contracts in a café or reviewing finances in an airport lounge, screen privacy is a real daily concern. Clarmuse builds magnetic privacy screens designed specifically for MacBook Air and Pro models, with precise model-specific sizing and a magnetic attachment system that goes on and off in seconds.
The MacBook Pro privacy screen collection covers multiple Pro models with filters that narrow your viewing angle without reducing your own clarity. If you want to understand exactly how the technology works before buying, the privacy filter explainer page walks through the mechanics clearly. For Air and Pro models across the full range, the complete screen protector lineup shows all current options by model.
FAQ
What power accessories do nomads need for a MacBook?
A GaN multi-port charger, a universal travel adapter, and a 20,000mAh USB-C power bank cover most global power scenarios. Pair them with a 100W-rated USB-C cable for full charging speed.
Do M1 and M2 MacBook Air models support dual monitors?
M1 and M2 MacBook Air models support only one external display natively. Running two screens requires a DisplayLink dock with the appropriate software driver installed.
How does Apple Sidecar work as a second display?
Sidecar turns a compatible iPad into a wireless second screen, but it requires specific hardware and software conditions: macOS Catalina or later, a compatible iPad, the same Wi-Fi network, and two-factor Apple ID authentication.
Why do nomads use magnetic privacy screens?
Magnetic privacy screens narrow the side-angle view of your MacBook display so people nearby cannot read your screen. They attach and remove without adhesive, making them practical for frequent on-and-off use in cafés, coworking spaces, and transit.
What is the difference between a USB-C hub and a Thunderbolt dock?
A USB-C hub uses standard USB-C bandwidth, which limits simultaneous tasks like 4K video output and fast file transfer. A Thunderbolt 4 dock uses up to 40Gbps of bandwidth, supporting multiple high-demand devices at once. Confirming your Mac’s port generation before buying determines which type you actually need.


