
Sitting in an airport lounge or a busy café, you probably focus on your Wi-Fi connection and your coffee temperature. What you may not think about is the stranger two seats away reading your screen. Visual hacking concerns affect 23% of IT decision makers, and 48% of those working under flexible policies report worrying about it in public locations. Yet most MacBook users open their laptops in crowded terminals and trains without a second thought. This article breaks down exactly what the risks are, how privacy screens work, what their real limits are, and what practical steps you can take to protect your screen every time you travel.
Table of Contents
- Understanding the real risks: Visual hacking while you travel
- How MacBook privacy screens work: Technology and effectiveness
- Magnetic vs. adhesive privacy screens: What travelers need to know
- Drawbacks and edge cases: Limitations of privacy screens on the road
- Practical tips: Maximizing privacy and comfort when traveling
- A realistic take: What most MacBook travelers get wrong about privacy
- Secure your mobile workspace: The next step for MacBook privacy
- Frequently asked questions
Key Takeaways
| Point | Details |
|---|---|
| Visual hacking is real | Public spaces expose MacBook users to visual hacking risks, especially when traveling. |
| How privacy screens work | Privacy screens narrow your viewing angle using microlouvers, blocking side glances. |
| Magnetic screens preferred | Magnetic privacy filters are safer for most MacBook models and allow easy removal. |
| Expect usability tradeoffs | Privacy screens can reduce brightness and battery life, and may hinder collaboration. |
| Maximize security with habits | Pair privacy screens with smart positioning, digital tools, and situational awareness for true privacy. |
Understanding the real risks: Visual hacking while you travel
Visual hacking is straightforward. Someone nearby glances at your screen, reads what you are working on, and walks away with information you never intended to share. No technical skill required. No malware. Just eyes and opportunity.
The types of data most at risk include:
- Work emails and internal communications
- Login credentials you type in plain view
- Financial documents, spreadsheets, or client files
- Legal or contractual details
- Personal identification or travel documents
The environments where this happens most often are exactly the ones MacBook users frequent. Airport departure lounges pack rows of seating so close together that the person behind you has a clear sightline to your screen at nearly any angle. Train carriages position seats facing each other. Café tables sit only a foot or two apart. Coworking spaces, by design, put multiple people in open visual proximity for hours at a time.
“48% of employees with flexible work policies express concerns about visual hacking risks in public locations,” according to Kensington research on screen security.
The risk is not hypothetical. Anyone who regularly opens sensitive files in shared environments is a potential target. A quick look at data protection in public reveals that most breaches of confidential information in mobile workspaces are low-tech, not high-tech. The attacker does not need to intercept your network traffic when they can simply read your screen.
Good screen positioning tips can reduce casual exposure, but physical positioning alone is rarely enough. Screens are bright, high-contrast, and easy to read from a wide angle on modern MacBook displays. Awareness is the first step. The next is understanding the tools available to reduce the exposure.
How MacBook privacy screens work: Technology and effectiveness
Privacy screens are not simply tinted plastic. They use a specific optical technology called microlouver (a grid of tiny vertical blinds embedded in the filter layer) to restrict light transmission to a narrow forward-facing cone. The result is that privacy screens narrow viewing angles to plus or minus 30 degrees, so the screen looks clear directly in front and dark or unreadable from the sides.
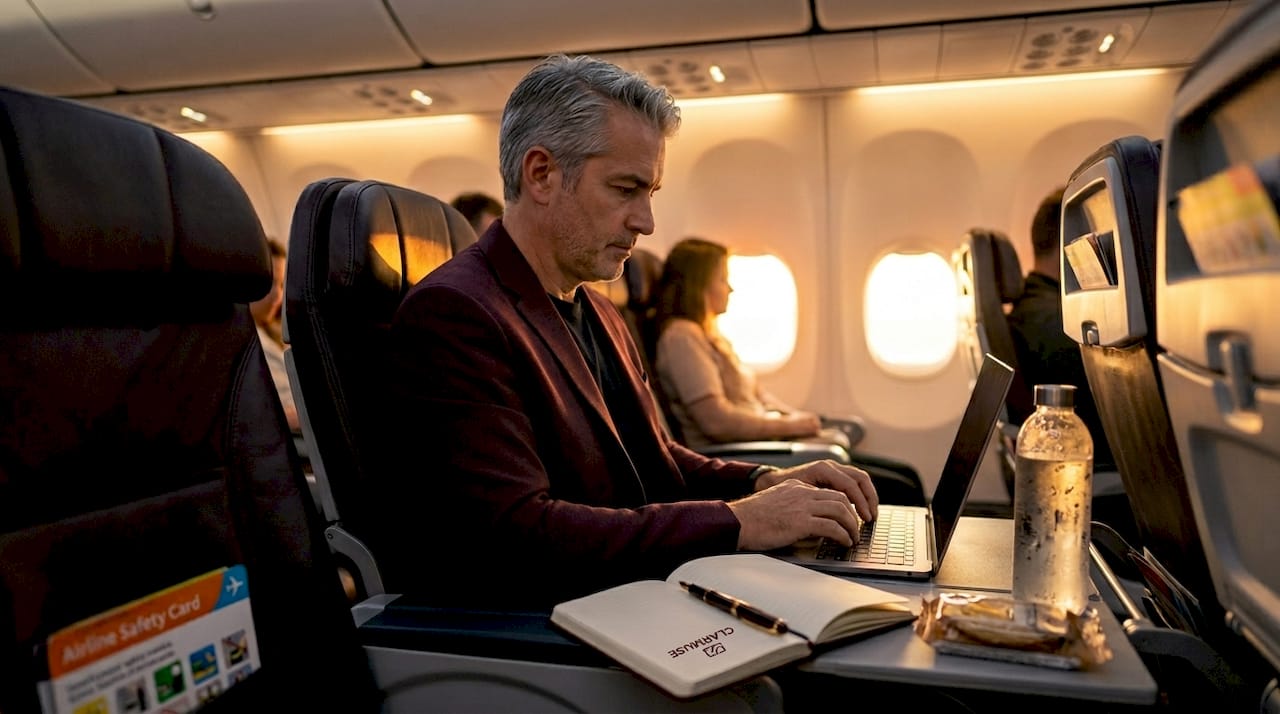
In real travel situations, this matters in a significant way. On a plane, the passenger in the next seat cannot read your document even if they try. In a café, someone walking past your table sees a dark panel instead of your browser tabs. In an open-plan coworking space, colleagues at adjacent desks do not have casual access to your screen content.
What a privacy screen does NOT do is worth stating clearly. It does not protect against someone sitting directly behind you who leans forward enough to be within the forward viewing cone. It does not block a camera positioned straight in front of your screen. It does not encrypt your data or protect your network connection. It is a physical, optical solution to a physical, visual threat.
Here is a quick comparison of privacy screen attachment types relevant to MacBook travelers:
| Feature | Magnetic attachment | Adhesive attachment |
|---|---|---|
| Ease of removal | Fast, no residue | Slow, may leave residue |
| Safe for MacBook lid closure | Yes | Risk of screen pressure |
| Re-use across work sessions | Easy | Limited, adhesive degrades |
| Travel convenience | High | Low |
| MacBook-specific fit | Available | Often generic sizing |
Pro Tip: After installing a privacy screen, increase your display brightness slightly to compensate for the light reduction, but sit facing away from windows or overhead lights to minimize glare. This keeps your screen readable without burning through battery faster than necessary.
For a deeper look at the optical mechanics behind these filters, the how MacBook privacy filters work page covers the full technical detail. If you travel frequently and want to understand how screen coverage maps to your specific MacBook model, the MacBook screen privacy for travelers page is worth a read before your next trip.
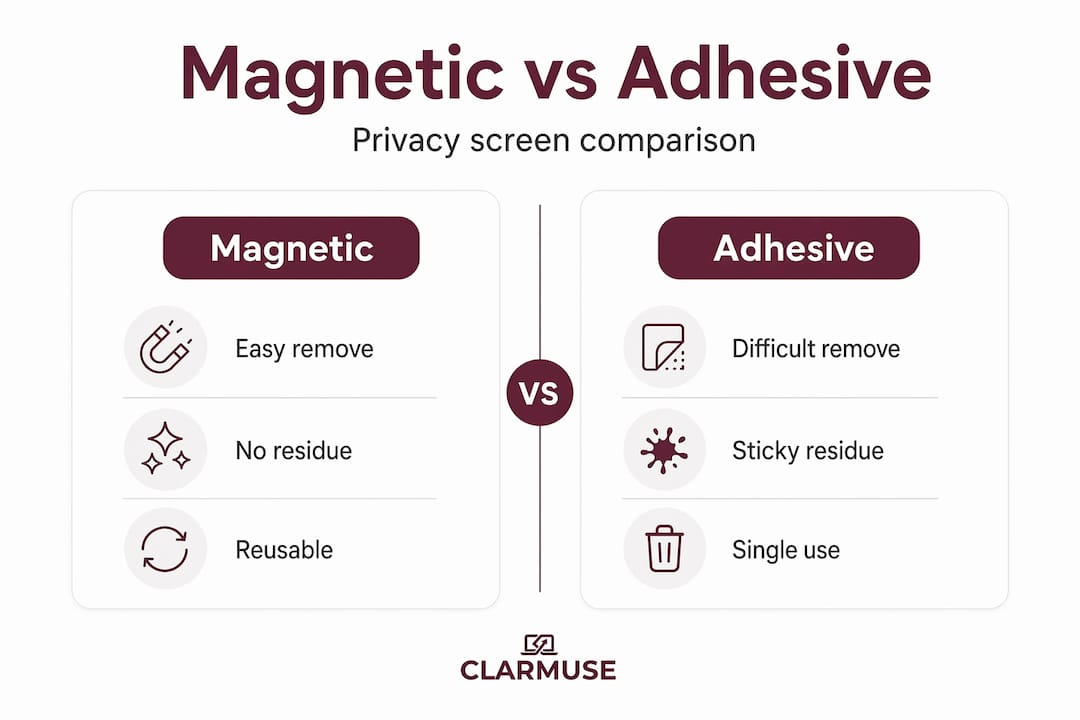
Magnetic vs. adhesive privacy screens: What travelers need to know
The attachment method on a privacy screen is not a minor detail. For MacBook users who open and close their laptops dozens of times a day during travel, the wrong type of screen can cause real problems.
Adhesive screens stick directly to the display surface. They are harder to remove cleanly, and the adhesive degrades over time. More importantly, Apple warns that tight clearances between the screen and keyboard can cause display cracking if a cover or filter adds even a small amount of thickness. MacBooks have very tight tolerances. Thick adhesive filters can sit against the keyboard area when the lid closes, increasing the risk of damage over time.
Magnetic privacy screens solve this problem. They attach using small embedded magnets aligned to the MacBook’s existing sensor areas, and they lift off cleanly without residue. The screen profile stays thin enough to allow normal lid closure. For someone pulling a laptop in and out of a bag multiple times across a travel day, this is the practical choice.
Here is a side-by-side data comparison for travelers deciding between options:
| Consideration | Magnetic screen | Adhesive screen |
|---|---|---|
| Lid closure safety | Safe for normal use | Risk of pressure damage |
| Daily removal and reattachment | Designed for it | Not recommended frequently |
| Surface residue after removal | None | Possible adhesive residue |
| Compatibility precision | MacBook-specific models | Often approximate fit |
| Travel bag convenience | Remove before packing | Usually left in place |
To install a magnetic privacy screen safely, follow these steps:
- Clean your MacBook display with a soft microfiber cloth. Remove any fingerprints or dust before the screen makes contact.
- Hold the privacy screen by its edges to avoid smudging the filter surface.
- Align the top edge of the screen with the top of your MacBook display before lowering it into position.
- Let the magnets guide the screen into place gently. Do not force it or slide it across the surface.
- Confirm all four corners sit flush before opening a document or adjusting brightness.
Pro Tip: Wipe your privacy screen with a dry microfiber cloth weekly. Small particles trapped between the filter and the display surface can cause fine scratches over time, especially if you remove and reattach the screen frequently during travel.
If you use a MacBook Air 15.3" magnetic privacy screen, the model-specific fit means the filter covers the display edge to edge without gaps that reduce visual protection. The same applies if you need a MacBook Pro 14.2" screen protector, where the exact dimensions and camera cutout placement matter for proper coverage.
Drawbacks and edge cases: Limitations of privacy screens on the road
Privacy screens are useful tools. They are not perfect ones. Understanding the tradeoffs before you travel with one helps you set the right expectations and avoid frustration.
The most common complaint is brightness reduction. Because the microlouver layer absorbs light at wide angles, it also reduces the total light output you see at center. Privacy screens reduce brightness noticeably, and user sentiment analysis of 202 opinions found 54% of negative reviews specifically cite brightness and clarity loss. To compensate, most users raise their display brightness setting, which in turn puts more load on the battery.
There are also situational cases where a privacy screen creates friction:
- Screen sharing in a group setting. If you are working with someone sitting beside you, a privacy screen makes collaboration difficult. They cannot see your screen from any angle except directly in front.
- Eye strain in high-glare environments. Some users report increased glare or a slight optical haze in bright outdoor light. The filter layer adds a surface that can reflect differently than the bare screen.
- Installation errors. Improper installation risks scratches if dust or debris is trapped between the screen and the filter. Cleaning before installation is not optional, it is necessary.
- Color accuracy reduction. Graphic designers or photographers working on color-sensitive projects may find that the filter shifts how colors render on screen.
“Overheating is not a real concern with privacy screens; the main practical issues are brightness reduction, potential glare, and reduced usability during collaborative screen sharing.”
For student MacBook privacy tips in library or classroom settings, the tradeoffs are slightly different. Students rarely share screens spontaneously, so the collaboration limitation matters less. But brightness in a dim library versus a bright classroom changes how much the filter affects readability day to day.
Knowing these limitations does not mean avoiding privacy screens. It means using them intentionally, removing them when group work requires it, and adjusting your workspace setup to minimize the friction.
Practical tips: Maximizing privacy and comfort when traveling
A privacy screen handles the optical layer of your security. The rest depends on habits and situational awareness. Here is a numbered framework you can apply at any travel location:
- Position your seat before opening your laptop. Face a wall or corner when possible. Minimizing the number of people who can see your screen from any angle reduces your exposure before the privacy filter even factors in.
- Check screen angle relative to overhead lighting. Tilt your MacBook display to reduce reflections visible to people around you. This also reduces glare through the privacy filter.
- Use software-level protections alongside hardware ones. Lock your screen when stepping away, use a password manager instead of typing credentials in public, and keep sensitive documents closed when not actively working on them.
- Turn off automatic preview notifications. Email and message previews visible on your screen or in notification banners are readable by anyone nearby, even with a privacy filter in place.
- Remove the privacy screen when collaborating, reattach it when working alone. Magnetic screens make this swap fast and residue-free, so there is no reason to force a collaboration session through a restricted viewing angle.
Pro Tip: Practice attaching and removing your privacy screen at home a few times before your first trip with it. In an airport or train, fumbling with an unfamiliar accessory wastes time and draws attention. A confident, quick attachment takes about five seconds once you know the motion.
Screen positioning advice can refine these habits further with specific guidance tied to common travel environments. The physical and digital layers of privacy work best together. No single tool covers every angle, but shoulder surfing and visual hacking in travel and shared spaces are well-documented threats with available, practical solutions.
A realistic take: What most MacBook travelers get wrong about privacy
Most people who buy a privacy screen believe they have solved the problem. They install it once, forget about it, and return to working in public with the same habits they had before. This is where the real gap sits.
A privacy screen narrows your side-angle exposure. It does not make you invisible. Someone sitting close and directly in front of you still has a clear view. Someone who sees your screen before you attach the filter already has whatever they saw. The tool requires intention to be effective.
There is also a tendency to treat privacy filter explanations as the end of the conversation, when they are actually the beginning. The optical mechanism is well-established. The user behavior around it is where most travelers fall short.
Proponents of privacy screens, including established security hardware companies, emphasize their value in public environments and for flexible work policies. Critics point to the optical degradation, the brightness cost, and the battery tradeoff. Both are correct. Contrasting views exist between those who see privacy screens as essential tools and those who note real usability costs. Apple has remained largely silent on privacy screens while actively warning against thick covers that risk screen damage.
The practical position is this: a magnetic privacy screen, used consistently with good physical positioning and basic digital hygiene, is meaningfully better than nothing and meaningfully better than positioning or software alone. The travelers who get the most from this tool are the ones who use it with clear expectations, not as a magic fix but as one reliable layer in a set of travel habits.
Secure your mobile workspace: The next step for MacBook privacy
Understanding the risks and the tools is the first step. Acting on that knowledge is what actually protects your screen when you sit down in a café, a train car, or an airport terminal.
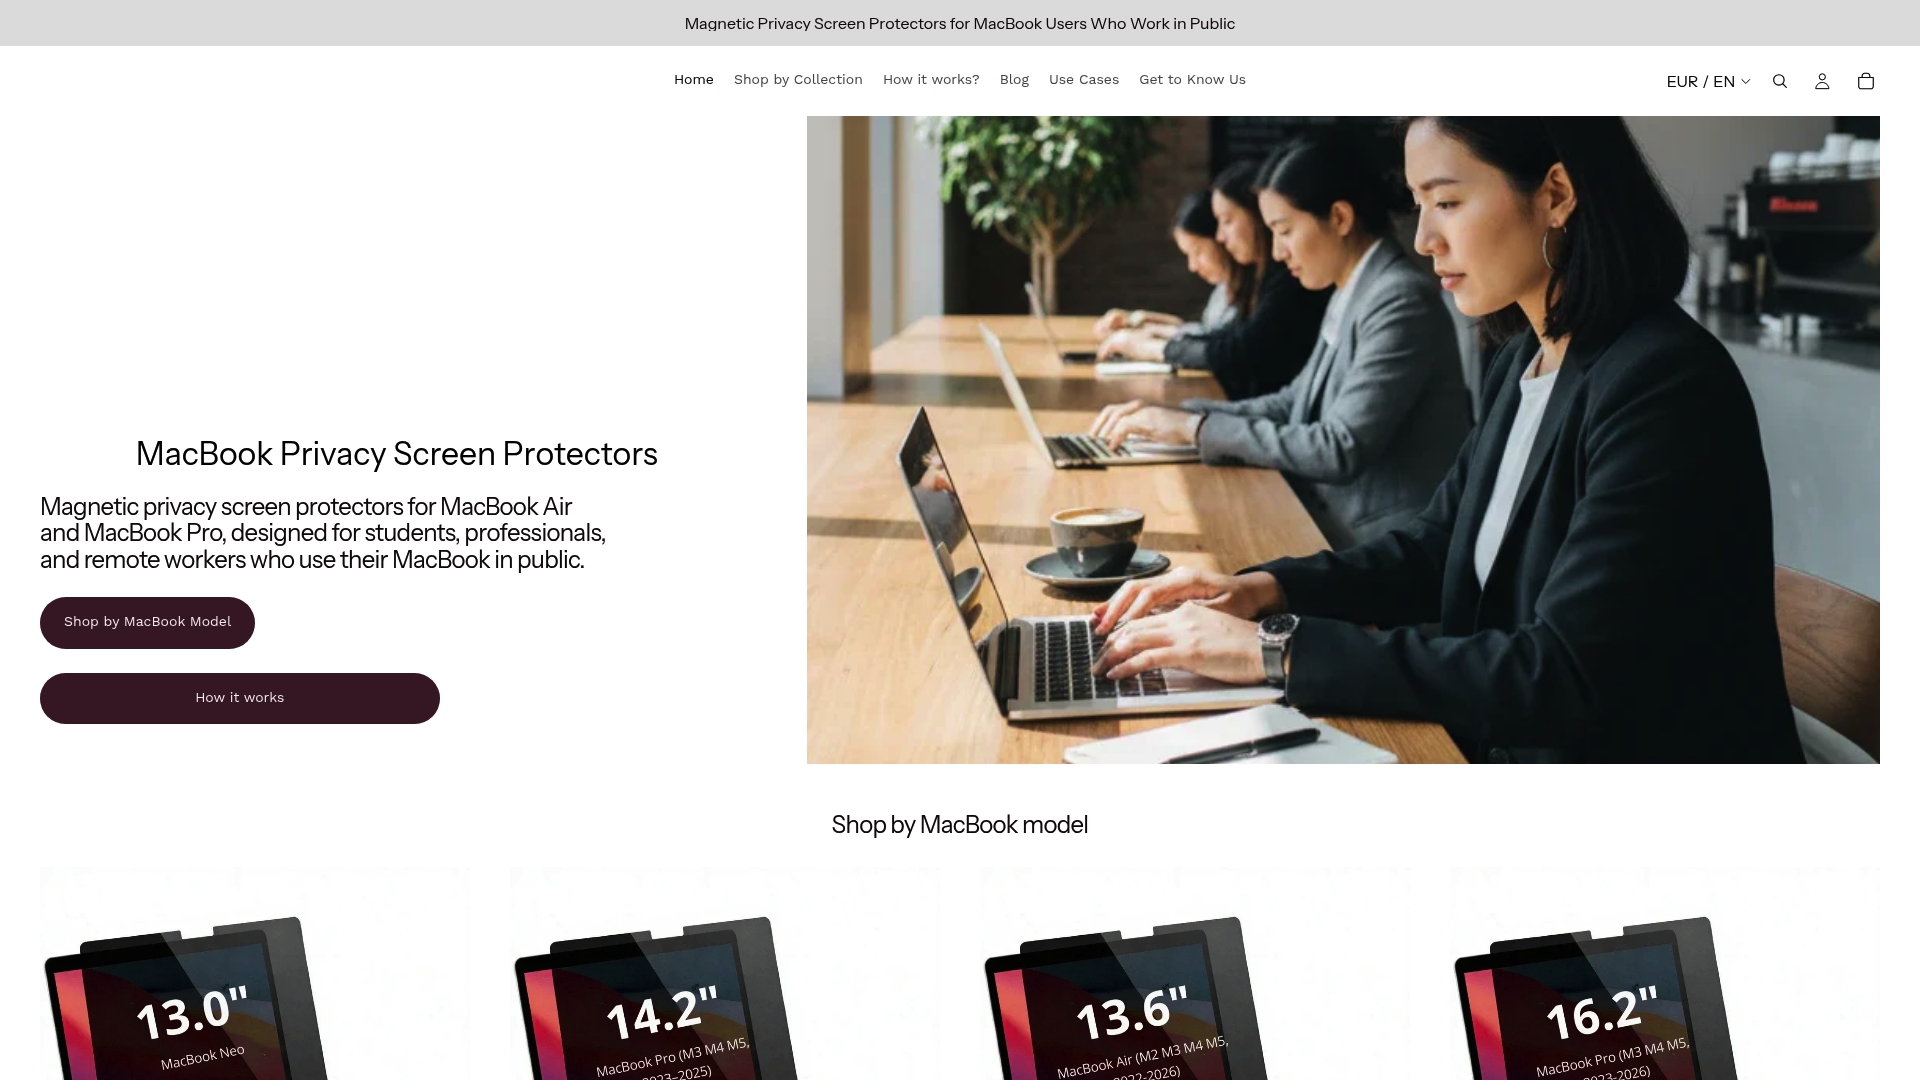
Clarmuse designs magnetic privacy screens specifically for MacBook Air and MacBook Pro models, with precision fit and fast magnetic attachment built for everyday travel. Whether you work across coworking spaces, hotel lobbies, or open offices, the right screen for your model makes the difference between consistent protection and a filter that shifts or leaves gaps. Browse MacBook Pro magnetic privacy filters by model, explore the full guide to privacy screens for public spaces, or view all MacBook privacy options to find the right fit for your setup and travel style.
Frequently asked questions
Can a privacy screen protect me from all forms of hacking while traveling?
Privacy screens address visual hacking specifically, blocking side-angle views of your screen in public spaces. They do not stop remote or cyber attacks, so digital security tools remain necessary alongside any physical filter.
Does using a magnetic privacy screen with my MacBook cause damage?
Magnetic privacy screens are designed with the thin tolerances of MacBook displays in mind and do not cause screen damage under normal use. Apple warns that thick adhesive covers and camera covers risk cracking the display if lid clearance is too tight.
Why does my screen look dimmer with a privacy filter, and can it harm my battery?
The microlouver layer reduces total light output at center, so most users raise display brightness to compensate. Privacy screens reduce brightness enough that the resulting higher brightness setting draws more battery power over a work session.
Are privacy screens uncomfortable or hard to use during travel?
Some users report mild glare or a slight haze in bright environments, and privacy screens limit visibility for anyone sitting beside you during collaborative work. Overheating is not a concern, but improper installation without cleaning the display first can cause fine surface scratches.
What else can I do to protect my privacy when using my MacBook in public?
Combine a privacy screen with deliberate seat positioning, locked screen habits, and turned-off notification previews for layered protection. Visual hacking remains a documented risk in shared spaces, and no single tool covers every scenario on its own.


