
Viewing angle comfort is defined as the ability to see your screen clearly, at a safe distance and height, without straining your neck or eyes. For MacBook users working in cafés, coworking spaces, airports, or libraries, getting this right is not optional. Poor screen positioning causes neck pain, eye fatigue, and long sessions that feel worse than they should. The good news: you can improve MacBook viewing angle comfort with a few targeted adjustments to screen height, tilt, and your overall workstation setup.
What is the ideal MacBook screen angle and height for comfort?
Positioning your MacBook display 15–20 degrees below eye level reduces neck strain by up to 32%. That single adjustment is the most impactful change most people never make. The standard ergonomic term for this is “neutral neck posture,” and it means your head stays balanced over your spine rather than tilting forward to look down at a flat desk.
Distance matters just as much as angle. Maintaining arm’s length distance from your screen prevents you from leaning forward, which cancels out any benefit from raising the display. A good test: sit back, extend your arm, and your fingertips should nearly touch the screen.
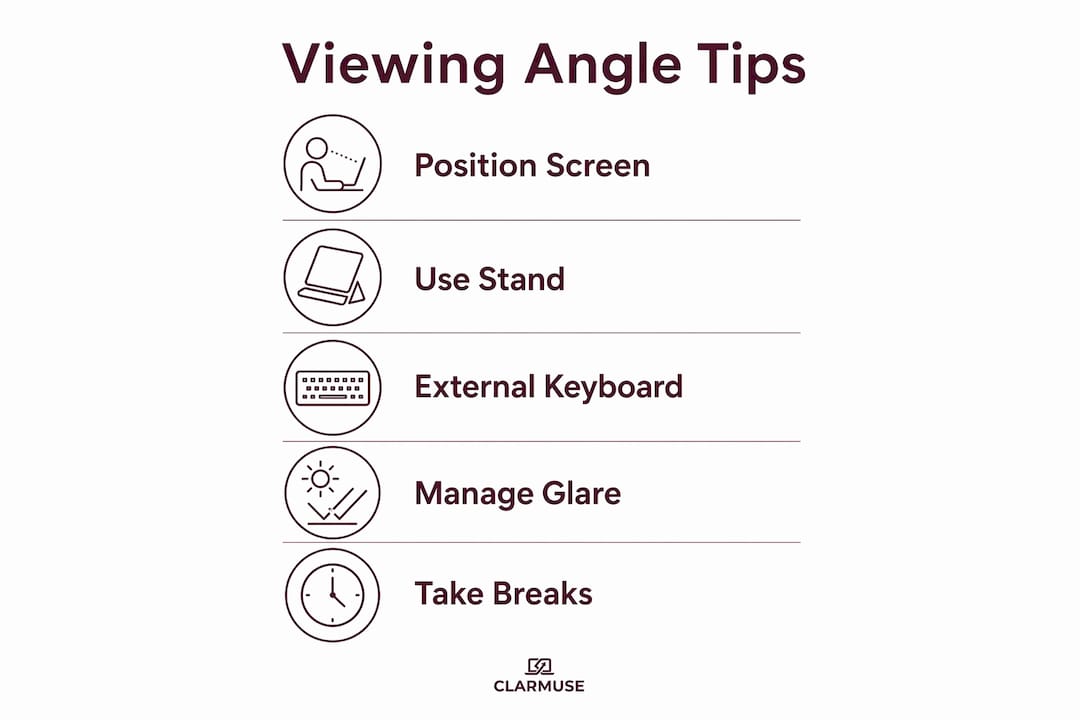
Here is what proper MacBook screen positioning looks like in practice:
- Screen height: The top edge of the display should sit at or just below eye level.
- Tilt angle: Tilt the screen back 15–20 degrees from vertical so the display faces your eyes directly.
- Viewing distance: Keep the screen at arm’s length, roughly 20–26 inches from your face.
- Head position: Your chin should be level, not tucked down or pushed forward.
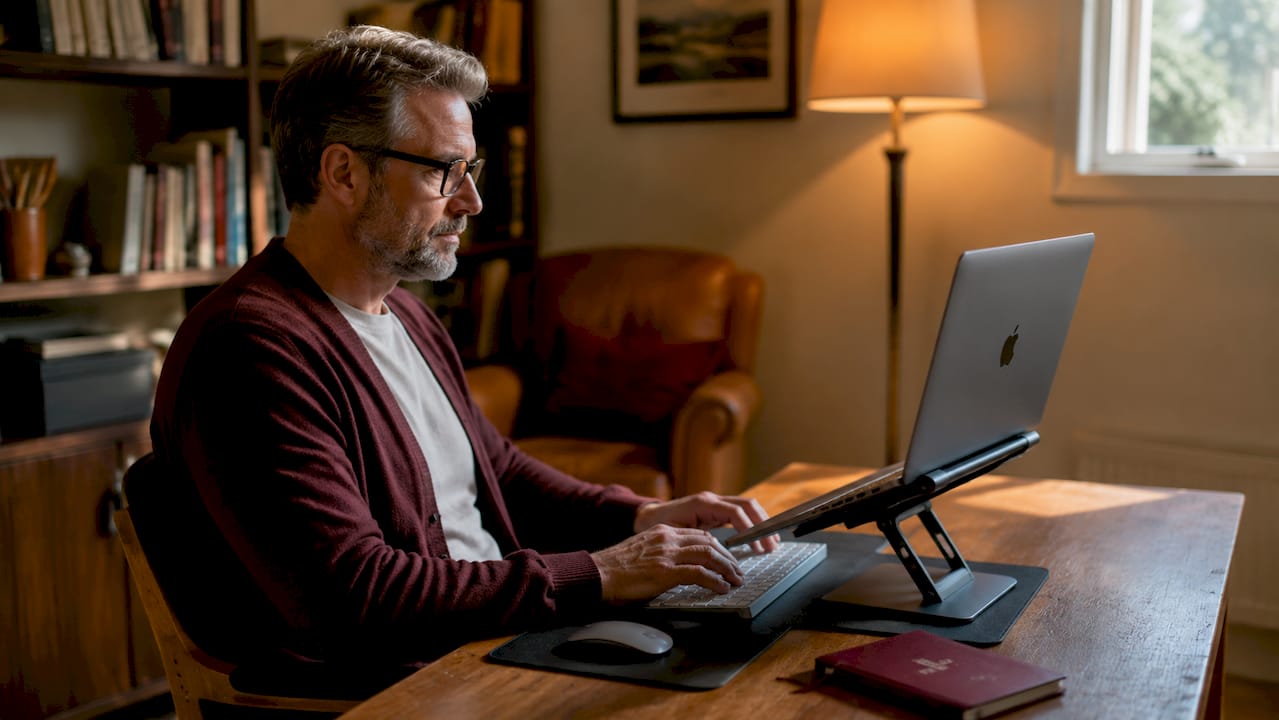
Most MacBook users set their laptop flat on a desk and hunch forward within 20 minutes. That position puts the screen well below eye level and forces the neck into a sustained forward bend.
Pro Tip: Use an adjustable laptop stand to dial in both height and tilt independently. Stands with continuous adjustment mechanisms give you far more control than fixed-angle options.
How to use accessories to adjust MacBook screen angle and reduce strain
The right accessories make a measurable difference, especially when you work in varied locations. Adjustable laptop stands with multiple height and tilt settings reduce both eye and neck strain by letting you match the screen position to your chair and desk height, not the other way around.
The MOFT Airflow is a practical example. It offers viewing angles between 15 and 25 degrees with two height settings, weighs almost nothing, and fits in a laptop bag without adding bulk. For anyone moving between a café in the morning and a coworking space in the afternoon, that portability matters.
External keyboards and mice complete the ergonomic picture. When you raise your MacBook on a stand, the built-in keyboard moves out of comfortable reach. Adding a compact Bluetooth keyboard and a wireless mouse keeps your wrists in a neutral position and your arms relaxed at desk height.
| Accessory | Best for | Portability | Adjustability |
|---|---|---|---|
| MOFT Airflow stand | Cafés, travel | Very high | Two fixed angles |
| Adjustable aluminum stand | Desk setups | Medium | Continuous height and tilt |
| Bluetooth compact keyboard | Any shared space | High | N/A |
| Wireless mouse | Any shared space | High | N/A |
| Magnetic privacy screen | Public spaces | Very high | Attaches in seconds |
Privacy screen protectors belong in this list for a specific reason. Magnetic privacy filters reduce glare and mitigate blue light exposure, which directly affects how comfortable your eyes feel after a long session. In bright café environments or near windows, glare alone can force you to tilt your screen into a worse angle just to see it clearly.
Pro Tip: Pack a stand and a compact keyboard together as a single travel kit. The combined weight is minimal, and the ergonomic payoff in a three-hour airport session is significant.
How to set up your MacBook workstation for better viewing comfort in public
A good ergonomic MacBook setup in a shared space follows a specific sequence. Skipping steps produces inconsistent results.
- Choose your seat first. Pick a chair with back support. Avoid bar stools or low sofas for sessions longer than 30 minutes.
- Set your chair height. Your feet should rest flat on the floor with your knees at roughly a 90-degree angle.
- Place your stand on the desk. Position the MacBook stand so the screen top aligns with or just below your eye level when seated upright.
- Set viewing distance. Slide the stand until the screen is at arm’s length. Do not let the desk depth force you closer.
- Tilt the screen. Adjust the MacBook lid so the display faces your eyes directly, not the ceiling.
- Position your keyboard and mouse. Keep them at elbow height with your forearms roughly parallel to the floor.
- Check for glare. Reposition or add a privacy screen if overhead lights or windows create reflections on the display.
Taking microbreaks every 30–60 minutes and varying your posture reduces muscle fatigue during long MacBook sessions. Set a timer if you tend to lose track of time when focused.
| Setup step | Key check |
|---|---|
| Chair and desk height | Feet flat, knees at 90 degrees |
| Screen height | Top edge at or just below eye level |
| Viewing distance | Arm’s length from face |
| Screen tilt | Display faces eyes, not ceiling |
| Glare management | No reflections visible on screen |
| Microbreaks | Every 30–60 minutes |
For a deeper look at MacBook setup tips for shared spaces, the principles above apply whether you are at a hotel desk or a library table.
What are common MacBook screen angle problems and how do you fix them?
Screen angle issues are not always a posture problem. Sometimes the hardware itself is the limiting factor.
Early signs of a failing MacBook hinge cable include flickering or blackouts that appear only at certain lid angles. If your screen goes dark when you tilt it past a specific point, that is a hinge cable fault, not a display setting. Continuing to use the laptop at the one angle where the screen works accelerates damage and can require a full display assembly replacement rather than a simple cable fix.
Watch for these warning signs:
- Screen flickers or dims when you adjust the lid angle.
- Display cuts out completely at certain tilt positions.
- You notice a crease or discoloration along the hinge area.
- The lid feels loose or unusually stiff compared to when the MacBook was new.
“Forcing a MacBook display into a limited angle range to avoid flickering is a short-term fix that accelerates long-term damage. The correct response is professional diagnosis, not posture adjustment.” — PC Macgicians case study
If none of those hardware signs are present but you still struggle to see MacBook better, the issue is almost always environmental. Glare from overhead lighting, low display brightness, or a screen covered in fingerprints all reduce visibility and push you into awkward viewing positions. Clean the screen, raise brightness, and add a privacy filter to cut reflections before assuming the angle itself is wrong.
When the built-in screen no longer meets your needs, clamshell mode with an external monitor centered at eye level is the most effective long-term solution for a fixed desk setup.
Key Takeaways
The most effective way to improve MacBook viewing angle comfort is to raise the screen to eye level, maintain arm’s length distance, and use an external keyboard with a portable stand.
| Point | Details |
|---|---|
| Screen height and tilt | Position the display 15–20 degrees below eye level to reduce neck strain. |
| Viewing distance | Keep the screen at arm’s length to prevent forward head posture. |
| Portable stands | Stands like the MOFT Airflow offer multiple angles with minimal added weight. |
| Microbreaks | Take a break every 30–60 minutes to reduce muscle fatigue during long sessions. |
| Hardware warning signs | Flickering at specific angles signals hinge cable wear requiring professional repair. |
What I have learned from years of working in shared spaces
Most ergonomic advice treats the MacBook as a desk computer. It is not. The people who actually need better viewing comfort are the ones moving between a café, a coworking space, and an airport lounge in the same day. That context changes everything.
I spent a long time chasing the “perfect” setup before realizing that consistency matters more than perfection. A stand you actually carry beats a premium stand that stays home. A compact Bluetooth keyboard you use every day does more for your neck than an ergonomic keyboard you leave at your desk.
The part most guides skip is glare management. In a bright café or near a window, glare forces you to tilt the screen into a worse angle just to cut the reflection. That single environmental factor undoes careful positioning. A magnetic privacy screen solves this without adding friction to your routine. It attaches in seconds and comes off just as fast.
Proper ergonomic setup goes beyond screen angle alone. Combining a stand, an external keyboard, and a privacy filter creates a system where each piece supports the others. The result is not just less neck pain. It is a setup you can sustain for hours without thinking about it.
The biggest mistake I see is waiting until something hurts to make changes. Neck strain and eye fatigue build gradually. By the time you notice them, you have already spent weeks reinforcing bad habits. Start with the stand and the screen height. Everything else follows from there.
— Gabriel
Clarmuse magnetic privacy screens for MacBook comfort in public
Working in shared spaces adds a layer of challenge that a stand alone cannot solve. Glare, reflections, and side-angle visibility all affect how you position your screen and how long you can work comfortably.
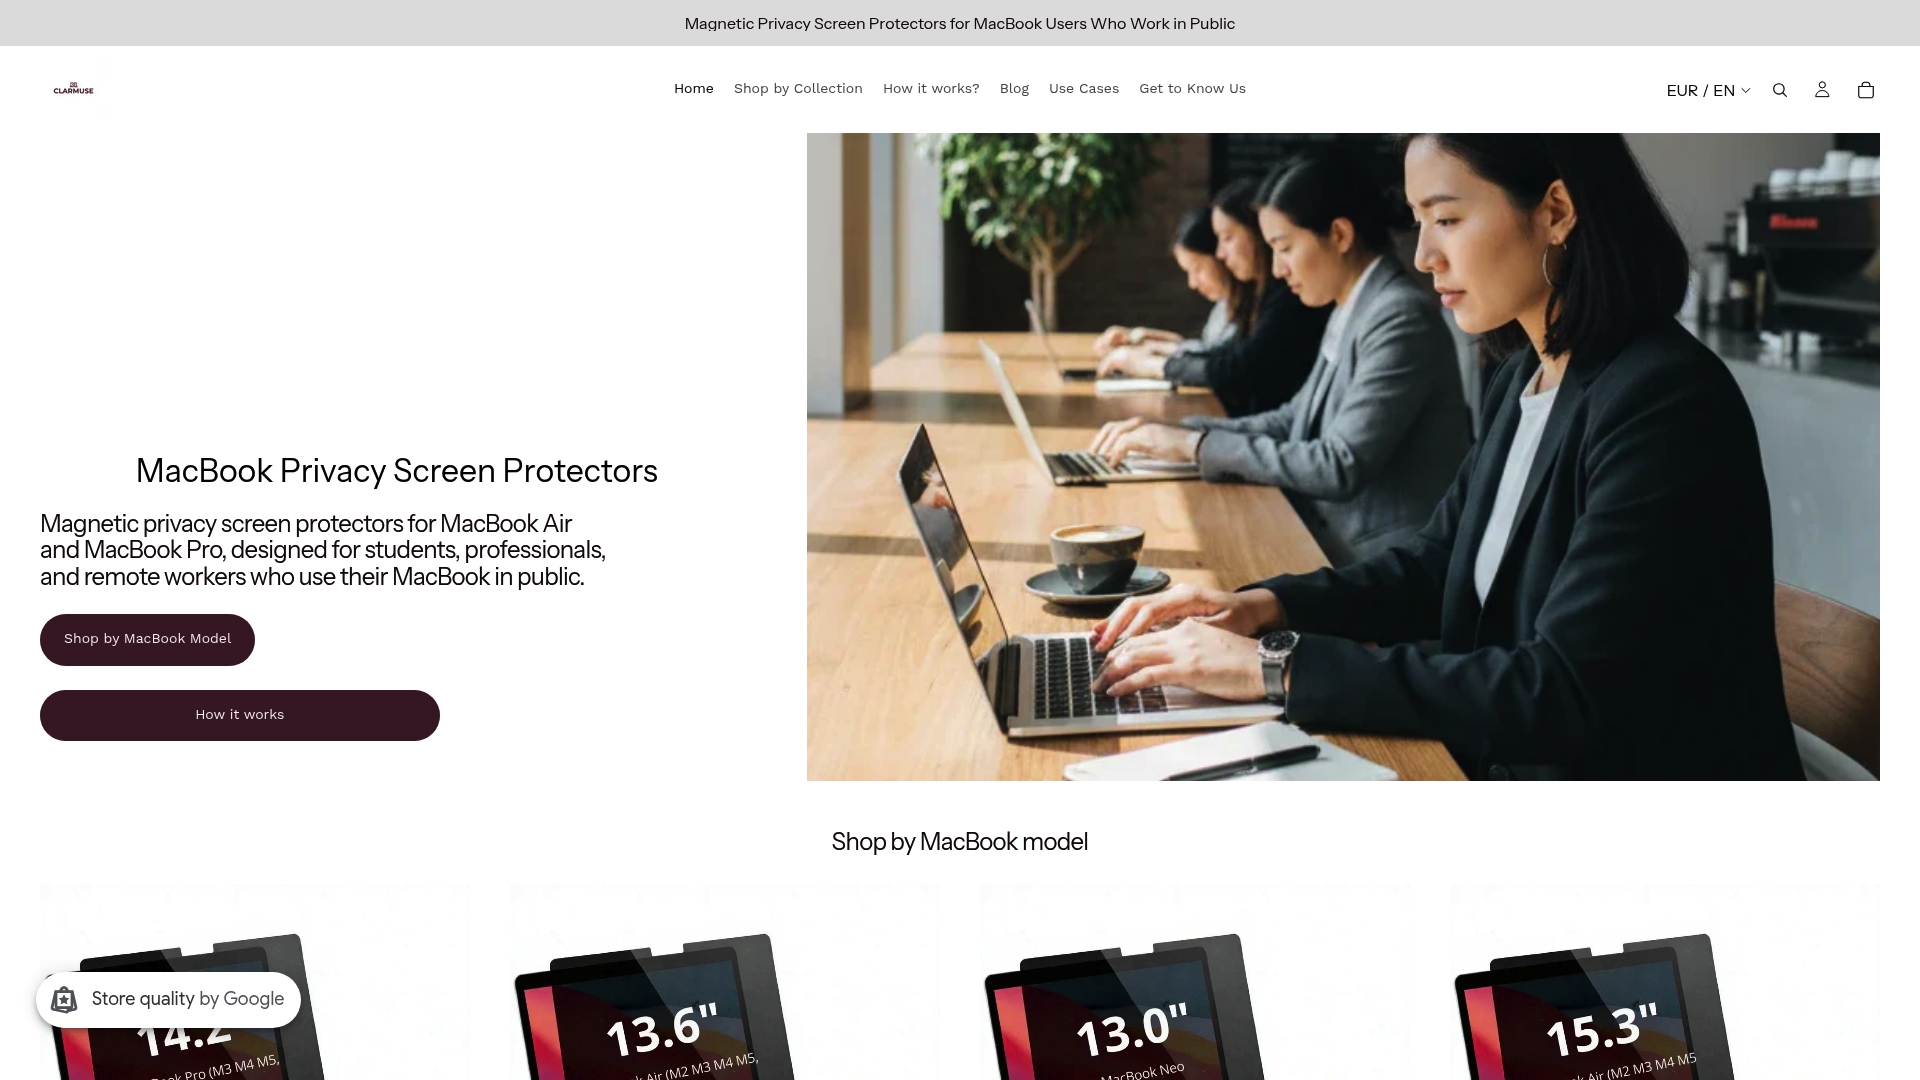
Clarmuse makes magnetic privacy screen protectors designed specifically for MacBook Air and MacBook Pro models. They attach without tools, reduce glare, and cut blue light exposure during long sessions. The fit is model-specific, so there is no trimming or repositioning required. For MacBook Pro users, the MacBook Pro privacy screen collection covers multiple screen sizes. If you use a MacBook Air 13.6", the MacBook Air 13.6" privacy screen fits M2 through M5 models released between 2022 and 2026. Clarmuse screens are built for people who want better comfort and privacy without adding bulk to their bag.
FAQ
What screen angle is best for MacBook comfort?
Position your MacBook display 15–20 degrees below eye level with the screen at arm’s length. This neutral neck posture reduces strain during extended sessions.
How do I stop MacBook screen glare in public spaces?
Add a magnetic privacy screen to cut reflections and raise display brightness to compensate for ambient light. Repositioning away from direct overhead lights also helps.
Can a laptop stand really reduce neck pain?
Yes. Raising the MacBook to eye level with an adjustable stand removes the forward head tilt that causes neck strain. Stands like the MOFT Airflow provide this benefit with minimal added weight.
How often should I take breaks during long MacBook sessions?
Take a microbreak every 30–60 minutes. Stand up, stretch your neck and shoulders, and look at something more than 20 feet away to reset your eye focus.
When should I see a professional about my MacBook screen?
If your screen flickers or cuts out at specific lid angles, that signals hinge cable wear. Stop forcing the display into a working position and get a professional diagnosis before the damage requires a full display assembly replacement.


