
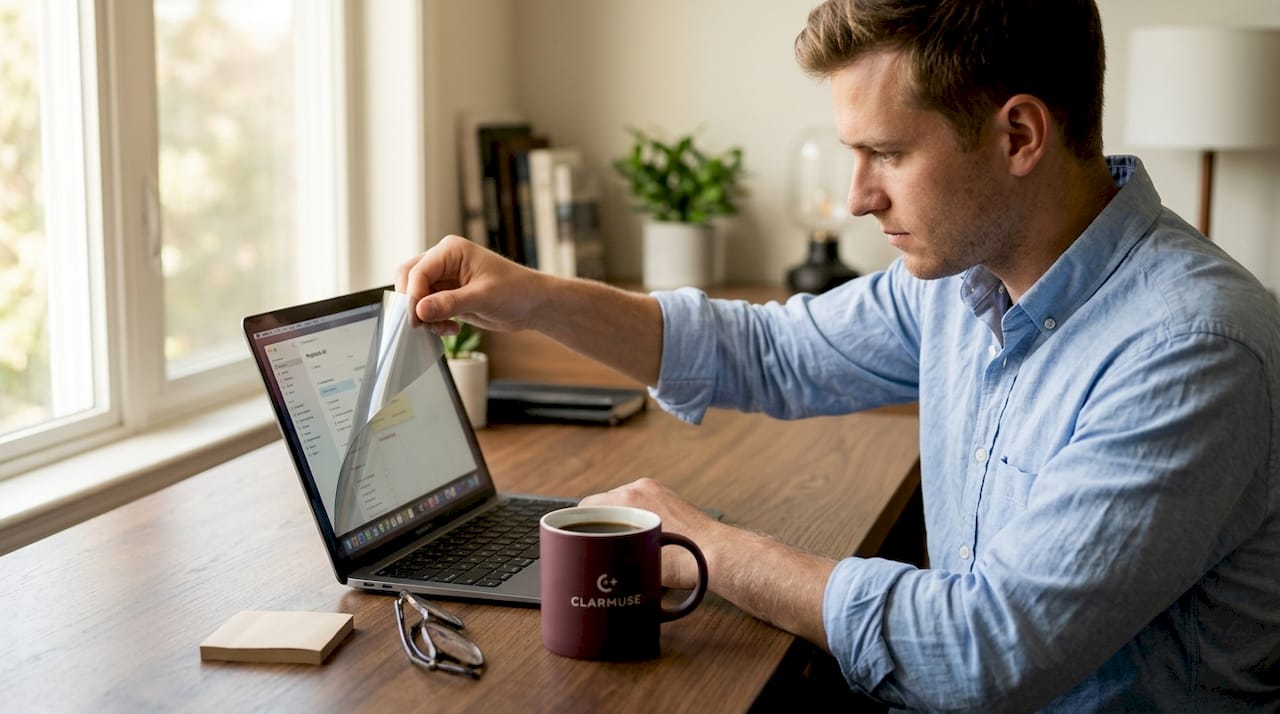
Working on a MacBook in a café, classroom, or airport means someone nearby can almost always see your screen. A macbook privacy filter magnetic attachment solves this without tape, adhesive, or anything permanent. You clip it on when you need privacy and pull it off when you want full display quality. No residue, no guesswork. This guide covers everything: what to check before buying, how to attach the filter correctly, what can go wrong, and how to verify it’s actually working the way it should.
Table of Contents
- Key takeaways
- What you need before attaching a magnetic privacy filter
- How to attach a magnetic privacy filter correctly
- Common issues and how to fix them
- What a good filter actually does for you
- My take on magnetic filters after using them daily
- Find the right Clarmuse filter for your MacBook
- FAQ
Key takeaways
| Point | Details |
|---|---|
| Check model compatibility first | Confirm your MacBook’s exact screen size and notch cutout before purchasing any magnetic filter. |
| Magnetic beats adhesive | Magnetic attachment avoids adhesive residue and preserves your screen’s oleophobic coating. |
| Brightness drops slightly | Premium filters cause less than 8% brightness loss, so you may need to raise your display by one or two notches. |
| Lid closure requires attention | Thicker filters can prevent your MacBook lid from closing flush, which may delay sleep mode or stress the hinge over time. |
| Privacy angle is narrow by design | Quality filters limit side visibility to plus or minus 30 degrees, blocking shoulder surfers without affecting your direct view. |
What you need before attaching a magnetic privacy filter
Before anything else, confirm your MacBook model. Privacy filters are cut to exact dimensions, and a filter designed for a 15-inch MacBook Air will not sit correctly on a 14-inch MacBook Pro. The difference is a few millimeters, but that gap is enough to let light bleed from the sides and defeat the purpose entirely.
Here is what to gather and verify before buying:
- MacBook model and screen size. Check under the Apple menu in “About This Mac.” Note whether your model has a notch, since filters designed for notch-equipped screens include a precise cutout at the top edge.
- Bezel type. Older MacBook Air models have wider bezels than current MacBook Pro models. Compatibility with notch and bezel dimensions is one of the most overlooked steps, and a mismatch causes the magnetic strips to sit unevenly.
- Magnet attachment method. Most filters use thin magnetic strips that attach to the inner frame of the screen surround. Some use micro-suction tabs as a secondary anchor. Both work, but the strip-only method is cleaner and leaves no marks.
- A clean, lint-free cloth. You will need this to wipe the bezel and screen before attaching the magnetic strips.
- Budget. Magnetic privacy filters for MacBook models typically cost between $25 and $95. Higher-priced filters use stronger magnets, thinner materials, and better optical coatings.
| MacBook Model | Screen Size | Notch Present | Filter Fit Priority |
|---|---|---|---|
| MacBook Air M1 | 13.3" | No | Standard bezel fit |
| MacBook Air M2 / M3 | 13.6" | Yes | Notch cutout required |
| MacBook Pro 14" M3/M4 | 14.2" | Yes | Notch cutout required |
| MacBook Pro 16" M3/M4 | 16.2" | Yes | Exact size critical |
Pro Tip: Before ordering, use a ruler to measure the visible screen area diagonally and compare it to the filter’s listed dimensions. Manufacturers sometimes list total panel size, which differs from the usable display area inside the bezel.
You can also read how screen filters work for a solid overview before committing to a purchase.
How to attach a magnetic privacy filter correctly
The installation process takes under five minutes. The steps below assume you are attaching a strip-style magnetic filter, which is the most common format for MacBook-specific products.
- Shut down or sleep your MacBook. Working on a live screen makes it harder to see dust and misalignment. A black display shows everything.
- Clean the bezel and screen. Use a dry, lint-free cloth to wipe the frame around the display. Any dust or debris under the magnetic strip will create an uneven contact surface. If the bezel feels oily, use a screen-safe cleaning wipe first, then dry it completely.
- Attach the magnetic strips to the bezel. Most kits include two strips: one for the top edge and one for the bottom. Peel the adhesive backing and press firmly along the bezel frame, not on the screen surface itself. Press from the center outward to avoid trapping air pockets under the strip.
- Align the filter from the top down. Hold the filter above the screen and match the top edge first. If your MacBook has a notch, line up the cutout precisely before pressing the rest of the filter down. Rushing this step causes slight tilt, which looks fine at first but becomes obvious in bright environments.
- Snap the filter into place. Once aligned at the top, let the magnets draw the filter down steadily. Do not slap it on. Guide it down with light pressure and the magnets will seat themselves.
- Check the edges. Run a fingertip along all four sides. There should be no gap larger than about half a millimeter. Uneven edges mean one magnetic strip is not fully adhered or the filter is slightly misaligned.
- Remove and reattach to verify repeatability. Pull the filter off from a corner and snap it back on twice. This confirms the magnets are strong enough to hold reliably and that alignment is consistent without guesswork.
Pro Tip: Correct installation technique means pressing from the center of each strip outward. This pushes out any trapped air and dust rather than locking it in. Take thirty extra seconds here and you will avoid the faint dust specks that show up once the screen backlight is on.
To remove the filter safely, grip a corner and pull straight out, away from the screen. Never peel from the bottom up, as that flexes the filter and can weaken the magnetic coating along the edge.
Common issues and how to fix them
Even with the right filter and correct installation, a few problems come up regularly. Knowing what to look for saves you from assuming the product is defective when the fix is simple.
- Lid will not close fully. This is the most reported complaint with magnetic filters. Even thin filters can cause a small gap that prevents the lid from seating completely, which sometimes delays the MacBook entering sleep mode. If this happens, choose a thinner filter or use your MacBook’s “Put Display to Sleep” shortcut rather than relying on lid closure alone.
- Filter keeps slipping. If the filter slides down during use, the magnetic strips are not making full contact. Press the strips firmly again along the entire length. In some cases, the bezel surface has a light coating that reduces adhesion; a wipe with isopropyl alcohol before attaching the strips solves this.
- Noticeable color shift. Privacy filters alter light transmission. A slight warm or cool tint is normal. If the shift is extreme, the filter’s optical layers may be low quality. Premium filters hold color accuracy far better than budget alternatives.
- Scratches appearing on the screen. Apple’s own guidance warns that poorly fitted screen accessories can trap debris and scratch the anti-reflective coating. Inspect the filter surface before each attachment and wipe it clean. Never snap the filter on over visible grit.
- Residue on the bezel. This comes from the magnetic strip adhesive, not the filter itself. Use a plastic card to lift the strip edge gently, then clean the residue with isopropyl alcohol on a cotton swab.
Magnetic attachment is considered the gold standard for MacBook privacy because it lets you remove the filter instantly without harming your display quality or leaving marks on the device. That reversibility is what separates it from adhesive-based options, which carry real risk of coating damage over repeated removal.
Replace your filter when the edges start to peel, the magnetic hold weakens noticeably, or the optical surface shows permanent scratches that affect your view.
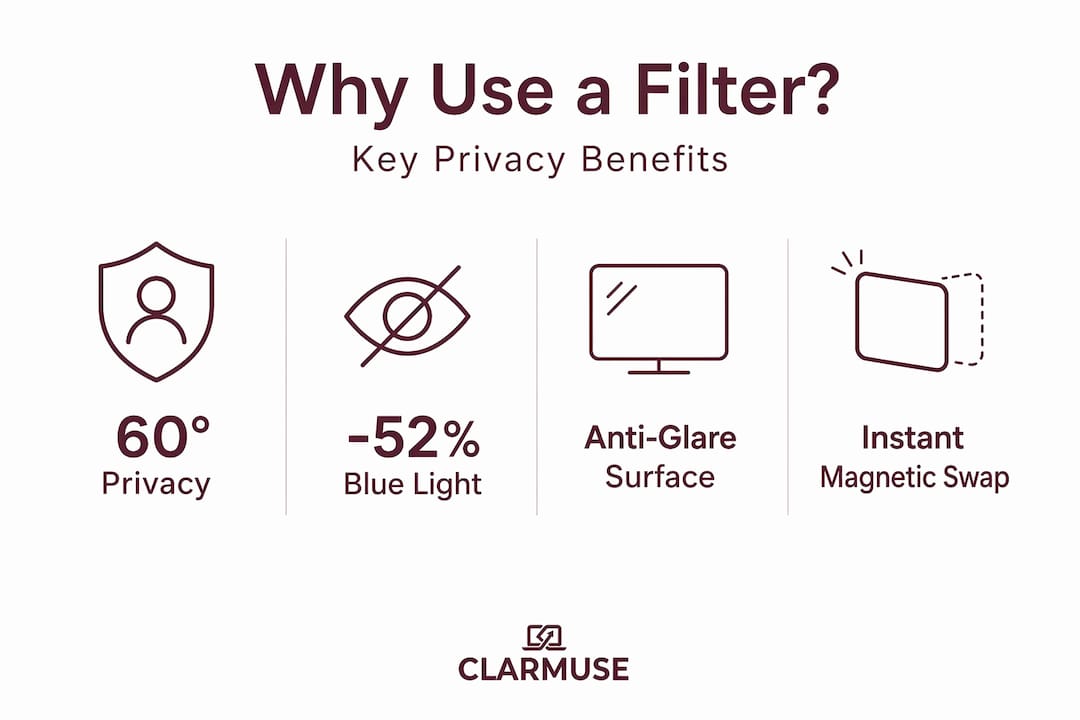
What a good filter actually does for you
A magnetic privacy filter does three things: it narrows the viewing angle, reduces blue light, and cuts glare. Understanding each one helps you verify whether your filter is performing correctly.
Viewing angle restriction is the core function. Quality filters reduce visible side angles to plus or minus 30 degrees from center. Someone sitting beside you on a train or in a library sees a dark screen. You see your full display normally. If you lean past 30 degrees yourself and the screen still shows clearly, the filter’s micro-louver layer is either low density or misaligned.
Blue light reduction matters more than most users expect. High-quality filters reduce blue light by up to 52%, which makes extended sessions in cafés or coworking spaces noticeably more comfortable for your eyes. This is especially relevant for students using a MacBook in classrooms or libraries for hours at a stretch.
Glare reduction comes from the matte or anti-glare outer surface on most privacy filters. Open-plan offices, train windows, and café lighting all produce reflections that make screen reading harder. The filter absorbs rather than reflects most of that ambient light.
| Benefit | What to check | Pass condition |
|---|---|---|
| Privacy angle | View screen from 45 degrees to the side | Screen appears dark or unreadable |
| Blue light reduction | Compare eye fatigue after 2 hours vs. without filter | Reduced strain and less squinting |
| Brightness impact | Check display brightness setting | No more than 1-2 notches above normal |
| Magnetic hold | Tap the filter firmly at each corner | No movement or slipping |
Pro Tip: When you remove the filter for meetings or video calls where you want peak color accuracy, store it in the sleeve it came with. Loose storage scratches the optical surface faster than actual use does.
My take on magnetic filters after using them daily
I have used magnetic privacy filters across multiple MacBook models over the past few years. My honest take: the magnetic format is simply better than every alternative I have tested, but only when the filter is the right thickness for your machine.
The issue most people underestimate is hinge stress. Excessive filter thickness can prevent the MacBook lid from closing properly, and if you travel with the lid closed in a bag, that constant slight pressure on the hinge adds up. I replaced a filter that was only 0.4mm thicker than my previous one, and the difference in lid closure was immediate. Thickness is not a minor spec.
The other misconception I see often is treating privacy filters as screen protectors. They are not. Privacy filters are for visual security, not scratch resistance. MacBook glass is durable enough on its own. Buying a thicker, stiffer filter because you think it adds physical protection is wrong reasoning and it increases lid closure problems.
What I have found works best: a filter that is specifically cut for your exact MacBook model, uses strip-style magnets rather than tabs, and has a matte anti-glare surface rather than glossy. For frequent travelers and students who remove the filter regularly, the cleaner the magnetic attachment, the better the long-term reliability.
— Gabriel
Find the right Clarmuse filter for your MacBook
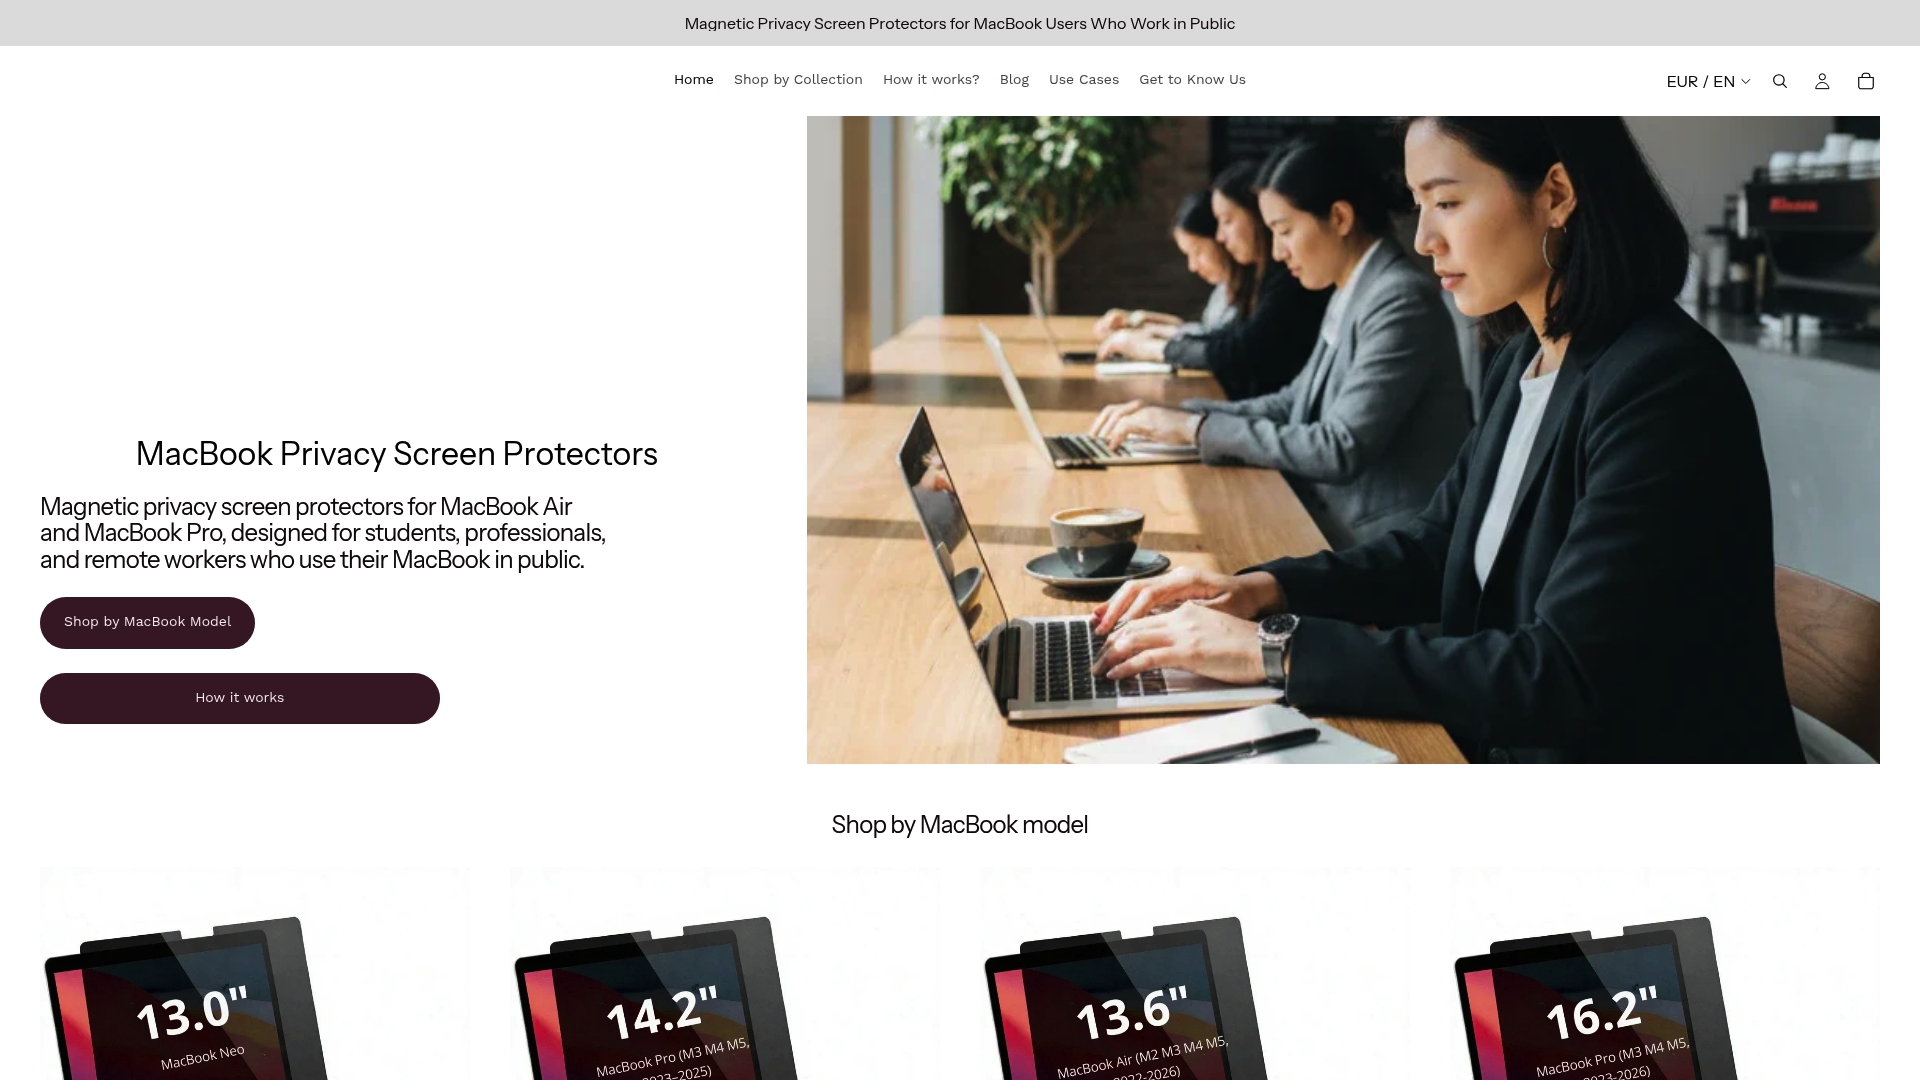
Clarmuse builds magnetic privacy screens made specifically for MacBook Air and MacBook Pro models. Every filter is cut to match the exact screen dimensions of your machine, including notch-specific versions for current M-series MacBooks. The magnetic attachment system attaches and removes cleanly in seconds, with no residue and no bezel damage.
If you work in shared offices, study in classrooms, or travel frequently, the MacBook Pro privacy screen collection gives you model-specific options with clear spec listings so you buy the right size the first time. Each filter is rated for viewing angle, blue light reduction, and magnetic hold strength. You can also browse the full MacBook filter range to find options across Air and Pro models. Prices run from $25 to $95 depending on screen size and filter spec.
FAQ
What is a MacBook privacy filter magnetic attachment?
A MacBook privacy filter magnetic attachment is a screen overlay that uses magnetic strips fixed to the display bezel to hold a privacy filter in place without adhesive. It attaches and removes in seconds without leaving marks or affecting the screen coating.
Will a magnetic privacy filter affect my MacBook display quality?
Premium magnetic filters cause minimal brightness reduction of less than 8%, so you may raise screen brightness by one or two notches. Color accuracy is preserved well on quality filters, and the filter can be removed instantly when you want full display performance.
Can a magnetic privacy filter prevent my MacBook from sleeping?
Yes. Thicker filters can prevent the lid from closing flush, which may stop the MacBook from entering sleep mode on lid close. Choose a thinner filter rated for your model, or use a manual sleep shortcut if closure gap is an issue.
How do I know if a privacy filter is actually blocking side views?
Sit in front of your screen, then move to a position 30 to 45 degrees to the side. A properly functioning filter should make the display appear nearly black from that angle. If you can still read content clearly from the side, the filter’s micro-louver density is insufficient for your privacy needs.
Do magnetic privacy filters work for students in classrooms?
Yes. For students using a MacBook in classrooms or libraries, a magnetic filter blocks side-angle visibility from nearby seats without reducing forward clarity. The easy removal also means you can take it off quickly for presentations or group work, then snap it back on without any tools.


