

A micro-louver privacy filter is a passive optical film embedded with microscopic vertical louvers that block side-angle light while preserving a clear, unobstructed view straight ahead. The technology works the same way vertical blinds do on a window: light passes through only within a narrow forward cone, and anyone seated to the side sees a dark screen. Lab measurements confirm that off-axis brightness drops by over 80% while on-axis brightness stays within ±5% of an unfiltered display.
Most micro-louver filters also include secondary layers:
- Anti-glare matte coating to reduce reflections in bright environments
- Blue-light blocking layer that reduces 380–500 nm wavelengths by 30–45%
- Hard-coat surface for scratch resistance
These combined layers make the filter useful beyond pure privacy, particularly for MacBook users working under harsh café or airport lighting.
Table of Contents
- How do micro-louvers create a viewing cone?
- How effective is micro-louver technology in real-world use?
- What are the practical trade-offs of using a privacy filter?
- How do you choose the right micro-louver screen for a MacBook?
- How to install and care for a micro-louver privacy screen
- Clarmuse MacBook magnetic privacy screens in practice
- Key Takeaways
- The case for taking screen privacy seriously
- Clarmuse magnetic privacy screens for your MacBook
- FAQ
How do micro-louvers create a viewing cone?
The louvers inside the film are microscopic vertical channels, each aligned perpendicular to the display surface. Light traveling straight forward passes through unobstructed. Light traveling at an angle hits the louver wall and is absorbed rather than transmitted. The result is a defined viewing cone: you see the screen clearly, and anyone outside that cone sees near-total darkness.
The layer stack in a typical filter runs: protective hard-coat → anti-glare matte surface → micro-louver film → blue-light absorbing layer → adhesive or magnetic attachment interface. Each layer serves a distinct function, and the order matters for optical performance.
Manufacturing precision determines how well this works. Sub-micron tolerances in louver spacing and alignment separate premium filters from cheap alternatives. A poorly aligned louver array introduces blur, color shift, and eye strain at the center of the screen, not just the edges.
- Louver spacing sets the width of the viewing cone
- Louver height-to-width ratio determines how sharply the cone cuts off
- Alignment uniformity across the full panel prevents uneven dark zones
Pro Tip: Device-specific fit matters more than most buyers expect. A filter cut for the exact pixel pitch of your MacBook’s Retina display keeps louver columns aligned with pixel columns, preventing the moiré interference patterns that appear as a faint grid or shimmer on the screen.
How effective is micro-louver technology in real-world use?
A typical viewing-angle specification is ±13.5°, giving a 27° total cone. That translates directly to seating distances: at a café table where the person next to you sits roughly 1–1.2 meters away, they are well outside the cone. On a plane, the passenger in the adjacent seat is similarly blocked.
Translating that to specific environments:
- Open office, adjacent desk (0.8–1.2 m): The coworker sees a dark panel. You see full clarity.
- Café seating, side-on neighbor: Effective blackout at typical table widths.
- Conference room row seating: Effective for the person directly behind you; less so for someone seated directly behind and slightly elevated.
- Airplane middle seat: The passenger next to you is blocked; someone leaning across from the aisle may catch a partial view depending on their angle.
Ambient light affects perceived privacy. In a very bright room, a high-brightness display can scatter enough light that the blocked view appears slightly gray rather than fully black. Performance also varies with backlight uniformity, which differs across MacBook generations. Micro-louver filters consistently outperform tinted or polarized overlays because they produce a true blackout effect at sharp side angles rather than merely dimming the image.
What are the practical trade-offs of using a privacy filter?
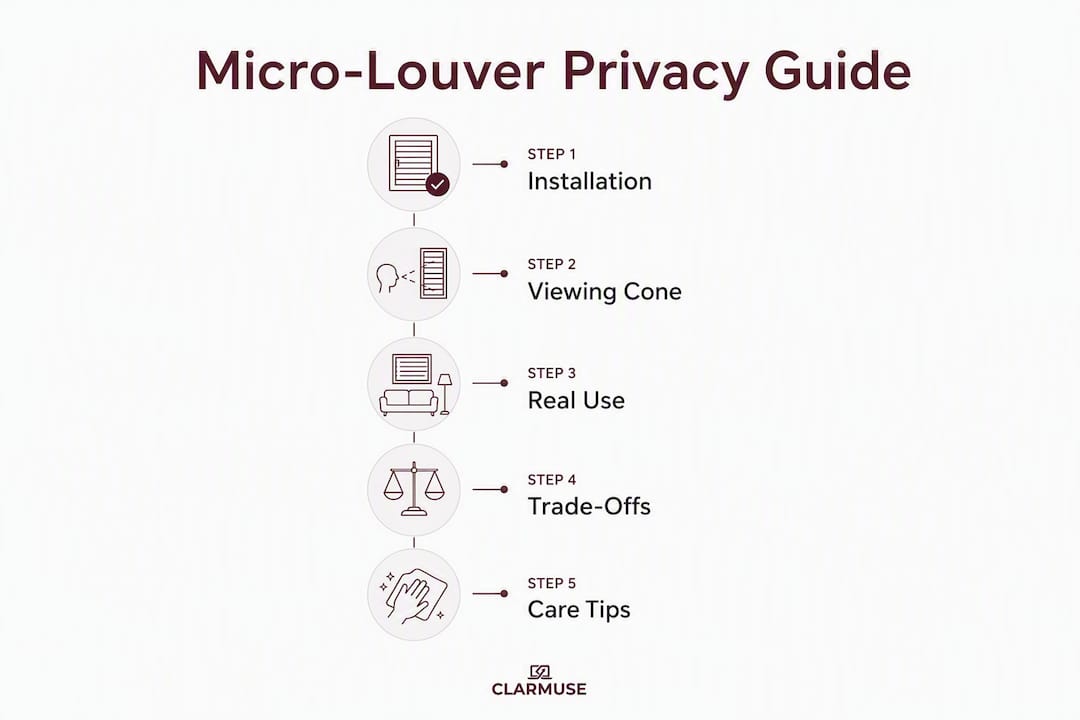
No privacy filter is optically neutral. The louvers physically block some light, so the screen appears slightly dimmer. Bumping brightness up by 10–15% after installation compensates for this, and modern MacBook panels handle that increase without significant battery impact.
Other trade-offs worth knowing before you buy:
- Narrower viewing cone requires front-facing posture. If you recline or tilt your head sideways, you may drift outside the cone yourself. A very narrow cone gives better privacy but demands stricter posture; a slightly wider cone is more forgiving day-to-day.
- Matte coatings soften fine text slightly. The anti-glare surface scatters light to reduce reflections, which introduces a small amount of diffusion. On Retina displays this is barely perceptible; on lower-resolution panels it is more noticeable.
- Attachment method affects lid closing. Static-cling films can trap dust at the edges and may interfere with lid closure over time. Adhesive films hold more firmly but require careful removal. Magnetic attachments snap on and off cleanly, leaving no residue.
Pro Tip: For close seating environments (café tables, economy-class seats), choose a filter with a viewing angle of 30° or less. For open offices where you sit farther from neighbors, a slightly wider cone (up to 60°) gives more comfortable posture flexibility without sacrificing meaningful privacy.
How do you choose the right micro-louver screen for a MacBook?
Work through this checklist in order:
- Confirm model-specific fit. The filter must match your exact MacBook model and screen size. A filter cut for a 13.6" display will not align correctly on a 14.2" panel, and the louver-to-pixel mismatch causes moiré on Retina screens.
- Choose your attachment method. Magnetic attachment is the best option for MacBook users who open and close the lid frequently. Static-cling works for desk-bound setups. Adhesive film suits users who want the filter permanently in place.
- Check the viewing-angle specification. Look for the degrees figure (e.g., ±13.5° = 27° total). Narrower is more private; wider is more comfortable.
- Verify surface hardness. A 9H hard-coat rating resists everyday scratches from keys and bags.
- Confirm coating stack. Anti-glare and blue-light filtering are worth having; confirm both are present rather than assuming.
- Check touch and trackpad compatibility. Magnetic filters that sit above the display surface do not interfere with the trackpad. Adhesive films applied directly to the glass can affect touch sensitivity on touch-enabled models.
- Weigh price against expected life. Most film-based filters last a limited duration with normal use before replacement is recommended. Poorly manufactured films cause moiré or grainy texture from day one, so buying from a brand that specifies model-exact fit is worth the price difference.
For MacBook users who travel, magnetic tempered-glass options offer the best durability and the cleanest removal. For fixed desk setups, a high-quality static-cling film is a lower-cost alternative. Static-cling films can trap dust and affect lid closing over time, making magnetic attachment the preferred choice for anyone who carries their MacBook daily.
How to install and care for a micro-louver privacy screen
- Clean the display. Use a lint-free microfiber cloth. Remove all fingerprints and dust before attaching the filter. Any particle trapped beneath the filter creates a permanent pressure point.
- Align before committing. For magnetic filters, hold the filter above the screen and let the magnets guide it into position. For static-cling, peel the backing halfway and align the top edge first.
- Seat the filter flat. Press from the center outward to avoid air bubbles. For static-cling, a credit card wrapped in a cloth works well for this.
- Run a seating test. Sit directly in front of the screen and confirm the image is clear. Then move 30–40 cm to the side and confirm the screen goes dark. If it does not, the filter may be misaligned.
- Adjust brightness. Increase display brightness by 10–15% to compensate for light loss through the louver layer.
- Check for moiré. On a Retina display, open a plain white document and look for any faint grid pattern. If you see one, the filter is not aligned to the pixel pitch. A model-specific filter should eliminate this entirely.
Pro Tip: For optimal screen positioning in public, tilt the MacBook lid slightly back (100–110° from the keyboard plane). This keeps your eyes inside the viewing cone while making the screen harder to read from above or behind.
For cleaning, use a dry or lightly dampened microfiber cloth. Avoid alcohol-based cleaners on matte surfaces; they degrade the anti-glare coating. Magnetic filters can be removed, cleaned separately, and reattached without residue.
Clarmuse MacBook magnetic privacy screens in practice
Clarmuse applies micro-louver film inside a magnetic frame engineered for each MacBook model’s exact dimensions. The magnetic attachment aligns the louver array to the display’s pixel grid automatically, which eliminates the alignment guesswork that causes moiré on Retina panels. Removal is clean and residue-free, making it practical for daily on/off use.
The current Clarmuse lineup covers:
- Magnetic Privacy Screen Protector for MacBook Pro 16.2"
- Magnetic Privacy Screen Protector for MacBook Air 15.3"
- Magnetic Privacy Screen Protector for MacBook Pro 14.2"
- Magnetic Privacy Screen Protector for MacBook Neo 13.0"
- Magnetic Privacy Screen Protector for MacBook Air 13.6" (M2, M3, M4, M5 2022–2026)
- Magnetic Privacy Screen Protector for MacBook Air 13.3" (M1, 2020)
Each model includes the full coating stack: micro-louver film, anti-glare matte surface, and blue-light filtering. Verify your MacBook model and year before checkout. The model number appears in Apple menu → About This Mac.
Key Takeaways
Micro-louver privacy technology significantly reduces off-axis brightness while maintaining on-axis clarity close to that of an unfiltered display, making it a highly effective passive privacy solution for MacBook users in shared spaces.
| Point | Details |
|---|---|
| Core mechanism | Microscopic vertical louvers block side-angle light; on-axis view stays clear within ±5% brightness. |
| Off-axis performance | Over 80% brightness reduction for anyone outside the viewing cone, producing a near-blackout effect. |
| Key trade-off | Expect slight dimming; increase MacBook brightness 10–15% after installation to compensate. |
| Buying priority | Match the filter to your exact MacBook model to prevent moiré on Retina displays; choose magnetic attachment for daily portability. |
| Clarmuse option | Clarmuse offers model-specific magnetic privacy screens for MacBook Air and Pro, with anti-glare and blue-light filtering included. |
The case for taking screen privacy seriously
Most people who buy a privacy filter are reacting to a specific moment: someone leaned over on a train, a coworker glanced at a draft they were not meant to see, or a client presentation was visible to the entire café. The filter fixes that. But the more interesting argument for micro-louver screens is the one that gets less attention: they change how you work, not just what others can see.
Working in a café or airport without a filter involves a low-level awareness that your screen is visible. You minimize windows, you angle the lid, you hesitate before opening certain files. That friction is small per instance, but it accumulates across a workday. A privacy filter removes it. You open what you need, when you need it, without the mental overhead of managing who might be looking.
The trade-off people underestimate is posture. A very narrow viewing cone forces you to sit squarely in front of the screen. For short sessions that is fine. For a three-hour flight or a full afternoon in a coworking space, it matters. Choosing a filter with a viewing angle matched to your typical seating distance, rather than defaulting to the narrowest available, gives you privacy without the physical constraint.
Screen privacy for studying and focused work follows the same logic: the filter is not just a security tool. It is a concentration tool.
Clarmuse magnetic privacy screens for your MacBook
Clarmuse builds magnetic privacy screens for specific MacBook models, not generic laptop sizes. The model-exact fit means the micro-louver array aligns to your display’s pixel grid from the moment you attach it, with no adjustment required. Anti-glare and blue-light filtering are included in every screen.
Browse the full lineup at the MacBook Pro privacy screen collection or go directly to your model’s product page from the list above. Confirm your MacBook model and year in About This Mac before ordering. If you are unsure which screen fits your device, the main Clarmuse catalog lists every compatible model with fit details.
FAQ
What is micro-louver privacy technology?
Micro-louver privacy technology is a passive optical film containing microscopic vertical louvers that block side-angle light while allowing a clear forward view. Off-axis brightness drops by over 80%; on-axis brightness stays within ±5% of an unfiltered display.
How wide is the viewing cone on a typical privacy filter?
Privacy filter viewing cones typically cover ±13.5°, providing about a 27° total viewing cone. This limits visibility from side angles so that observers seated even a short distance to the side see a darkened screen.
Does a micro-louver filter make the screen noticeably dimmer?
Yes, slightly. The louvers physically block some light. Increasing MacBook brightness slightly after installation compensates for some dimming caused by the louvers, and modern MacBook panels can accommodate this without significant battery impact.
Why does model-specific fit matter for MacBook users?
A filter cut for the exact pixel pitch of your MacBook’s Retina display keeps the louver columns aligned with the pixel columns. Misalignment causes moiré, a faint grid pattern visible across the screen. Clarmuse screens are engineered for each MacBook model to prevent this.
What attachment type works best for daily MacBook use?
Magnetic attachment is the most practical for daily use. It snaps on and off without residue, does not interfere with lid closing, and maintains consistent louver alignment every time you attach it.


