

The fastest way to reduce screen visibility while hot desking is a three-part toolkit: attach a magnetic privacy filter, sit with your back to a wall, and set your screen to auto-lock after 5–10 minutes. All three take under ten minutes to deploy and cost nothing beyond the filter itself.
Immediate steps when you sit down:
- Attach your privacy filter before opening any documents
- Choose a seat against a wall or in a corner, away from walkways and printer stations
- Close any tabs or apps you are not actively using
- Set auto-lock to a short interval if it is not already configured
Pro Tip: A five-second magnetic attach plus the Control+Command+Q shortcut (Mac) or Win+L (Windows) as you stand up beats most casual shoulder-surfing attempts before they start.
Table of Contents
- Why is screen visibility a real risk in shared workspaces?
- How do privacy filters actually reduce side-angle visibility?
- How does seat choice change what others can see?
- Which device settings reduce accidental screen exposure?
- Run this pre-session audit before you settle in
- How long do these fixes take, and what do they cost?
- When a privacy filter is not enough
- Key Takeaways
- Clarmuse magnetic privacy screens for MacBook users
- FAQ
Why is screen visibility a real risk in shared workspaces?
Visual hacking, the practice of reading someone else’s screen without their knowledge, is not a targeted attack. A 2025 field study found shoulder surfing happens naturally in busy shared spaces and is a common cause of accidental data exposure. In a hot-desk environment, you may sit within arm’s reach of strangers for hours. A glance at the wrong moment can expose client names, financial figures, or login credentials.
The risk compounds because hot desks are designed for throughput, not privacy. Seats face multiple directions, foot traffic passes constantly, and the person who sat there before you may have left browser sessions open.
Statistic callout: The 2025 field study cited by PrivacyOn confirms casual shoulder surfing is common in everyday coworking environments, not just in targeted corporate espionage scenarios.
Practical countermeasures work precisely because most visual hacking is opportunistic, not deliberate. A Zero Trust approach, which treats every new session as potentially insecure, pairs well with physical tools: assume someone can see your screen, and act accordingly.
The core risk vectors in hot-desking:
- Side-angle screen visibility to adjacent seats
- Passersby reading screens from standing height
- Notifications appearing on an unlocked screen during short absences
- Printed documents left on the desk
How do privacy filters actually reduce side-angle visibility?
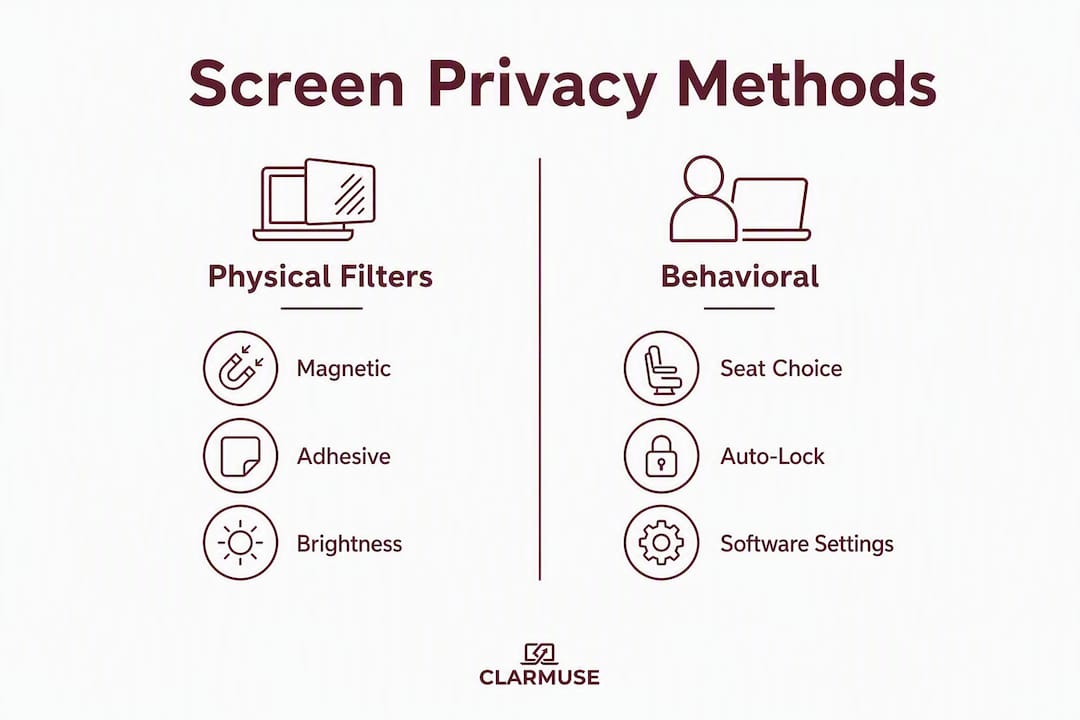
Privacy screens narrow the viewing angle to roughly 60 degrees, making the display unreadable to anyone not sitting directly in front of it. The filter works by embedding a micro-louver layer, a grid of tiny vertical blinds, that blocks light traveling at wide angles. The person beside you sees a dark or blurred panel; you see a normal display.
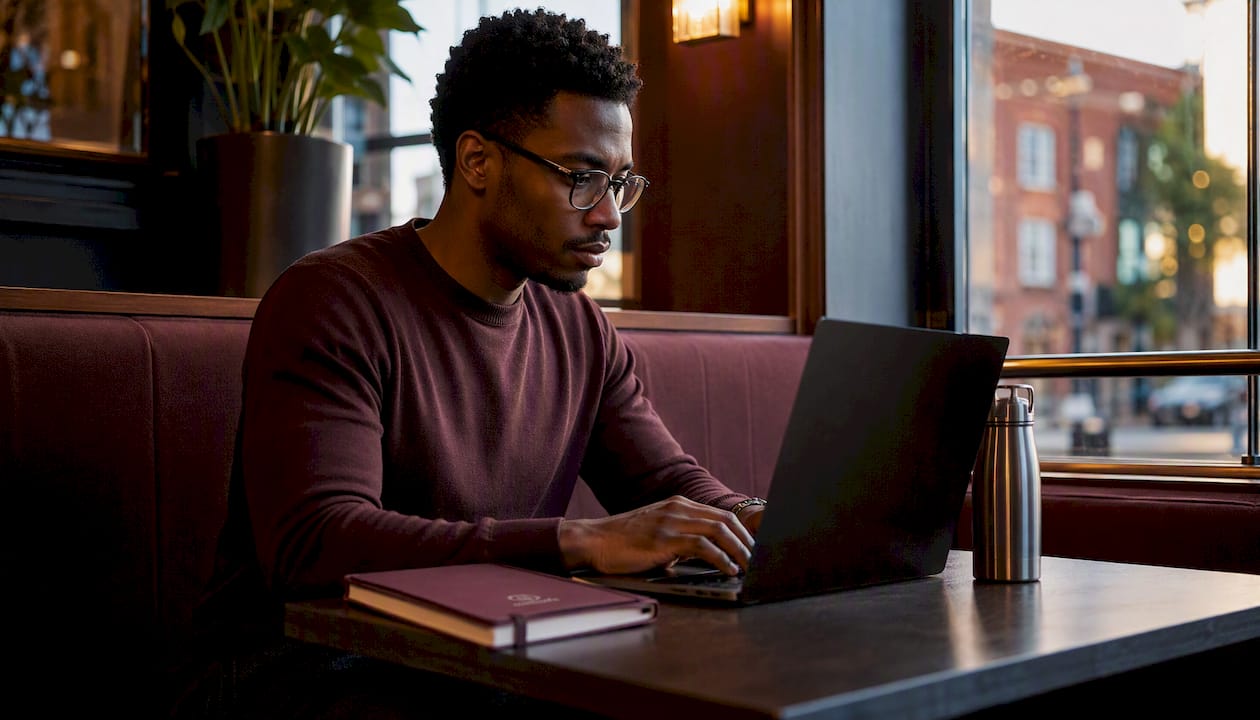
Types of privacy filters and their trade-offs
Magnetic MacBook-specific filters attach and detach in seconds using built-in magnets aligned to the MacBook’s bezel. No adhesive, no residue, no risk of scratching the display. This matters in hot-desking because you will attach and remove the filter multiple times per day. Magnetic filters designed for specific MacBook models, such as those covering the MacBook Air 13.6" (M2 through M5, 2022–2026), sit flush with the screen edge and do not interfere with the hinge or trackpad.
Adhesive film filters bond directly to the screen. They offer similar optical performance but are impractical for shared-space use: removing them repeatedly degrades the adhesive and risks display damage.
Portable screen hoods are physical shields that clip over the top and sides of a laptop. They block more angles than a filter alone but add bulk, which makes them less suitable for daily carry.
Practical trade-offs to know before you buy:
- Magnetic filters reduce light transmission, typically making the display appear slightly dimmer; offset this by raising screen brightness 20–30%
- Anti-glare coatings on some filters reduce reflections in bright offices, a genuine benefit in open-plan spaces with overhead lighting
- Color accuracy shifts slightly under a filter, which matters for design work but is negligible for documents and code
- Model-specific fit prevents light leakage at the edges, which generic cut-to-size films cannot guarantee
For a detailed breakdown of how brightness changes under a filter, the light transmission guide for MacBook users covers the technical specifics.
Pro Tip: Raise your MacBook’s display brightness to its maximum before attaching the filter, then dial back to a comfortable level. This gives you a calibrated baseline and prevents the filter from making the screen feel unusably dim.
Pro Tip: When stepping away for under two minutes, leave the filter attached and lock the screen. Removing the filter for a coffee run and forgetting to reattach it is the most common gap in an otherwise solid privacy setup.
Pro Tip: Clean the filter with a dry microfiber cloth before attaching. Dust trapped between the filter and the display creates visible spots that are distracting during long sessions.
How does seat choice change what others can see?
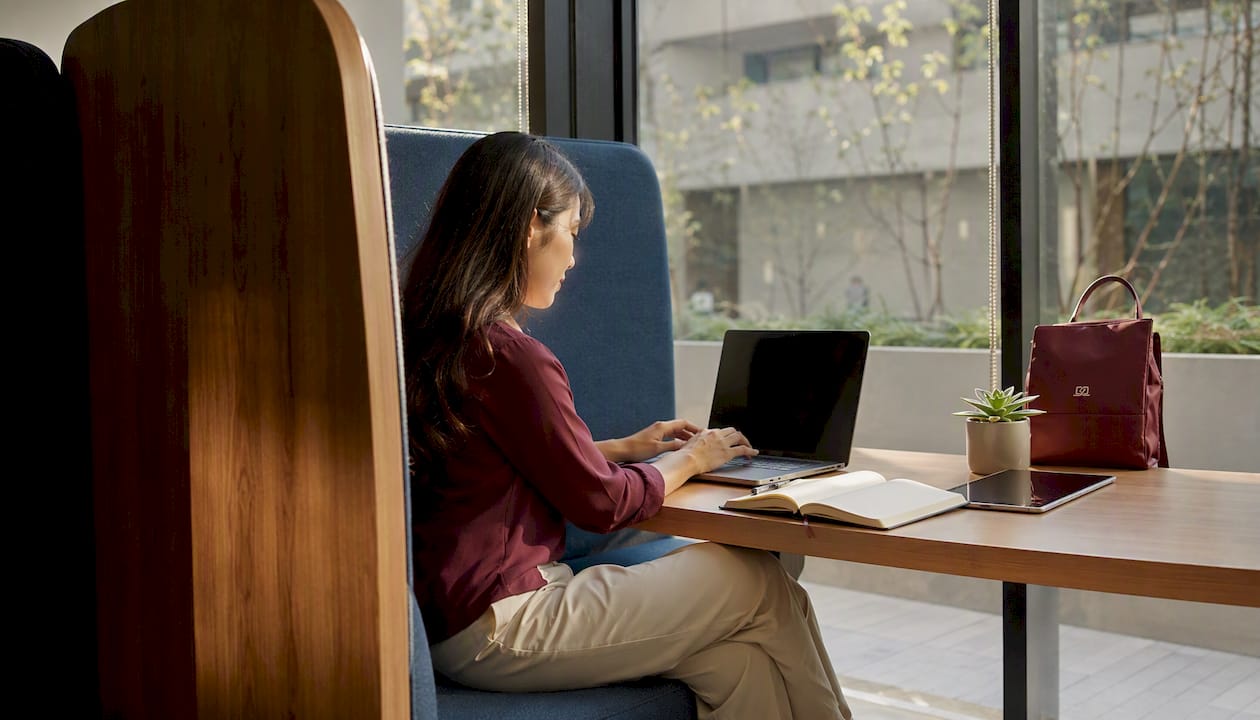
Sitting with your back to a wall or choosing a corner desk is the single most effective no-cost privacy habit in any shared space. It eliminates the rear approach angle entirely and limits exposure to the person directly beside you, which a privacy filter then handles.
When you arrive at a floor, spend 60 seconds scanning before you sit:
- Identify seats against exterior walls or in corners
- Note where the main entrance, kitchen, and printer station are, and avoid desks in their direct sightlines
- Check whether any seats face a glass partition or a high-traffic corridor
- Look for staggered desk layouts where monitors face different directions
Desk booking tools and neighborhood maps let you reserve seats in designated quiet zones before you arrive, which removes the guesswork entirely. If your coworking space offers this, use it for any session involving sensitive work.
On etiquette: if a neighbor’s screen is visible to you, yours is likely visible to them. Switching to a booth or politely asking facilities for a temporary divider is a reasonable request in most U.S. coworking spaces, and most operators keep fabric desk panels available.
Which device settings reduce accidental screen exposure?
Software habits close the gaps that physical tools cannot cover. Configure your laptop to auto-lock after a short period of inactivity and treat this as a non-negotiable baseline, not an optional setting.
Numbered setup sequence for a new hot-desk session:
- Set screen auto-lock to 5 minutes (System Settings > Lock Screen on macOS; Settings > Personalization > Lock Screen on Windows)
- Enable Do Not Disturb to suppress notification previews
- Open only the apps and tabs you need for the current task
- Switch sensitive documents to fullscreen mode, which hides the menu bar and dock
- Use a virtual desktop (Mission Control on macOS, Task View on Windows) to keep sensitive work on a separate desktop from general browsing
- Disable saved passwords in any shared browser profile; use a centrally managed password manager such as 1Password or Bitwarden instead
Zero Trust practices extend this further: require MFA for every app that supports it, avoid auto-login on any shared machine, and never save credentials in a browser you did not configure yourself.
Additional hardware habits:
- Use a laptop cable lock if you need to leave the desk for more than a few minutes
- Keep printed documents in a folder immediately after printing; hot-desk guidelines recommend picking up printed documents immediately and logging out of shared equipment after each session
- Use noise-cancelling headphones for calls to prevent audio exposure alongside visual exposure
Pro Tip: Reduce font size in your email client and document editor by one step when working in a busy open-plan space. The content remains readable to you at normal distance but becomes harder to parse from two meters away.
Run this pre-session audit before you settle in
A short audit before you open your first document prevents most accidental exposures. Match the audit length to the sensitivity of the task.
1-minute quick scan (low-sensitivity tasks):
- Pick a wall or corner seat
- Attach your privacy filter
- Enable Do Not Disturb
- Close unused apps from your previous session
10-minute thorough audit (sensitive tasks):
- Scout the floor and book or claim a wall/corner seat
- Check sight lines to entrances, adjacent desks, and standing areas
- Attach your privacy filter and raise screen brightness
- Close all nonessential tabs and apps; open only what the task requires
- Enable Do Not Disturb and verify auto-lock is set to 5 minutes
- Stash any printed documents in a folder
- Confirm MFA is active for the apps you will use
- Decide whether the task is appropriate for an open desk (see the rule below)
Rule of thumb: if the work would require a closed door at your regular office, move to a private booth or booked meeting room. No filter or seat choice fully substitutes for a closed door on truly confidential work.
Pro Tip: Make the magnetic attach plus Control+Command+Q a single physical reflex every time you stand up, even for a 30-second walk to the water cooler. Unattended unlocked screens are the most common exposure point in open offices.
How long do these fixes take, and what do they cost?
| Fix | Time to deploy | Typical U.S. cost |
|---|---|---|
| Magnetic privacy filter (MacBook-specific) | 5 seconds to attach | $25–$60 |
| Pre-session privacy audit | 1–10 minutes | Free |
| Auto-lock and Do Not Disturb setup | 2 minutes (one-time) | Free |
| Portable fabric desk divider | 5 minutes to position | $30–$60 |
| Noise-cancelling headphones | Immediate | $60–$300 |
| Booked private office or phone booth | Advance booking required | Varies by space |
The highest return on investment comes from the filter plus behavioral changes. Privacy screens cost between $25 and $60 at the entry level and handle the majority of casual side-angle exposure. Heavier investments, such as premium headphones or recurring private-office bookings, are worth considering only if you handle confidential work in shared spaces on a daily basis.
For remote and hybrid workers who move between locations frequently, the screen privacy benefits for remote workers article covers the ROI case in more detail.
When a privacy filter is not enough
Some tasks genuinely require a closed environment. A filter narrows the viewing angle; it does not eliminate it, and it does nothing for audio.
Situations that require more than a filter:
- Legal, medical, or financial documents with personally identifiable information
- Video calls where the other party’s face or voice is visible to the room
- Reviewing credentials, access keys, or security configurations
- Any work your employer classifies as confidential under a formal policy
Short-term mitigations when a private room is unavailable:
- Use a screen hood (a taller physical shield that clips over the laptop) for additional angle coverage
- Split the task: complete sensitive steps at home or in a booked meeting room, and handle non-sensitive steps at the open desk
- Use a secondary device, such as a phone with a VPN, for the sensitive portion while keeping the laptop on general tasks
Apply a Zero Trust mindset to the environment itself: assume the space is insecure, limit what appears on screen to the minimum needed for the current step, and close documents the moment you finish with them. If the task would require a closed door at your employer’s HQ, it requires a private office or booth in a coworking space — that rule holds regardless of what physical tools you have with you.
Pro Tip: For travel-heavy work, the airport lounge privacy guide covers the specific sight-line challenges in terminal seating and how to adapt the same toolkit for transit environments.
Key Takeaways
A magnetic privacy filter combined with a wall seat and a consistent auto-lock habit covers the majority of screen visibility risks in hot-desking and coworking environments.
| Point | Details |
|---|---|
| Seat choice is free and high-impact | Sitting with your back to a wall eliminates rear approach angles before any tool is needed. |
| Filters narrow the viewing angle to ~60 degrees | Side-angle viewers see a dark panel; you see a normal display at raised brightness. |
| Auto-lock at 5–10 minutes is the baseline | Configure this once; use Control+Command+Q or Win+L for immediate manual lock on every absence. |
| Match audit length to task sensitivity | A 1-minute scan covers low-sensitivity work; a 10-minute audit is appropriate before opening confidential documents. |
| Clarmuse magnetic filters fit MacBook models precisely | Model-specific fit (Air 13.6", Air 15.3", Pro 14.2", Pro 16.2", Neo 13.0") prevents edge light leakage and attaches in seconds. |
The filter reflex that actually sticks
The conventional advice on hot-desk privacy focuses almost entirely on software: lock your screen, use a VPN, enable MFA. That advice is correct, but it misses the most common failure mode. Most accidental data exposure in shared spaces happens in the first 30 seconds after someone sits down, before they have configured anything, or in the 90 seconds they are away from the desk without locking.
A physical filter solves the first problem passively. It is working the moment it is attached, with no configuration required. The behavioral reflex, attach and lock as a single motion every time you sit or stand, solves the second. Together, they cover the two highest-frequency exposure windows without requiring any conscious decision in the moment.
The trade-off is real: a filter makes the display slightly dimmer and shifts color slightly. Raising brightness compensates for most of it. For the reduction in shoulder-surfing risk, that is an acceptable exchange. For truly sensitive work, a private room remains the right answer, and no filter changes that calculus.
Clarmuse magnetic privacy screens for MacBook users
For MacBook users who hot-desk regularly, a model-specific magnetic filter is the most practical hardware choice. Generic cut-to-size films leave edge gaps that allow light leakage; adhesive films are impractical for daily attach/remove cycles. A filter designed for your exact MacBook model sits flush, attaches in seconds, and removes cleanly.
Clarmuse makes magnetic privacy screen protectors for the following models:
- MacBook Pro 16.2"
- MacBook Air 15.3"
- MacBook Pro 14.2"
- MacBook Neo 13.0"
- MacBook Air 13.6" (M2, M3, M4, M5 — 2022–2026)
Match the filter to your MacBook’s screen size and year. If you use a MacBook Pro, the full MacBook Pro privacy filter collection lists all available options with compatibility details. Choose your model, check the anti-glare specification, and add it to your standard hot-desk kit alongside your cable lock and headphones.
Useful sources
The following sources informed this guide and are worth bookmarking for deeper reading on hot-desk privacy policy and screen protection mechanics.
- Screen Privacy, Calls, and Confidential Work in Coworking — CoworkingCafe Blog: covers seat selection, filter effectiveness, and the closed-door rule of thumb
- Hot Desk Best Practices for 2026 — Joe Apps Technology Support: auto-lock configuration, Zero Trust habits, and clean-desk enforcement
- Hot Desk Guidelines: Booking, Hygiene, and Privacy Rules — LegalClarity: operational policy guidance including print hygiene and shared-device logout procedures
- How to Protect Your Privacy When Using Coworking Spaces — PrivacyOn: field research on shoulder surfing frequency in shared environments
- Hot Desk Etiquette Guide: Rules and Tools for a Better Shared Office — Skedda: desk booking, neighborhood maps, and quiet-zone designation for facility managers
- Zero Trust for IT Professionals: A Practical Guide — Blue Team Academy: practical Zero Trust implementation for shared-desk and hybrid environments
FAQ
How do you stop others from seeing your laptop screen?
Attach a magnetic privacy filter to narrow the viewing angle to roughly 60 degrees, sit with your back to a wall, and lock your screen every time you step away. These three steps together cover the most common exposure vectors in shared spaces.
Does a privacy screen reduce glare?
Many privacy filters include an anti-glare coating that reduces reflections from overhead lighting, which is a genuine benefit in open-plan offices. The trade-off is a slight reduction in brightness, which you can offset by raising your display’s brightness setting.
How do you hide your screen from people nearby?
A privacy filter makes the display appear dark or blank to anyone viewing from the side. Pairing it with a wall seat eliminates rear approach angles, so the only person with a clear view is the one sitting directly in front of the screen.
How do you make a computer screen not visible to others?
Use a physical privacy filter for side-angle coverage, set auto-lock to 5–10 minutes, and close any documents or tabs you are not actively using. For highly sensitive work, book a private office or phone booth rather than relying on a filter alone.


